 Shop My Favorite Non-Toxic Gifts Of 2026!
SKL is reader supported. When you buy through links on our site, we may earn affiliate commission. Learn more here.
I’ve made and given away DIY Christmas gifts for years now, and the ones people remember aren’t the fanciest. They’re the sourdough starter that’s still alive on someone’s counter, the lip balm a friend keeps refilling, the pressed-flower frame my mom never took down.
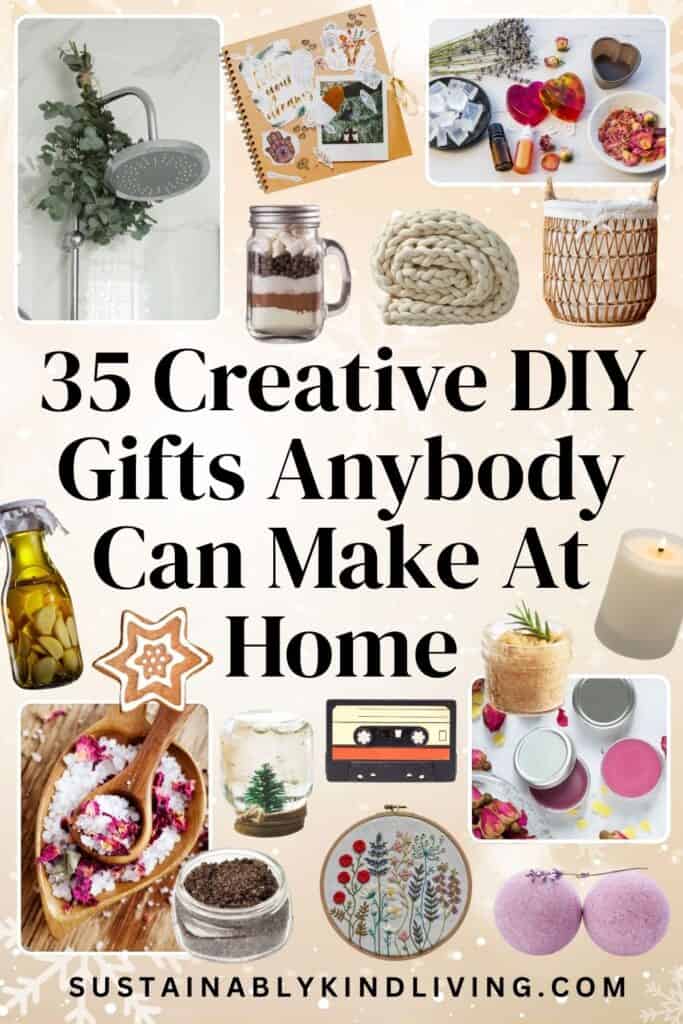
These are 35 of my favorites: eco-friendly, budget-friendly, plastic-free, and easy to customize to whoever you’re making them for. From non-toxic beauty recipes to handmade decor to edible treats, every one of these is something I’ve actually made myself, not just an idea I found and liked the sound of.
That’s the real case for handmade gifts: not less waste, though there’s less of that too, but more staying power.
They’re the ones that turn into an inside joke, or a yearly tradition, or the thing someone brings up months later because they’re still using it.
A hand-knitted blanket that ends up on the back of the couch permanently. A jar of jam that gets requested again the next year. A playlist someone actually replays.
That’s what this list is: 35 sustainable, handmade Christmas gifts I’ve actually made myself, each one simple enough to pull off without special skills, and thoughtful enough that it becomes the one people remember giving, and receiving.
My 5 Favorite DIY Christmas Gifts…
- Most Unique Handmade Gift: Eucalyptus Shower Bundles
- Best Edible DIY Gift: Sourdough Starter & Fresh Bread
- Top DIY Beauty Gift: Homemade Lip Balm
- Best Personal DIY Gift: Calendar of Love
- Most Budget-Friendly DIY Gift: Upcycled Keychains
P.S. Don’t forget to check out my ultimate guide to the best non-toxic gifts for everyone on your list, for every season and occasion. I’ve personally gifted every single item featured, and each one has been carefully vetted by the SKL team.
Why choose DIY gifts this Christmas?
Handmade gifts show a kind of thought a gift card never can. You can’t buy someone’s time and attention off a shelf, but you can hand it to them in a jar, a frame, or a hand-knit blanket.
Some of the most cherished gifts I’ve ever received were incredibly simple: a plant cutting from a friend’s favorite vine, a candle that smelled like someone’s actual home, a scrapbook page with a joke only the two of us understood. None of it was perfect. All of it was intentional.
To be clear, not everything on your list needs to be handmade, and I’m not suggesting you DIY your whole Christmas. A few thoughtful handmade gifts mixed in with the rest of your shopping can mean just as much as an entire homemade holiday.
If you want a mix of both, my non-toxic gift guide covers everything else, hundreds of tested, sustainable picks for whoever else is on your list.
Whether you’re mixing natural ingredients, baking from scratch, or working with materials you already have around the house, that’s the whole idea: use what you have, make it meaningful, and let the gift say something a store-bought version couldn’t.
So, without further ado, here are 35 of my favorite creative, low-waste, budget-friendly DIY Christmas gift ideas for 2026.
35 Best DIY Holiday Gift Ideas That Anyone Would Love
1. Homemade Bath Salts
Time: 10 Minutes | Difficulty: Easy
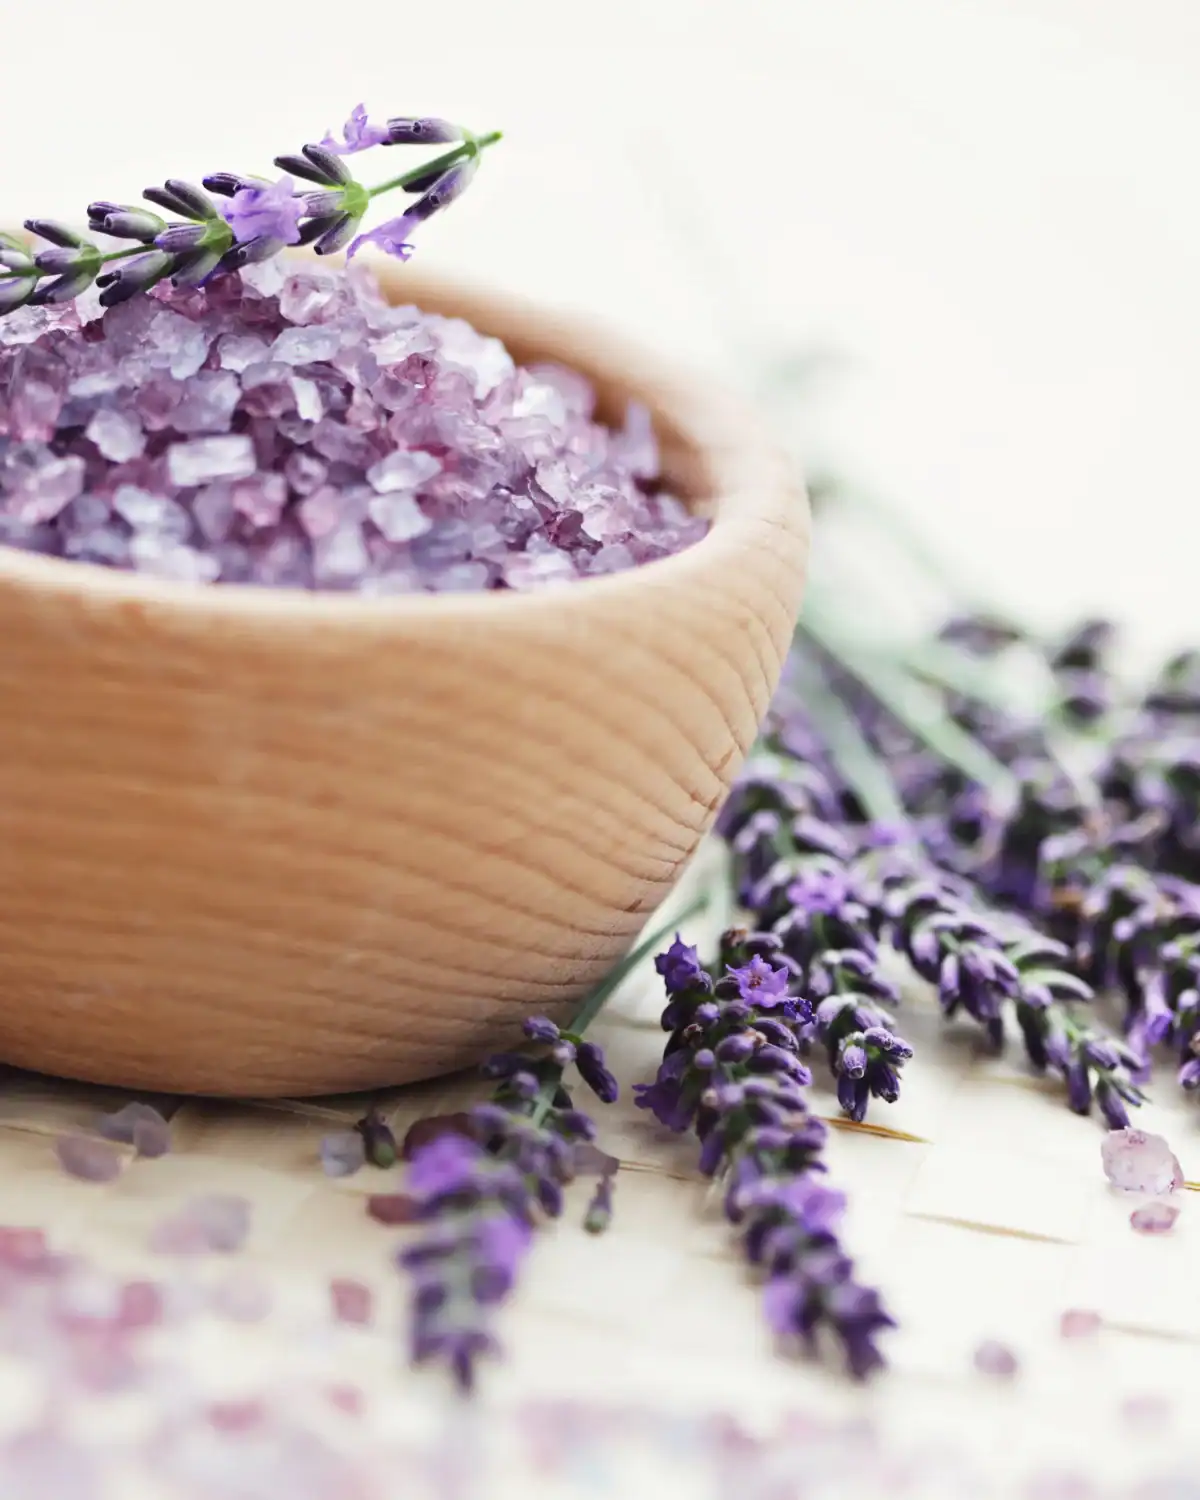
Homemade bath salts are one of my go-to gifts when I want something simple but meaningful.
Combine 2 cups of Epsom salt, 2 tablespoons of baking soda, and 2 tablespoons of dried organic lavender or organic chamomile.
For fragrance, mix 10–15 drops of lavender essential oil with a bath-safe essential oil dispersant according to its directions, then stir into the salts.
Divide between three small glass apothecary jars and finish with an FSC-certified kraft gift tag.
Add a little note like, “Soak for 20 minutes with candles lit.” Simple, pretty, and perfect for teachers, friends, or neighbors.
2. DIY Brown Sugar Body Scrub
Time: 10 Minutes | Difficulty: Easy
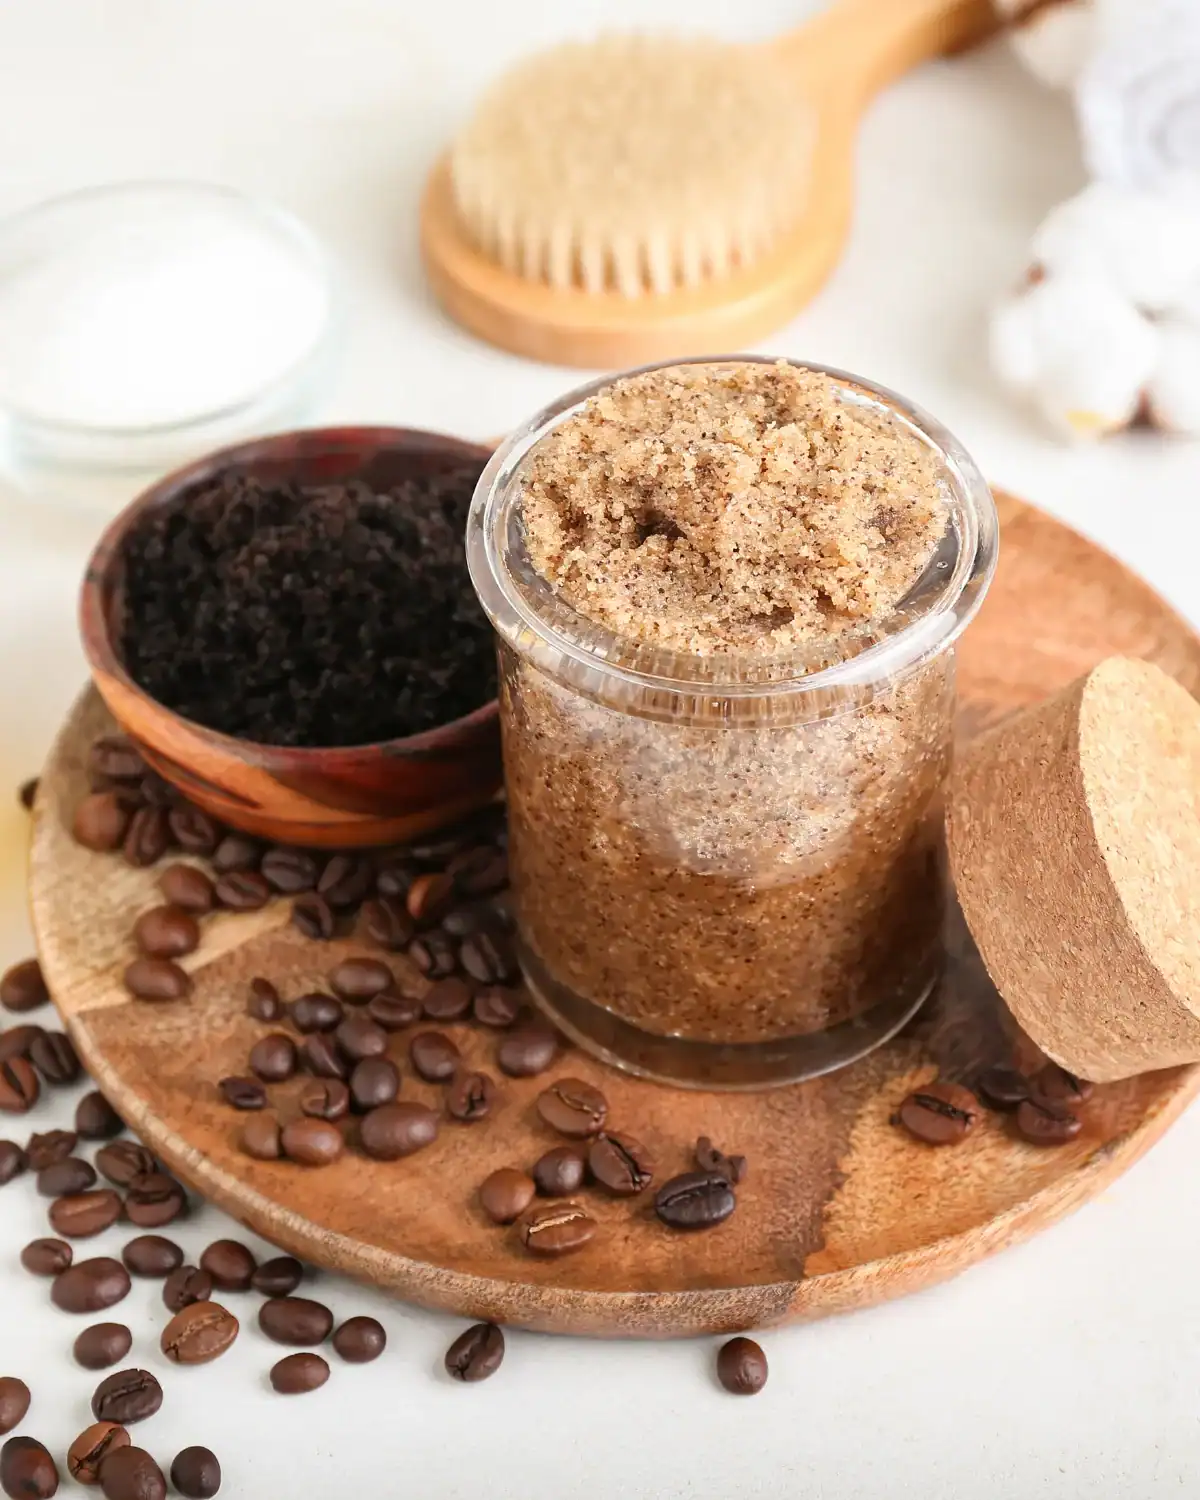
This easy DIY brown sugar body scrub makes such a pretty little homemade gift.
Combine 1 cup of organic brown sugar, 1/2 cup of organic sweet almond oil, and 1 teaspoon of pure vitamin E oil. You can also swap the almond oil for organic coconut oil.
Add about 10 drops of peppermint essential oil or vanilla botanical extract, following the brand’s topical dilution directions.
Divide between two small 8 oz glass jars and finish with natural jute twine and an FSC-certified kraft gift tag.
It takes about 10 minutes to make and feels surprisingly luxurious for such a simple DIY. Perfect for besties, coworkers, teachers, or stocking stuffers.
Use Note: Keep water out of the jar and scoop with dry hands or a small spoon to help the scrub stay fresh longer.
3. DIY Eucalyptus Shower Bundles
Time: 10 Minutes | Difficulty: Easy
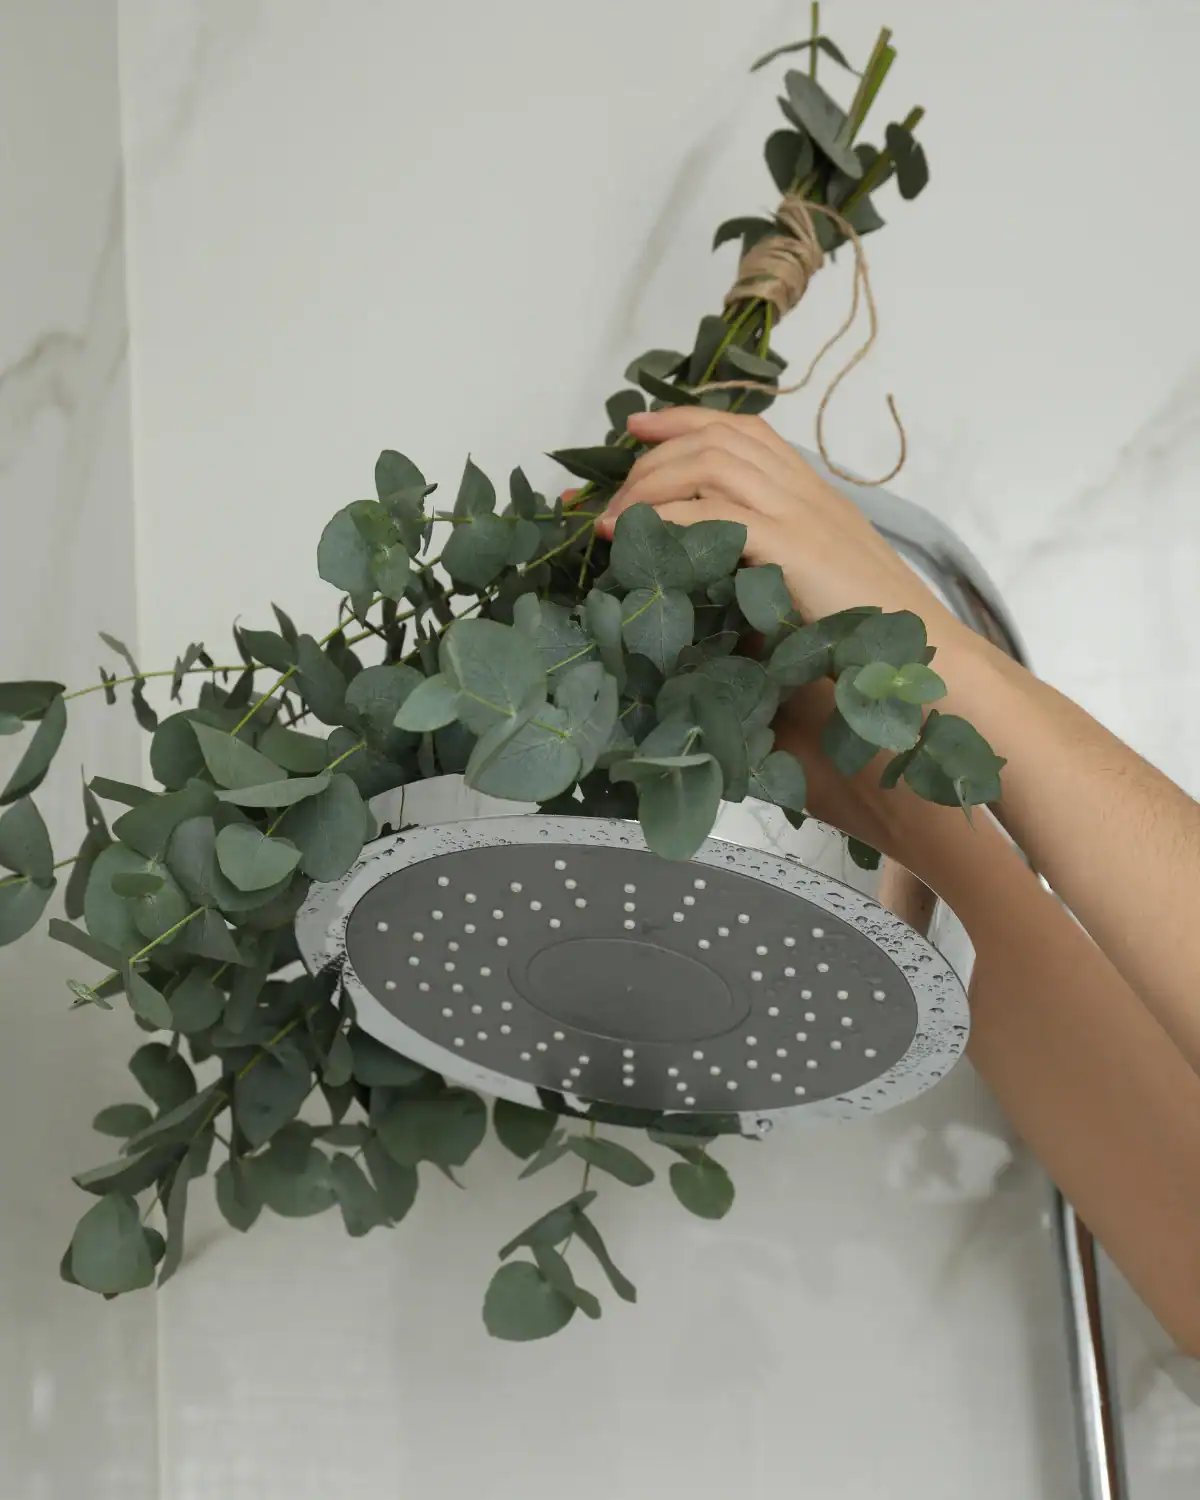
Gather 4–5 fresh eucalyptus stems from a florist or farmers market.
If fresh isn’t available, these naturally dried eucalyptus stems are a good Amazon alternative.
Bundle the stems together at the base and tie tightly with natural jute twine, leaving a loop long enough to hang from the showerhead.
Finish with an FSC-certified kraft gift tag that says, “Hang near the showerhead, out of the direct water stream, and let the steam do the rest.”
It smells incredible, doubles as bathroom decor, and can last for a few weeks. Replace it once the scent fades or if you notice browning or mold.
Pet Note: Keep eucalyptus where pets can’t chew on it, since eucalyptus can be toxic if ingested.
4. DIY Lip Balm
Time: 20 Minutes | Difficulty: Easy
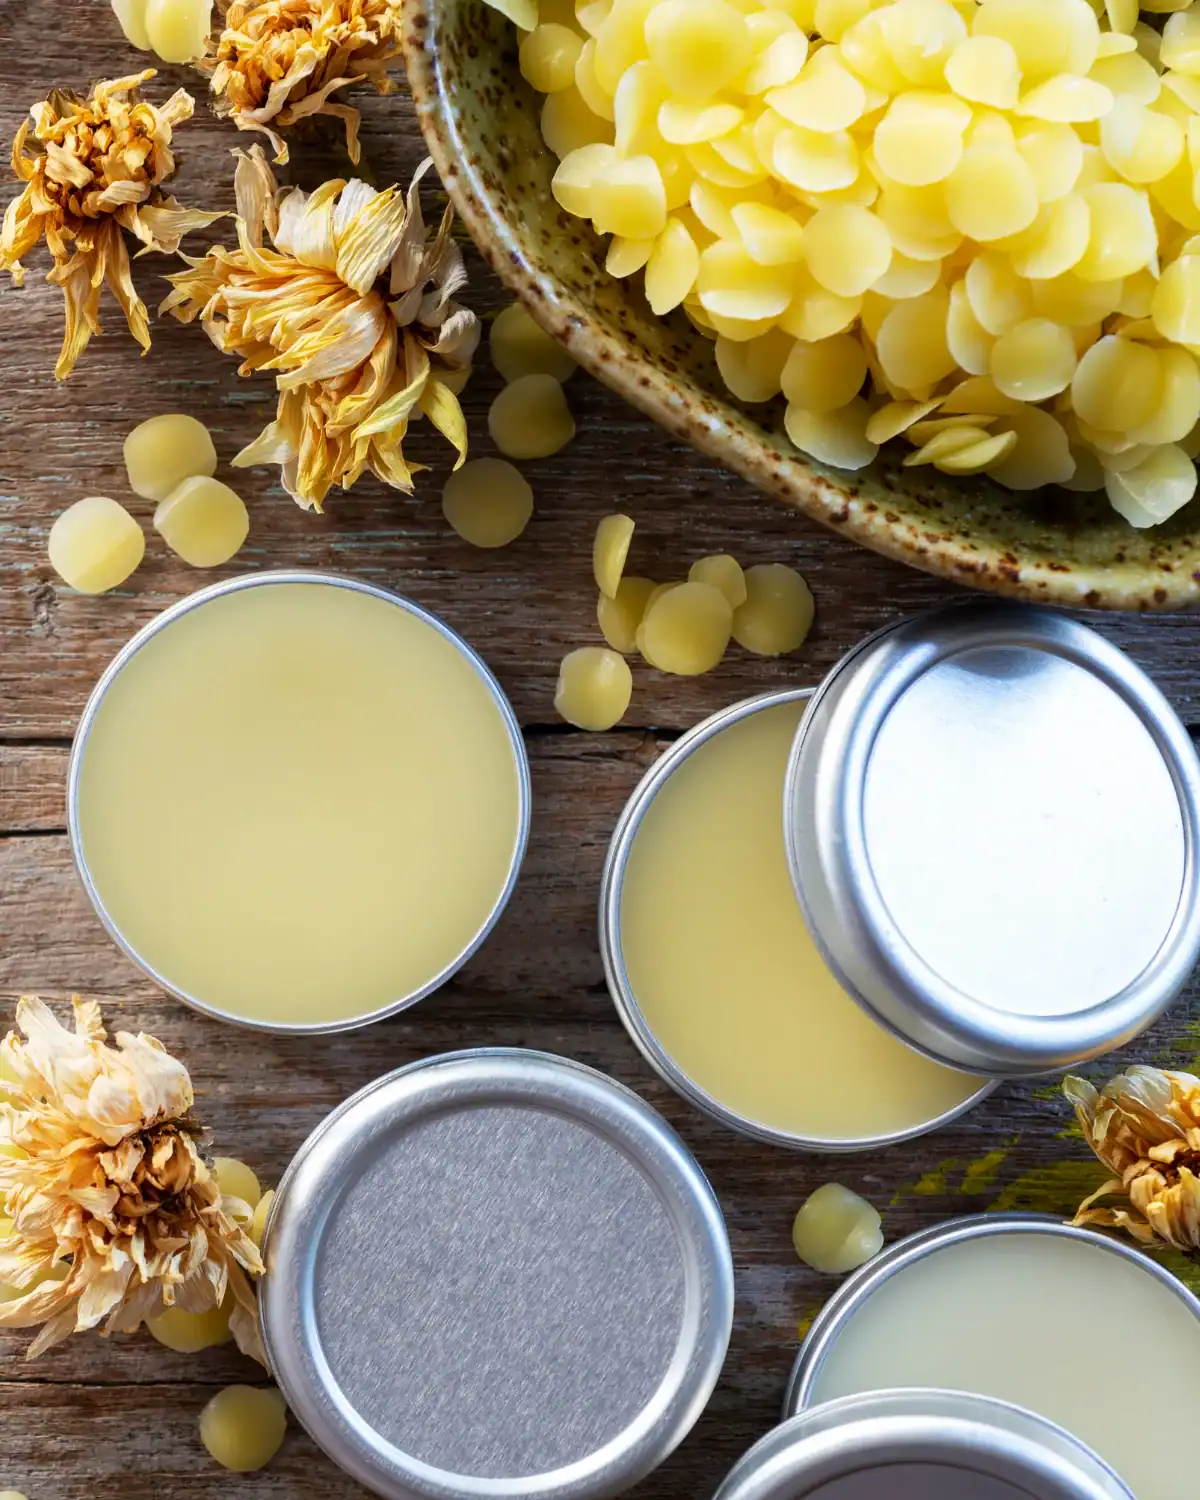
Another go-to DIY beauty gift.
Melt 1 teaspoon of candelilla wax, 6 teaspoons of organic coconut oil, and 2 teaspoons of organic unrefined shea butter in a stainless steel double boiler over low heat.
Remove from heat and stir in about 8 to 9 drops of Plant Therapy Organic peppermint Essential Oil, or leave it unscented.
Pour immediately into reusable 0.5 oz aluminum tins, remelting gently if the mixture begins to harden.
Let cool completely before adding the lids. This batch should make about three small lip balms.
5. Homemade Bath Bombs
Time: 20 Minutes (Plus 24 Hours to Dry) | Difficulty: Easy
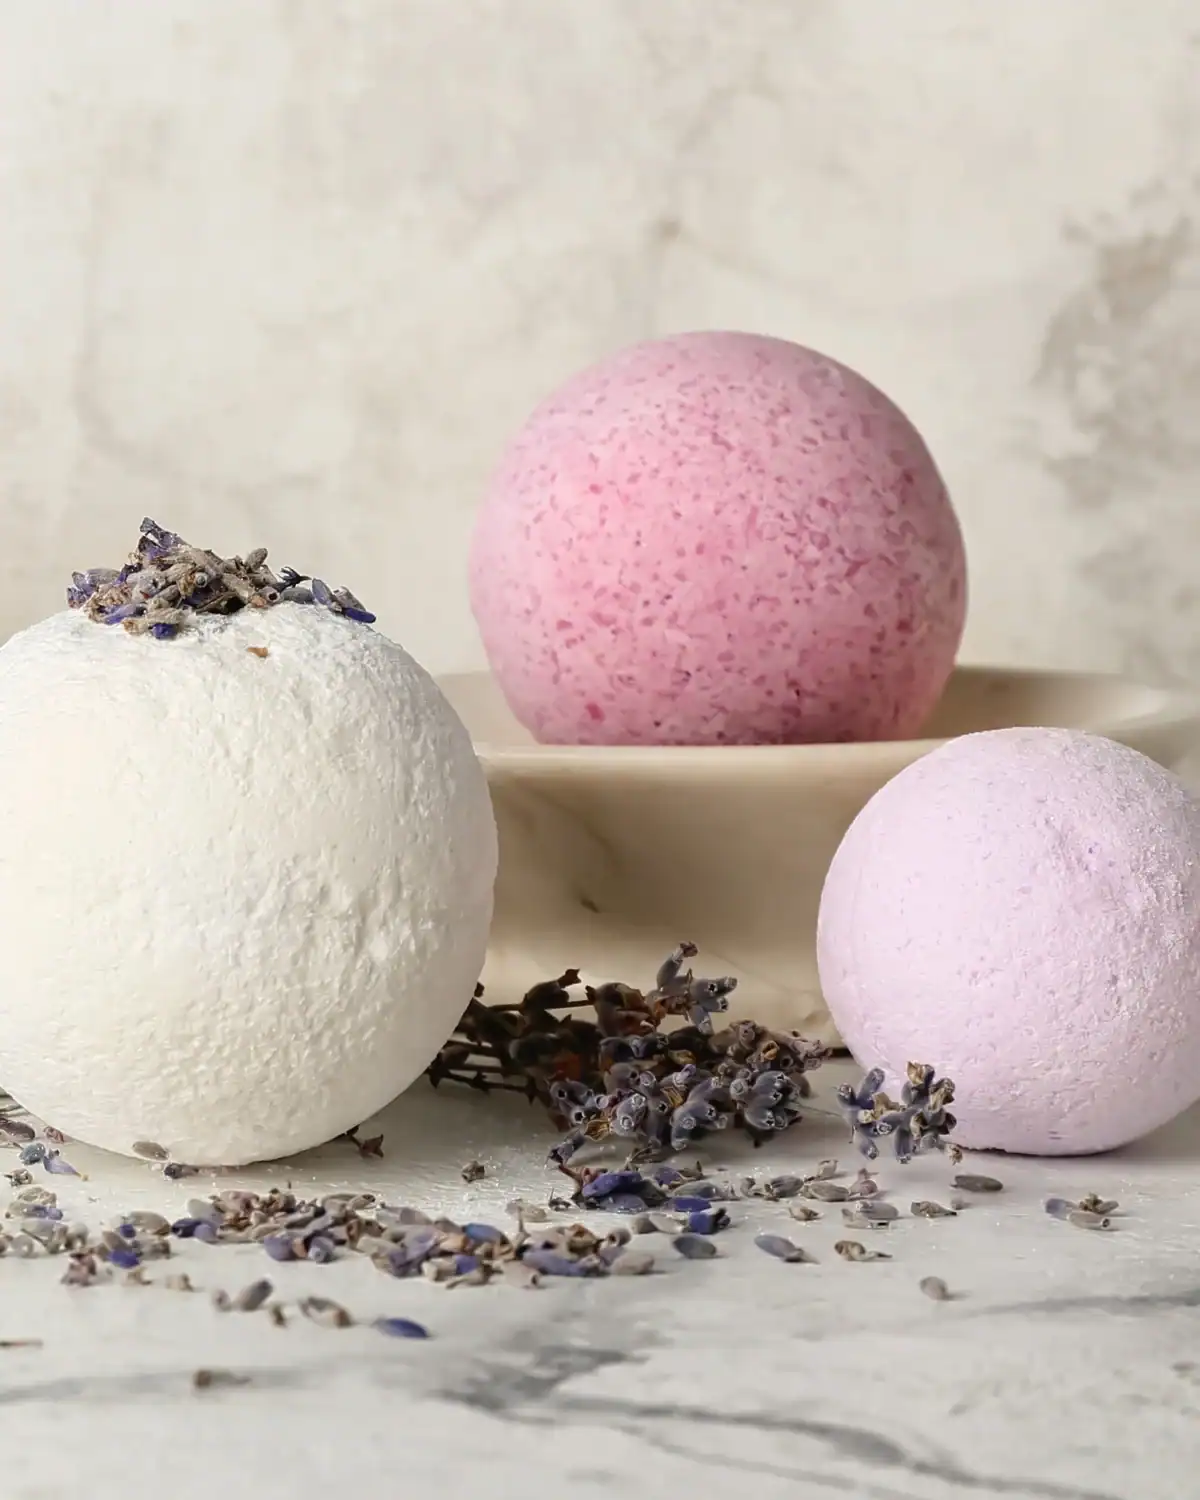
DIY bath bombs are fun to make and even more fun to give.
Combine 1 cup of baking soda, 1/2 cup of citric acid, and 1/2 cup of Epsom salt.
Mix 10–15 drops of your favorite essential oil into 2.5 tablespoons of melted organic coconut oil, then slowly work it into the dry ingredients.
Press the mixture firmly into a 304 stainless steel bath bomb mold, packing it tightly. Let dry for 24 hours before gently removing from the mold.
Once completely dry, wrap in 100% recycled kraft paper and finish with an FSC-certified kraft gift tag that says, “Drop, fizz, relax.”
Use Note: The coconut oil can make the tub a little slippery, so step out carefully.
6. Homemade Rose Body Mist
Time: 5 Minutes | Difficulty: Easy
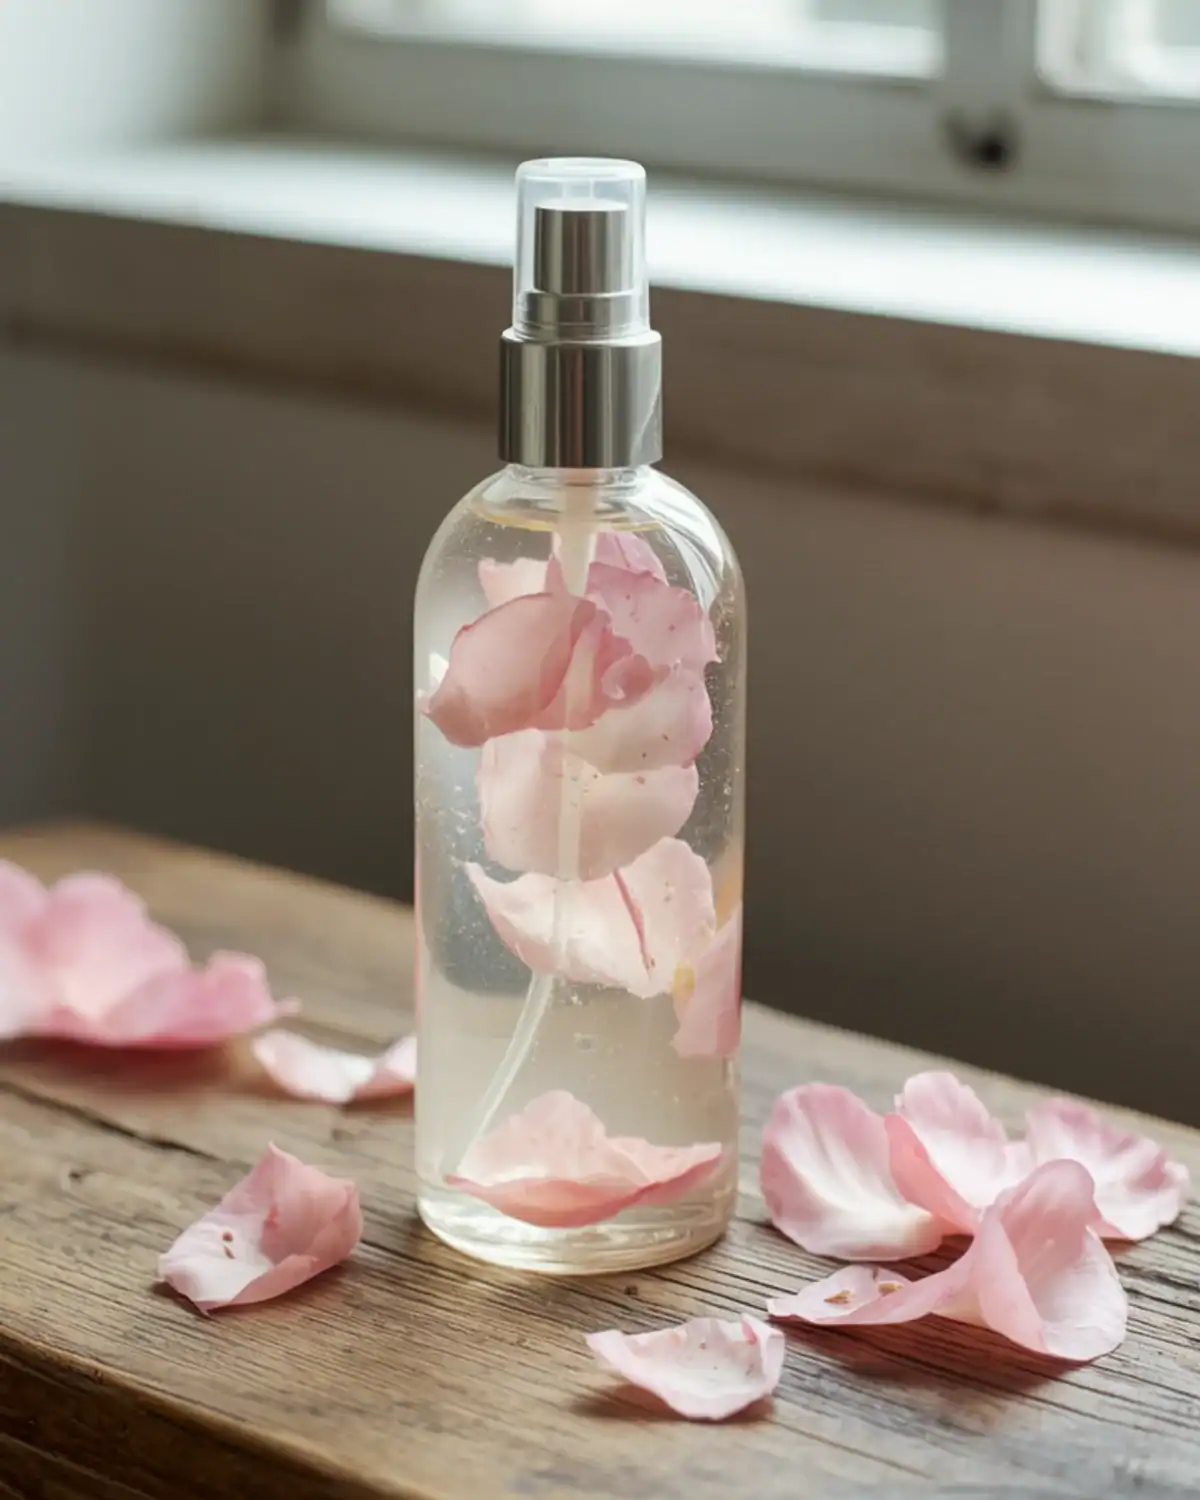
This homemade rose body mist is one of those DIY beauty gifts that looks much fancier than the effort involved.
Fill a 2 oz glass spray bottle with organic rose hydrosol. For a stronger floral scent, blend a few drops of rose absolute with Solubol essential oil dispersant, following the brand’s dilution directions, then stir it into the hydrosol.
Add an FSC-certified kraft gift tag, and you’re done. Simple, pretty, and especially lovely for anyone who loves a soft rose scent.
Use Note: Because this is an unpreserved water-based mist, make small batches and use within about 2 to 3 weeks.
7. Melt-And-Pour Honey & Shea Butter Soap
Time: 20 Minutes (Plus Setting Time) | Difficulty: Easy
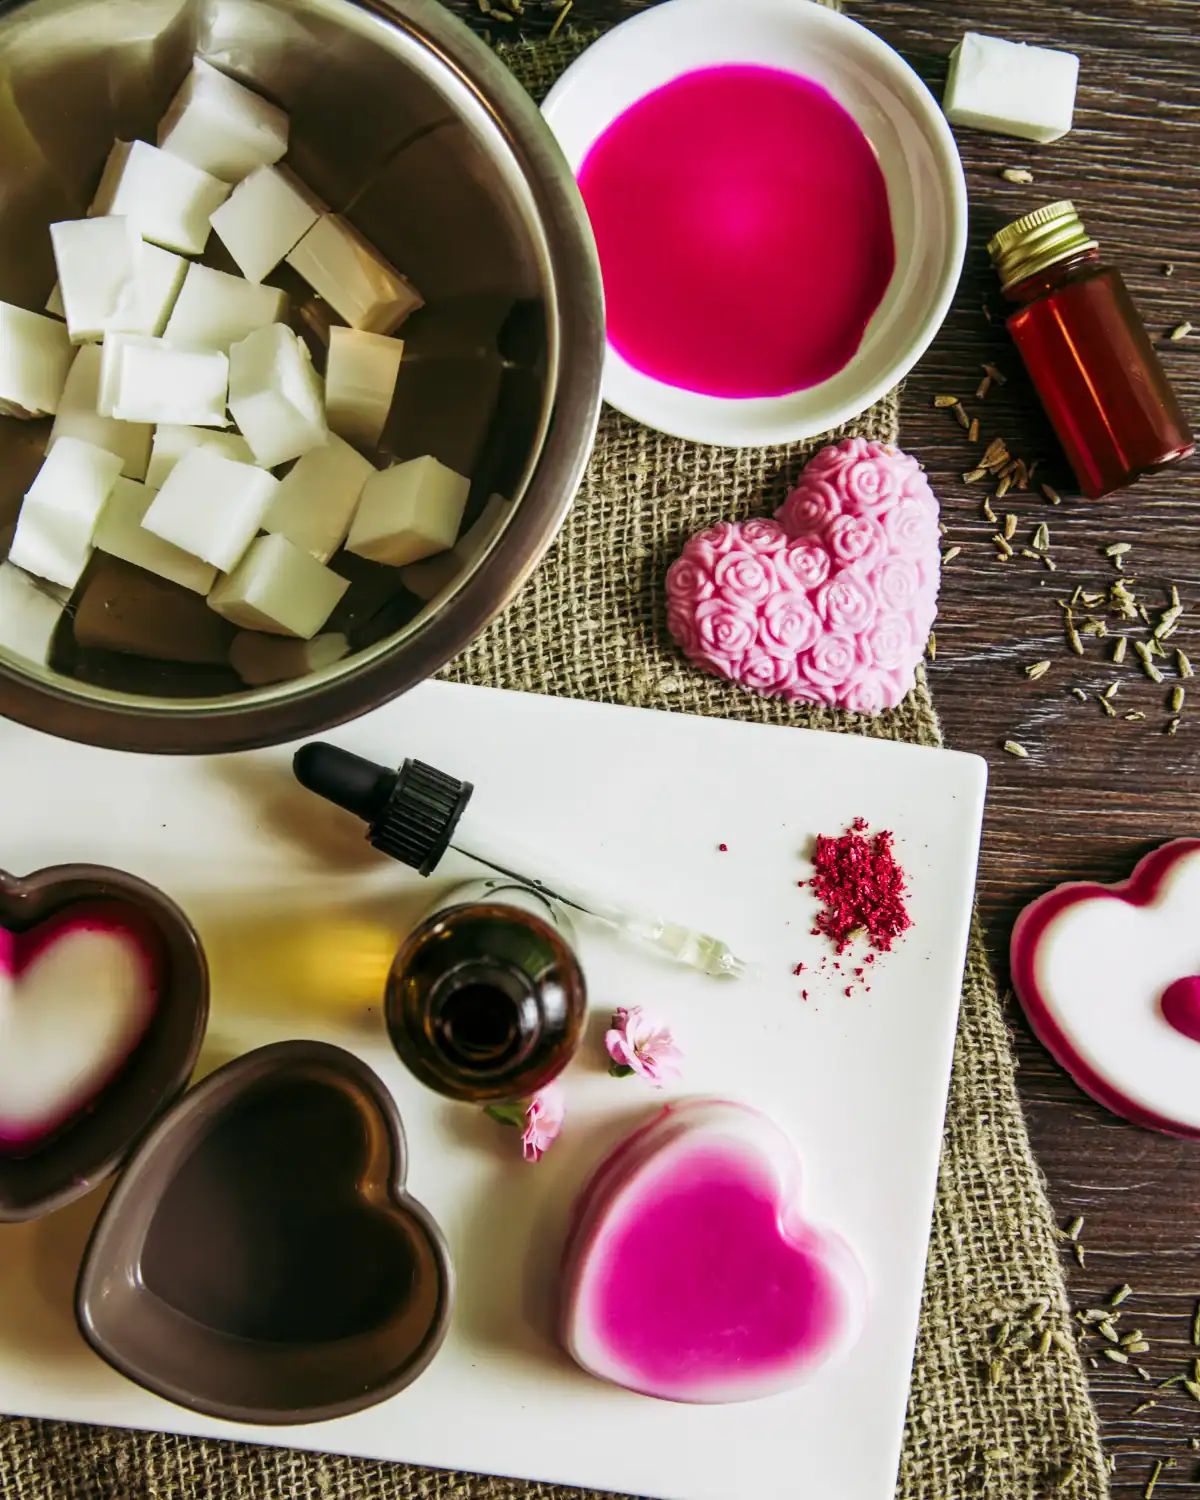
I made a batch of these with honey and shea butter as party favors, and they were such a hit.
Melt 1 pound of shea butter melt-and-pour soap base in a stainless steel double boiler, then stir in 1/2 teaspoon of organic raw honey.
Pour into food-grade silicone soap molds and let the bars set for a couple of hours until completely firm.
For a little scent, you can also add a skin-safe essential oil, following the brand’s topical dilution directions.
They’re incredibly easy to make, but still feel like such a thoughtful little handmade gift.
Prefer to Watch? 3 Melt-and-Pour Soap Tutorials
- Easy Shea Butter Melt-and-Pour Soap by Our Oily House: A beginner-friendly shea butter soap with honey, dried botanicals, and essential oil.
- Shea Butter & Honey Soap by The Essential Journey: A honey-focused melt-and-pour tutorial showing the full melting, mixing, and molding process.
- Lavender Melt-and-Pour Soap by Tina Padilla: A floral version showing how to turn a basic melt-and-pour base into pretty lavender soap bars.
8. Morning Ritual Kit
Time: 15 Minutes (To Assemble) | Difficulty: Easy
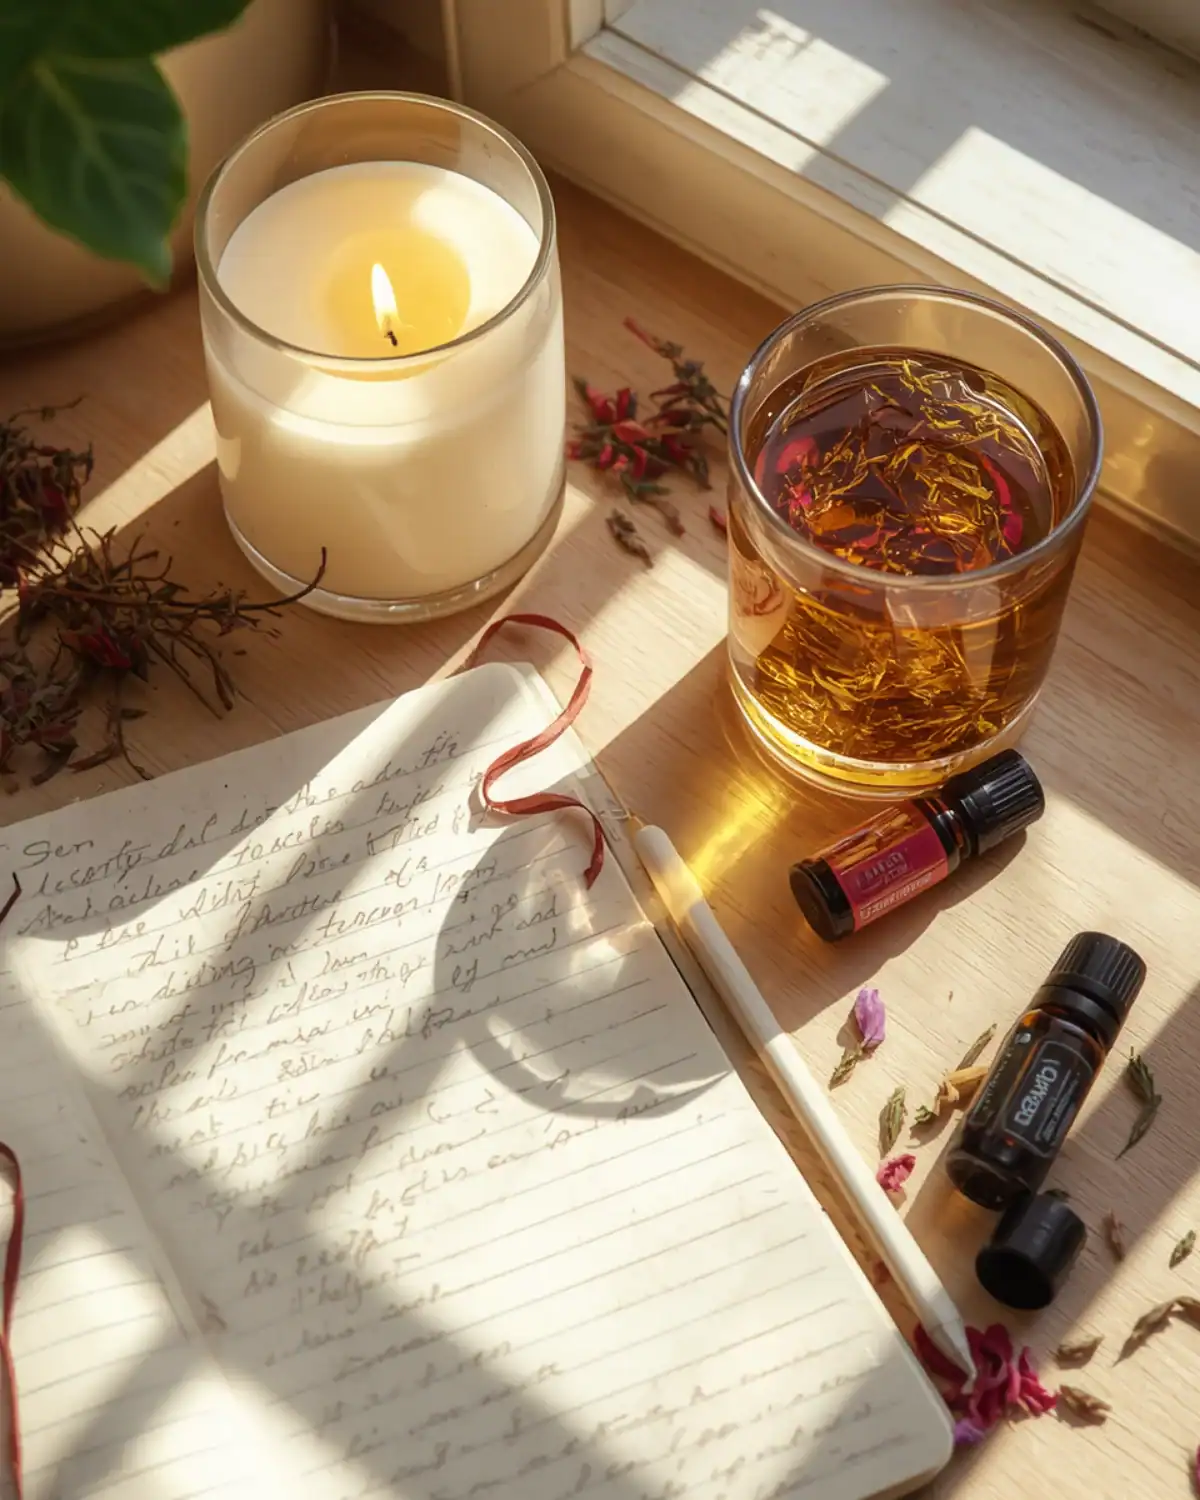
A Morning Ritual Kit is such a thoughtful way to make someone’s morning feel a little more intentional.
Gather some organic ceremonial matcha or organic loose-leaf tea, a non-toxic candle, a small bottle of energy essential oil blend, and The Five Minute Journal.
Write a few affirmations or intentions on an FSC-certified kraft gift tag, then wrap everything in a vintage scarf or reusable linen cloth you already have at home, furoshiki-style.
Especially sweet for new moms, teachers, friends, or anyone starting a new chapter.
Gift Note: If you’re gifting this to someone who is fragrance-sensitive, simply leave out the essential oil.
9. DIY Botanical Air-Dry Clay Ornaments
Time: 30 Minutes (Plus Drying Time) | Difficulty: Easy
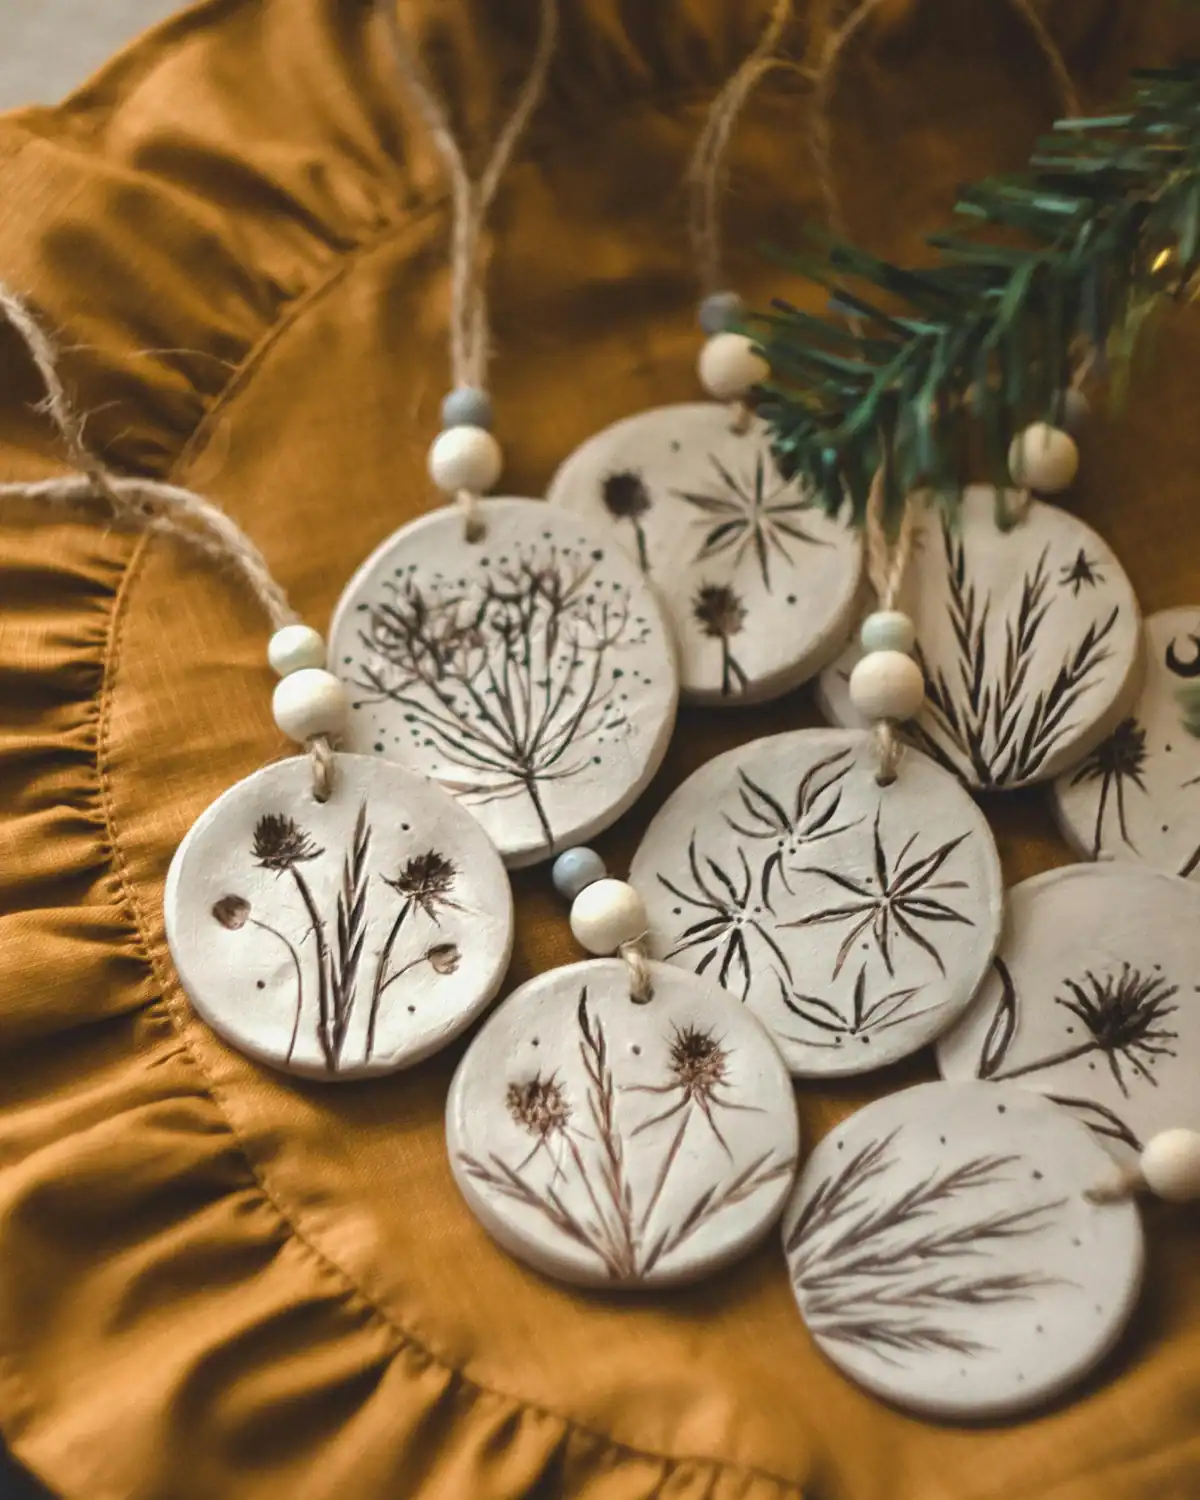
These botanical air-dry clay ornaments make such a lovely handmade gift, especially when you want something personal without being complicated.
Roll out all-natural air-dry clay, then cut it into circles with stainless steel cookie cutters or a small glass.
Gently press organic dried lavender, organic chamomile, leaves, or herbs into the clay to create botanical impressions.
Poke a small hole near the top before drying, then let the ornaments dry completely and thread with natural jute twine.
Each one turns out a little different, which is part of the charm. They’re beautiful tied onto gifts, hung on the Christmas tree, or given as a keepsake on their own.
Prefer to Watch? 3 DIY Air-Dry Clay Ornament Tutorials
- Botanical Air-Dry Clay Ornaments by First Day of Home: A nature-inspired tutorial using flowers, leaves, and textured botanical impressions to decorate clay ornaments.
- 10 DIY Air-Dry Clay Christmas Ornaments by Red Rocking Bird: Ten different ornament ideas showing plenty of ways to shape, texture, and personalize air-dry clay.
- Dried Flower Clay Ornaments by One Little Project: A pretty floral variation showing how pressed dried flowers can be incorporated into handmade clay ornaments.
10. Homemade Snow Globes
Time: 30 Minutes | Difficulty: Medium
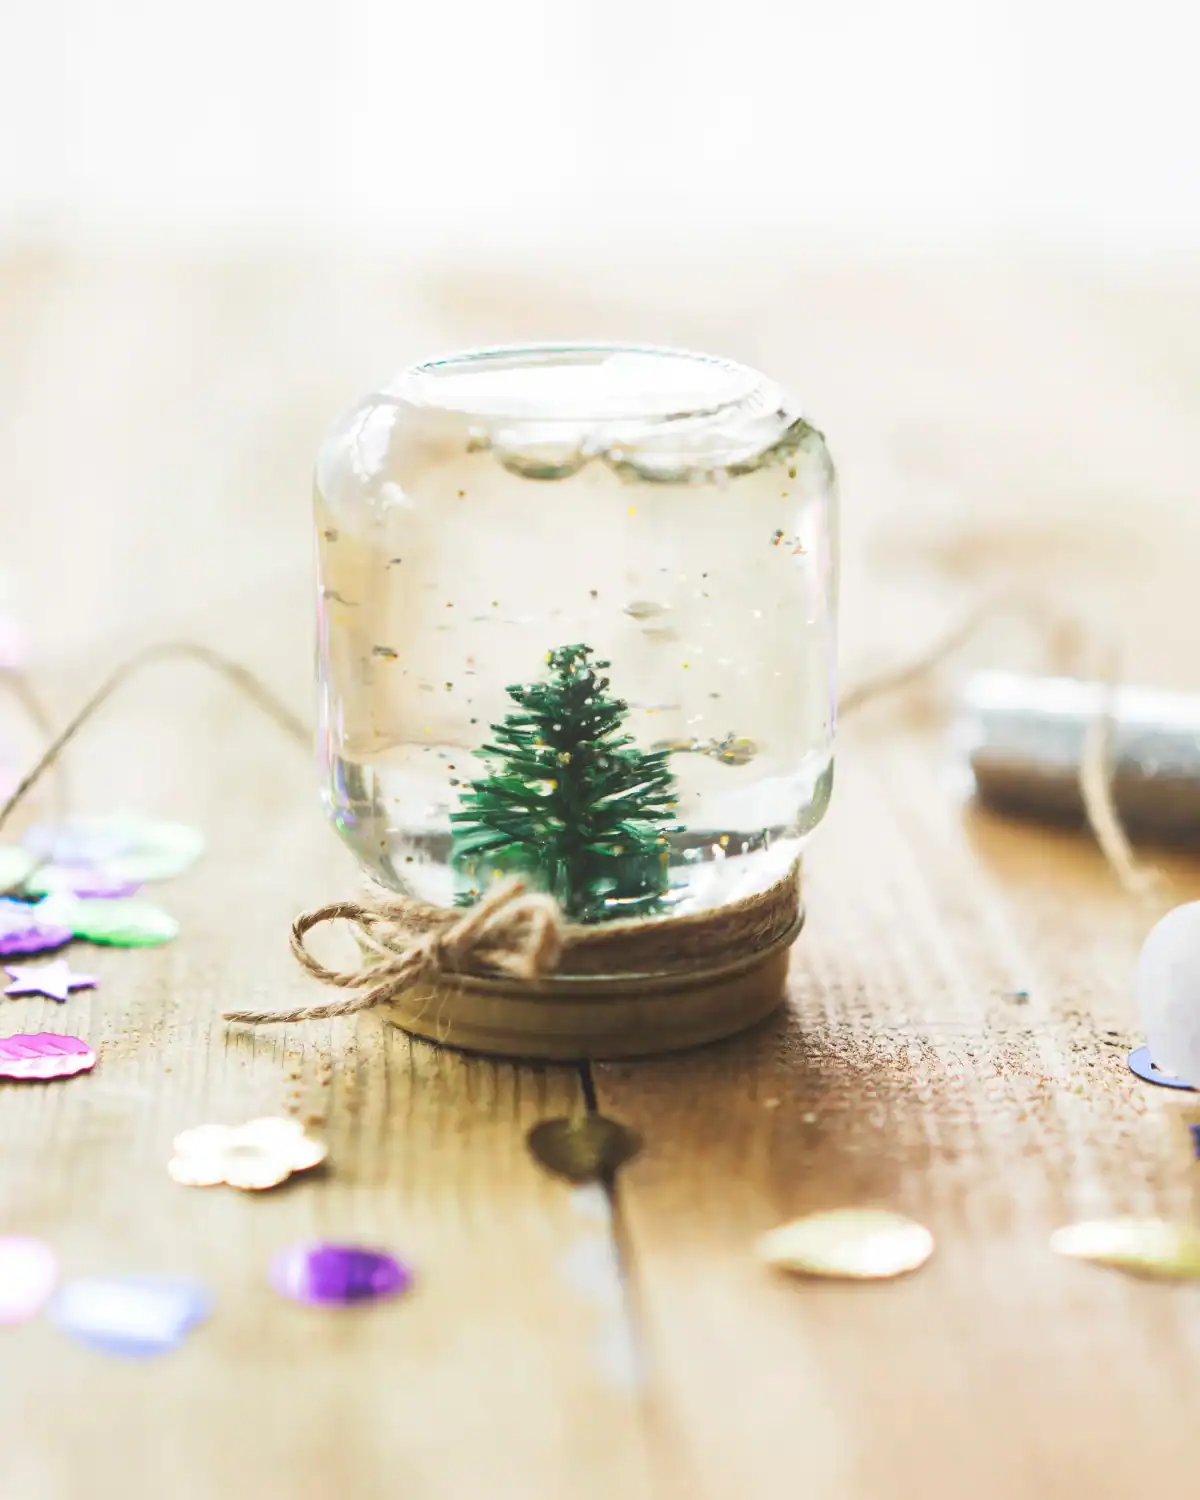
Homemade snow globes tap right into childhood wonder.
Start with a small glass jar with a tight lid and fill it almost to the top with distilled water.
Add about 1 teaspoon of organic vegetable glycerin to help the “snow” fall more slowly.
Attach a small glass or glazed ceramic figurine to the inside of the lid with aquarium-safe silicone, then let it cure completely according to the manufacturer’s directions.
Add a small pinch of finely crushed, clean white eggshell for a plastic-free snow effect, screw the lid on tightly, and flip to check.
Such a sweet little keepsake for teachers, grandparents, or handmade gifts from the kids.
Use Note: Make sure the silicone is completely cured before adding the water, and check that the lid is tightly sealed before gifting.
Prefer to Watch? 3 Homemade Snow Globe Tutorials
- DIY Snow Globe by Crafty Prapty: A classic water-filled snow globe tutorial showing the basic figurine, water, glycerin, and snow setup.
- How to Make a Snow Globe by Howcast: A traditional jar version that walks through sealing the figurine, adding glycerin, and even suggests crushed eggshell as an alternative to glitter.
- Mason Jar Snow Globe DIY by Mashable: A simple customizable Mason jar version that works especially well for handmade holiday gifts.
11. DIY Macramé Plant Hanger
Time: 1-2 hours | Difficulty: Medium
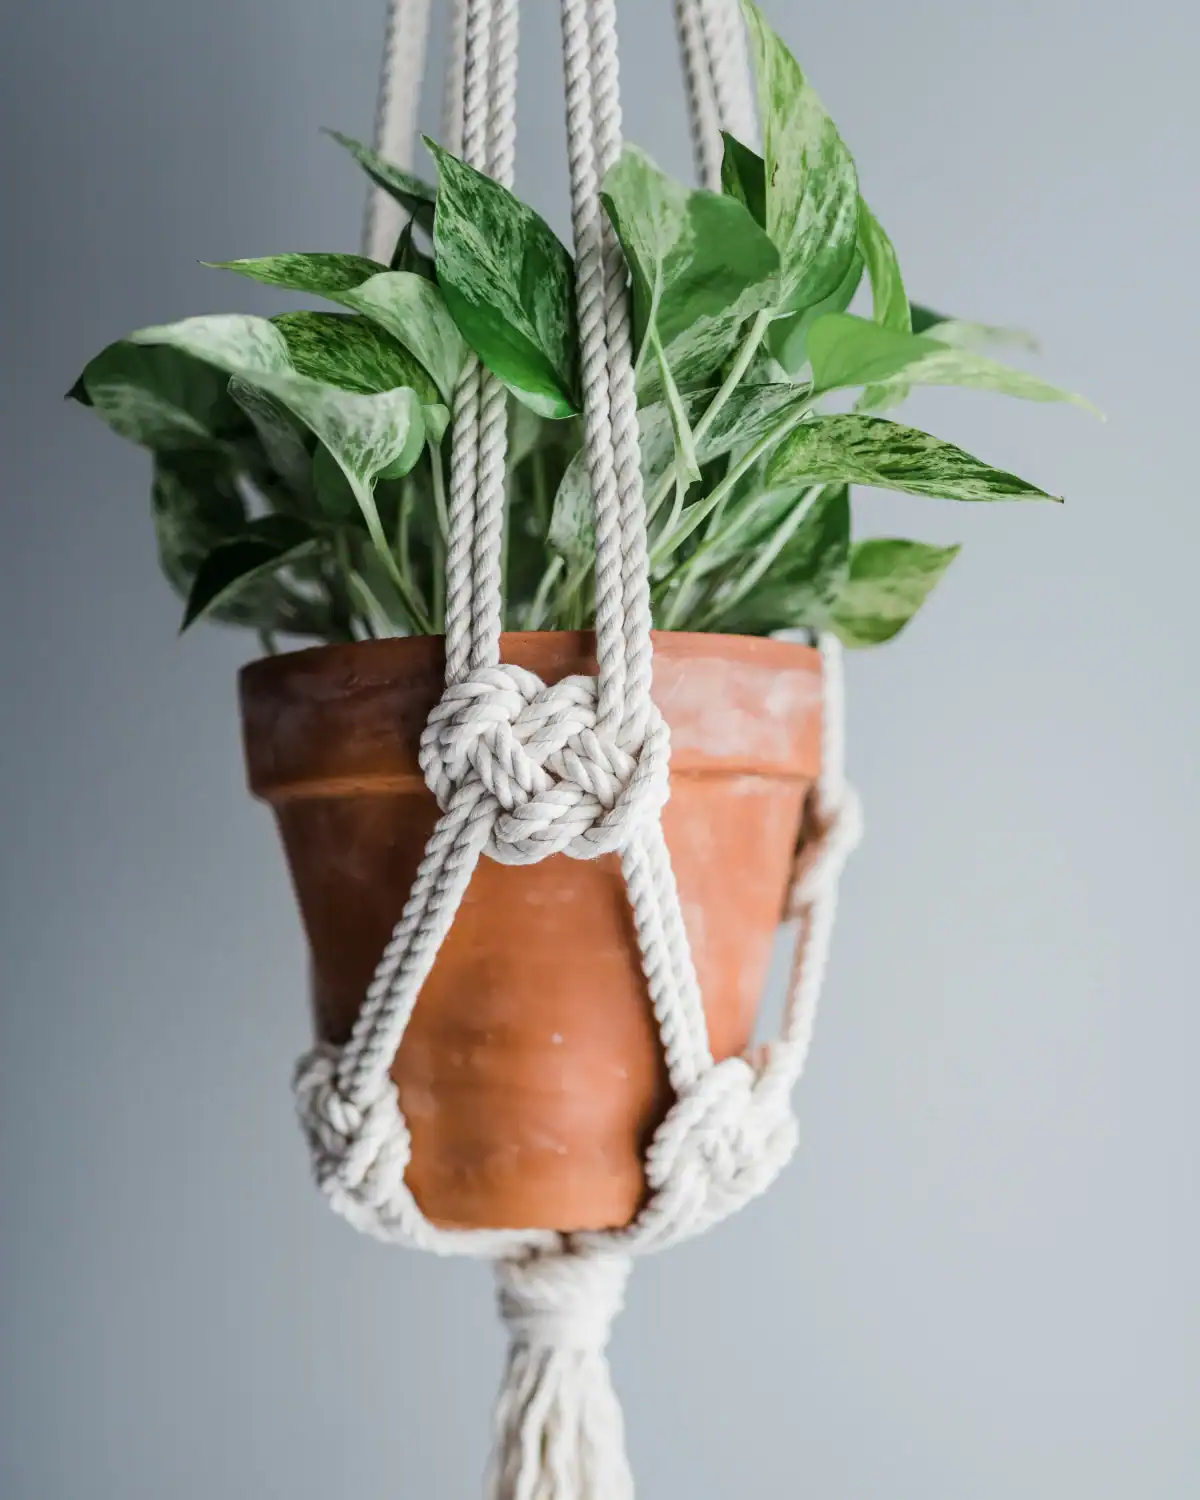
Macramé is my go-to when I want a gift that feels grounding, useful, and beautiful.
Cut 8 lengths of OEKO-TEX certified recycled cotton macramé cord, each about 12 1/2 feet long, plus one shorter piece for the finishing knot.
Fold the cords in half to create a hanging loop, secure them with a wrapping knot, then divide the strands into four sections.
Work simple square knots down each section before joining neighboring cords together lower down to create the plant cradle.
Test it with a small planter, finish with a gathering knot, and trim the ends into a soft fringe.
Add an FSC-certified kraft gift tag with a note that says, “Made with love, and a whole lot of knots.”
Prefer to Watch? 3 Easy Macramé Tutorials
- Macramé Plant Hanger for Beginners by Marching North: A step-by-step plant hanger using simple knots and cotton cord.
- Easy Mini Macramé Wall Hanging by Made by Hand: A beginner-friendly mini wall hanging that teaches three basic macramé knots.
- Macramé Wall Hanging by Sasha MACRAMESSAGE: A larger natural-wood and cotton wall hanging for anyone ready to try a more decorative design.
12. DIY Homemade Candles
Time: 30 Minutes (Plus Several Hours To Set) | Difficulty: Medium
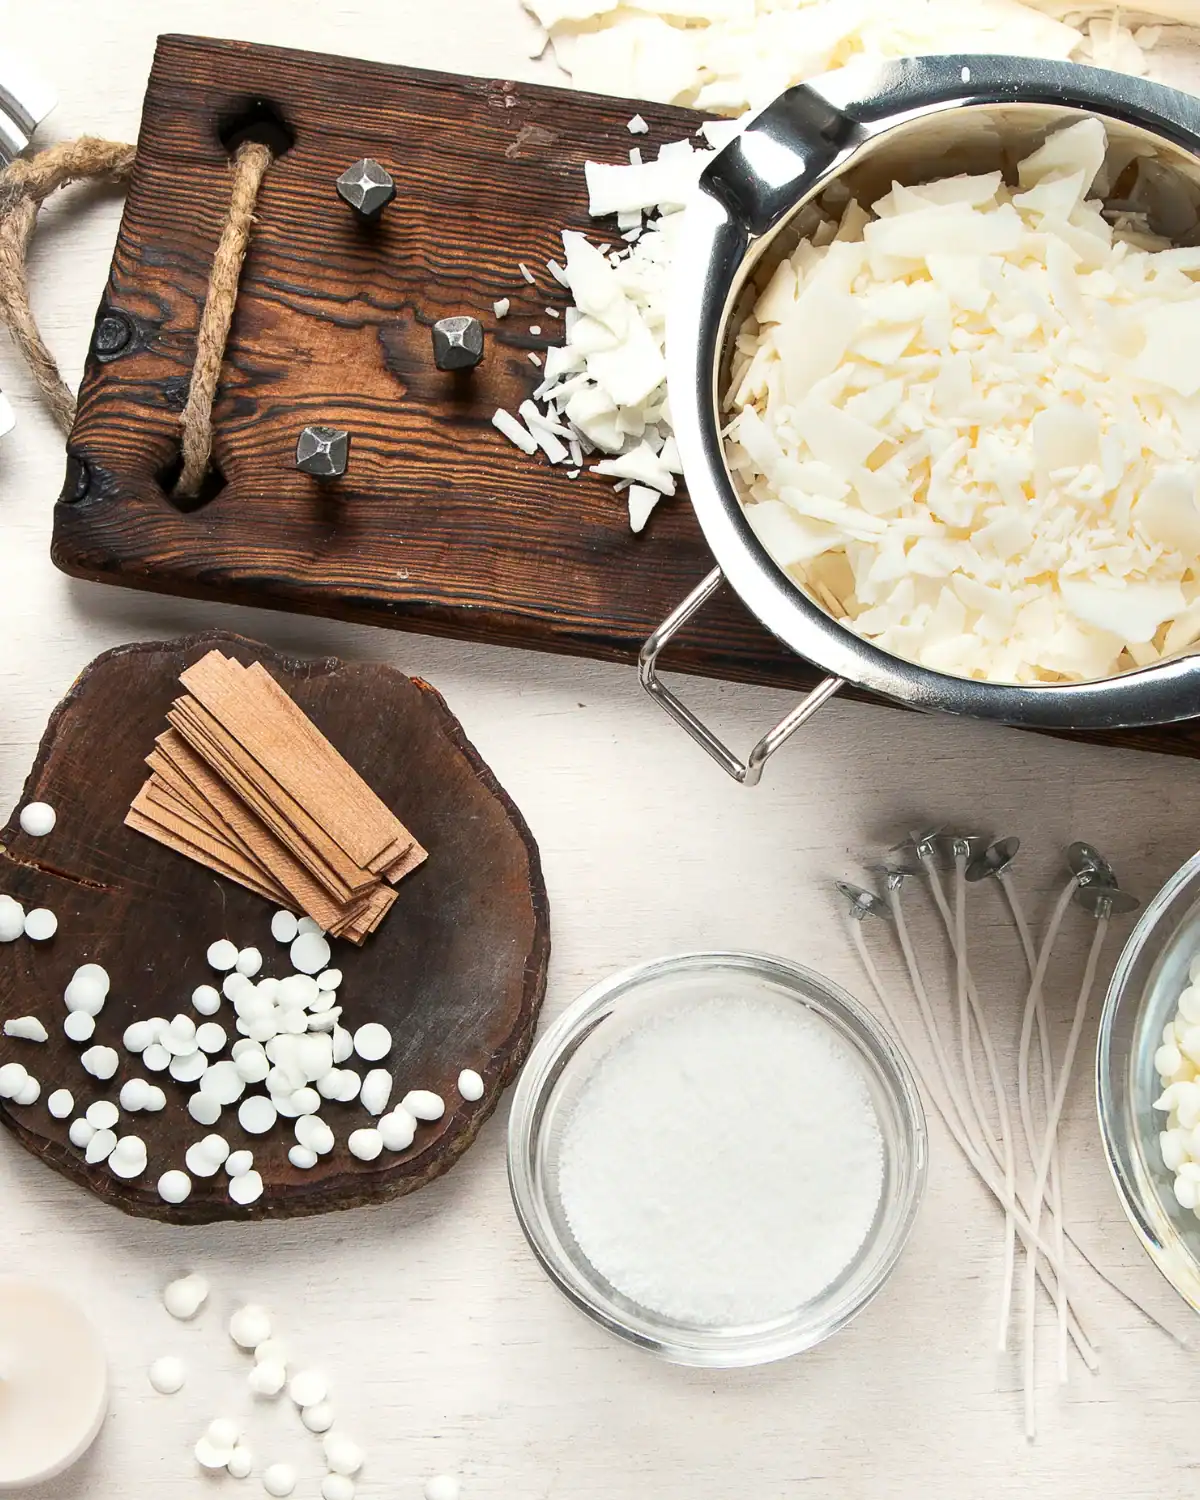
Something is grounding about pouring your own candles, like bottling up a little calm to give someone you love.
Melt 2 cups of natural soy wax beads in a stainless steel double boiler, using a stainless steel digital thermometer to keep an eye on the temperature.
Remove from heat and stir in your favorite essential oil, following the brand’s candle-making guidance.
Secure a 100% cotton wick inside a heat-resistant glass candle jar with a dab of melted wax, then slowly pour in the melted soy wax.
Let the candle set undisturbed, then trim the wick to 1/4 inch before lighting.
Candle Note: Test-burn one candle from your batch before gifting, and keep dried flowers, herbs, or other flammable decorations out of the wax. The National Candle Association has specifically warned that botanical materials embedded near a candle flame can become a fire hazard.
Prefer to Watch? 3 Homemade Candle Tutorials
- How To Make Soy Candles by Bestsuncandle: A straightforward beginner tutorial showing the full process of melting, wicking, pouring, and setting a natural soy candle.
- How to Make Candles in 5 Minutes by BLACK TIE BARN: A fast candle-making crash course that covers jars, wicks, melting wax, fragrance, pouring, and cooling.
- How to Make Beeswax Candles by Artful Homemaking: A different natural-wax option using beeswax and coconut oil for simple homemade jar candles.
13. Bohemian Rope Baskets
Time: 1 Hour | Difficulty: Medium
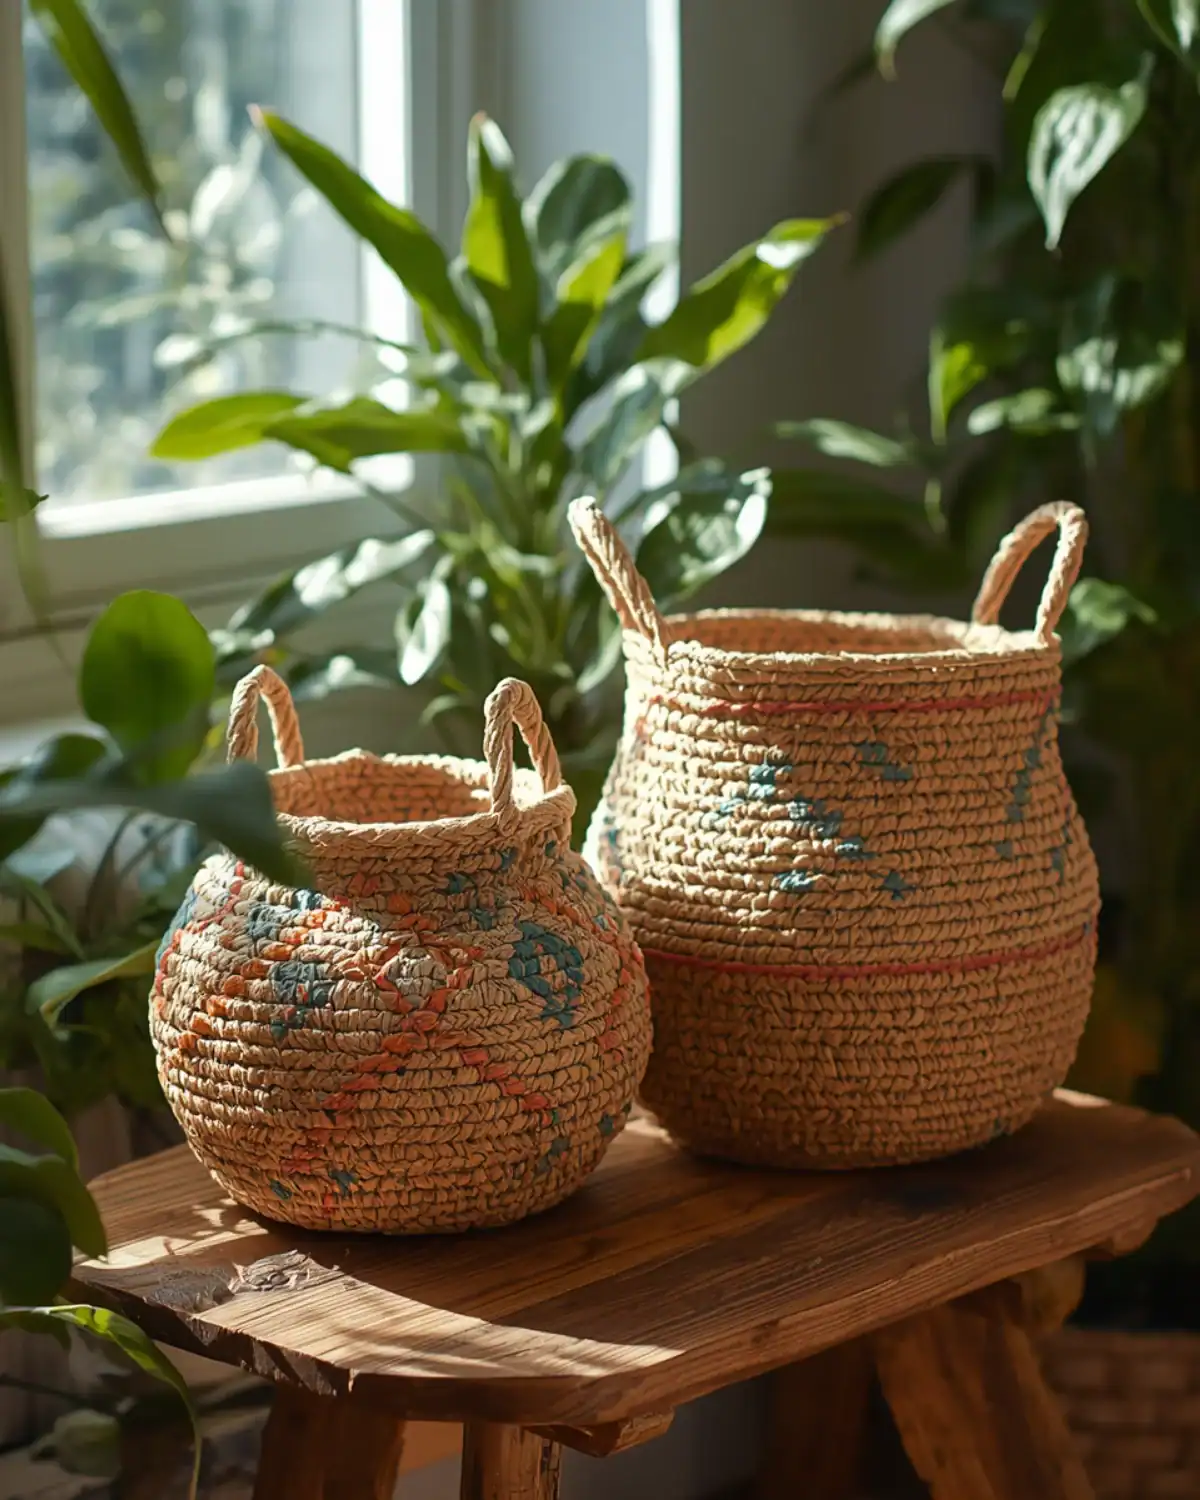
You can make gorgeous rope baskets at home, no sewing machine required.
Coil recycled cotton cord into a tight spiral for the base, securing each coil with a small amount of hot glue from a hot glue gun.
Once the base reaches the width you want, start stacking the cord upward to build the sides, continuing to secure each row as you go.
Leave small loops near the top for handles, or keep it simple with a clean round edge.
Use them to hold plants, skincare goodies, or small gifts. I love making a few different sizes and gifting them as pretty little catch-all baskets.
Prefer to Watch? 3 DIY Rope Basket Tutorials
- Large Cotton Rope Storage Basket by Crafty Patti: A larger stitched cotton rope basket with handles that is great inspiration if you want a sturdier storage version.
- No-Sew Rope Basket DIY by AmyFamily DIY: A simple coiled jute rope basket with a lid, made without a sewing machine. It’s a good visual for learning how to shape and glue the basket as you build it.
- Coiled Rope Basket by Marching North: A beginner-friendly coiled basket tutorial using rope and macramé cord, with clear steps for forming the base, building the sides, and finishing the handle.
14. DIY Painting
Time: 1-2 hours | Difficulty: Easy
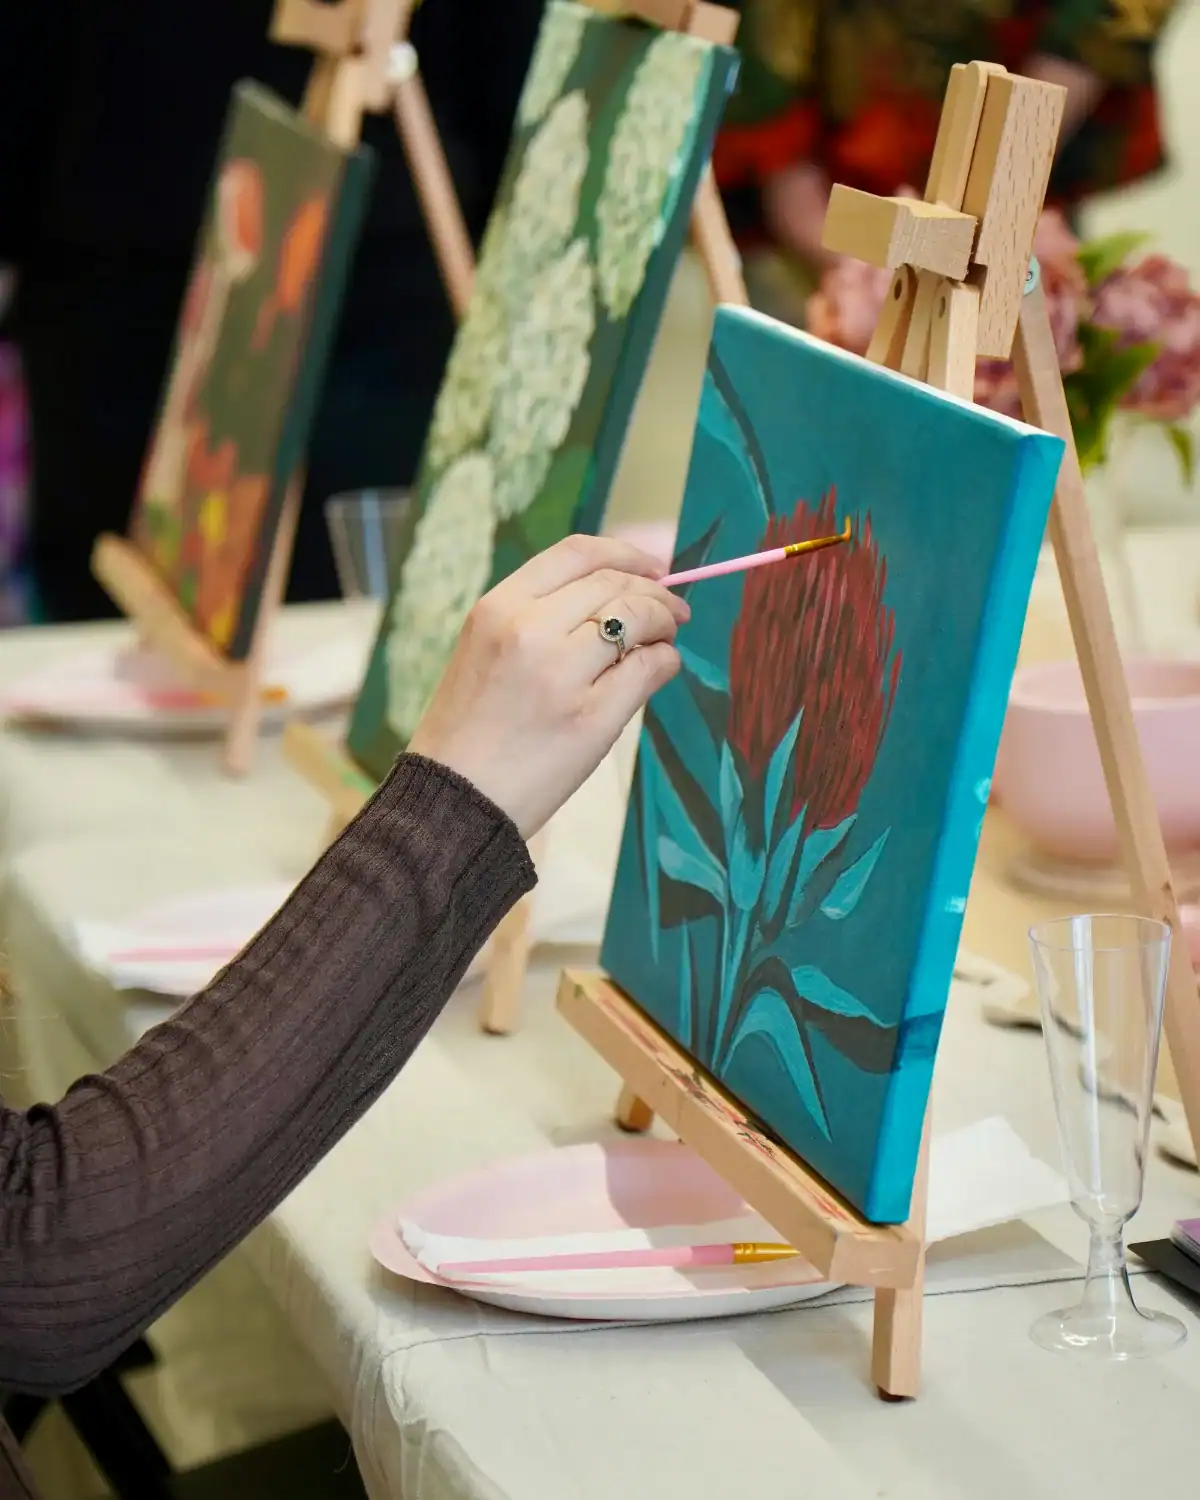
What I love most about this gift is that it does not have to be perfect to feel meaningful.
I am absolutely not a trained painter, but some of my favorite handmade gifts have come from simply sitting down with a canvas and giving it a try.
Set up with acrylic paints, a 100% cotton canvas panel, and one or two natural-bristle paint brushes. Pick a simple subject, like a flower or leafy plant.
Block in the main shapes first, then go back with a smaller brush for the details once the paint starts to dry.
I have made well over 20 painted gifts over the years, and I promise, they do not need to look professional to feel special.
Prefer to Watch? 3 Easy Painting Tutorials
- Easy Tulip Flower Painting by easypeasy art:A simple floral painting that walks beginners through layering leaves and colorful tulips on a small canvas.
- How to Paint Leaves by Pamela Groppe Art: A useful beginner lesson for painting different leaf shapes with simple acrylic brushstrokes.
- Easy Sunset Landscape by easypeasy art: A step-by-step sunset and landscape painting for anyone who wants to try something other than florals.
15. Dried Orange & Cinnamon Garland
Time: 20 Minutes Active (Plus 3-4 Hours Baking) | Difficulty: Easy
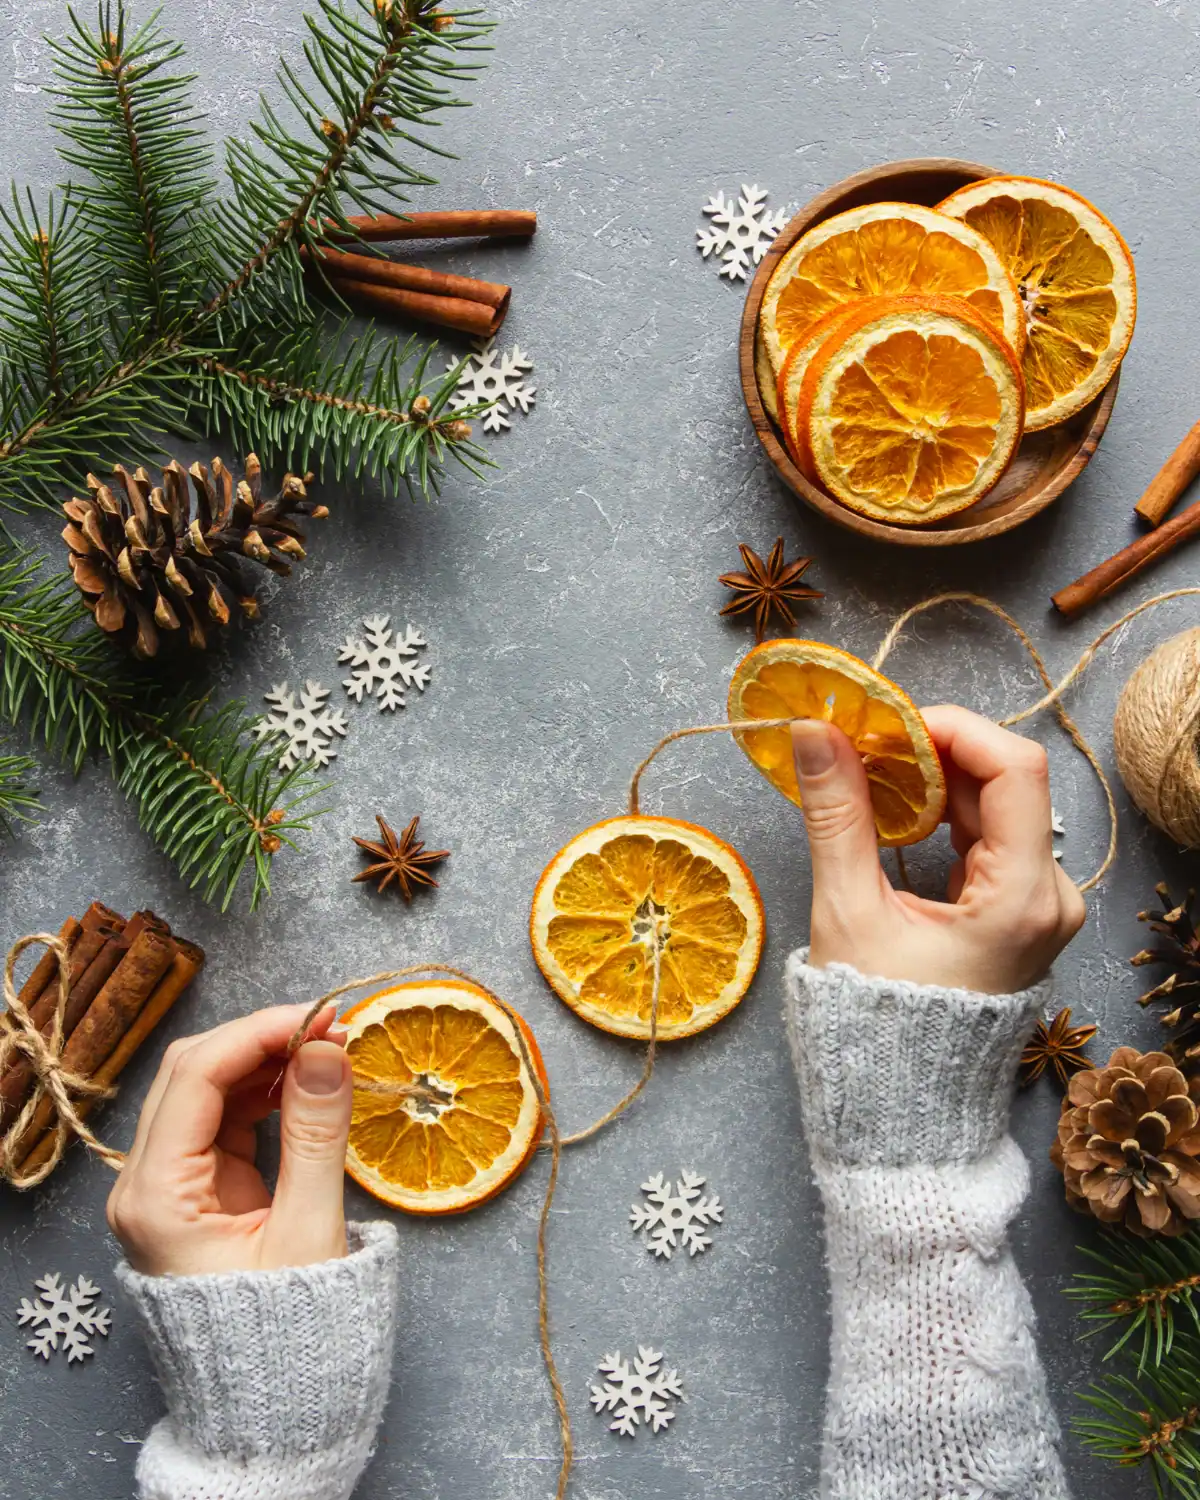
We make one of these at home every single year, more as a holiday tradition than a gift, but it would make a genuinely lovely one too.
Slice organic oranges into thin, even rounds and pat them dry. Bake at 200°F for 3 to 4 hours, flipping occasionally, until completely dried but not browned.
Once cooled, thread the slices onto natural jute twine, alternating with organic cinnamon sticks.
It smells incredible and looks beautiful strung across a mantel, doorway, or Christmas tree.
Use Note: Make sure the orange slices are completely dry before stringing or storing them. Any remaining moisture can encourage mold.
Prefer to Watch? 3 Dried Orange Garland Tutorials
- Dried Orange Slice Garland & Ornaments by Jan Howell: A simple tutorial showing how to oven-dry orange slices and turn them into both a garland and individual Christmas ornaments.
- DIY Dried Orange Garland by Katie Bookser: A cozy holiday version showing the full process from fresh oranges to a finished garland ready to hang around the home.
- Dried Orange & Rosemary Garland by Raising Nobles: A natural variation that pairs dried citrus with fresh rosemary for a slightly greener, more botanical Christmas garland.
16. Beeswax Wraps
Time: 20 minutes | Difficulty: Easy
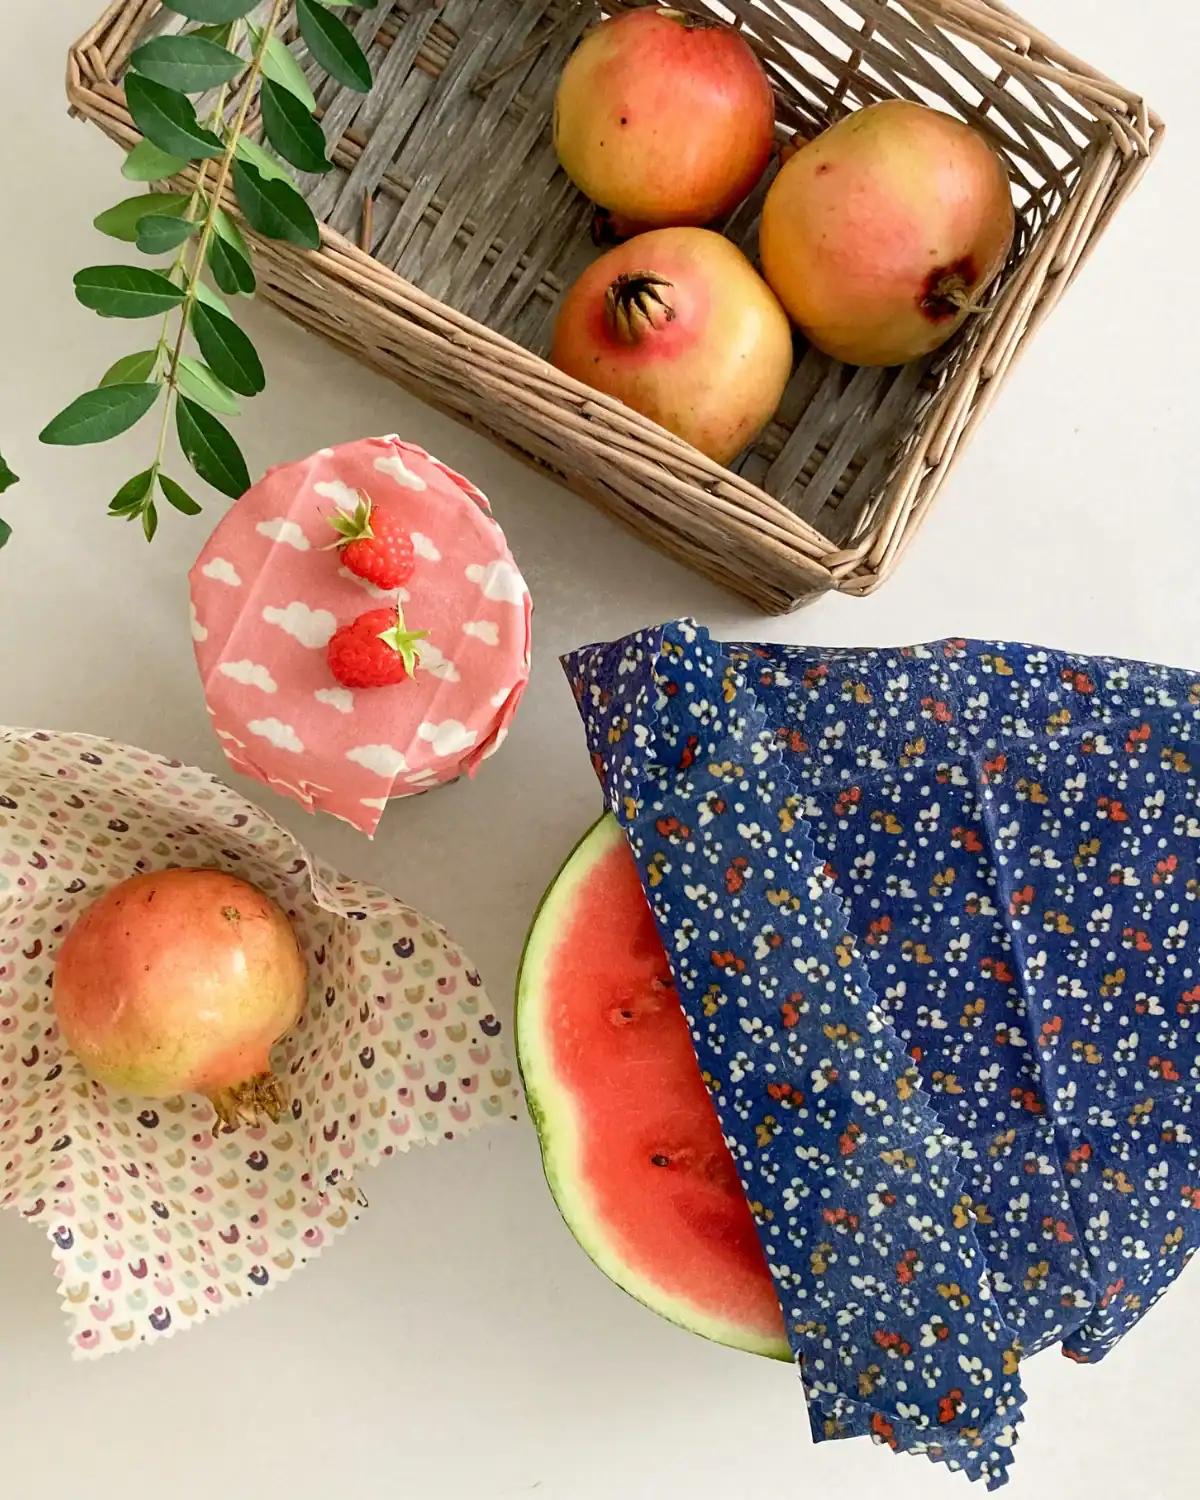
I gifted a set of homemade beeswax wraps years ago to a friend who had just gone zero-waste, and they are surprisingly easy to make.
Cut organic cotton fabric into a few different-sized squares and prewash it before starting.
Lay each piece between two sheets of unbleached parchment paper, sprinkle evenly with beeswax pastilles, then iron on low heat until the wax has completely melted through the fabric.
Peel away the parchment while still warm and let the wrap cool for a few seconds until set.
Make a little set of three sizes, tie them together with natural jute twine, and finish with an FSC-certified kraft gift tag.
Use Note: Wash in cool water with mild soap and air-dry. Avoid using beeswax wraps with raw meat, fish, or hot foods.
Prefer to Watch? 3 DIY Beeswax Wrap Tutorials
- How to Make Beeswax Wraps by Crafty Patti: A very detailed tutorial showing four different methods for making reusable wraps, plus plenty of troubleshooting tips.
- I Tried Making DIY Beeswax Wraps by Cozy Craft Studio: A beginner-friendly test of homemade beeswax wraps that shows how the process actually turns out compared with store-bought versions.
- DIY Vegan Reusable Food Wraps by Break + Remake: A useful alternative tutorial comparing candelilla and soy wax, with candelilla coming out on top for the vegan version.
17. Wood-Burned Cutting Board
Time: 1-2 Hours | Difficulty: Medium
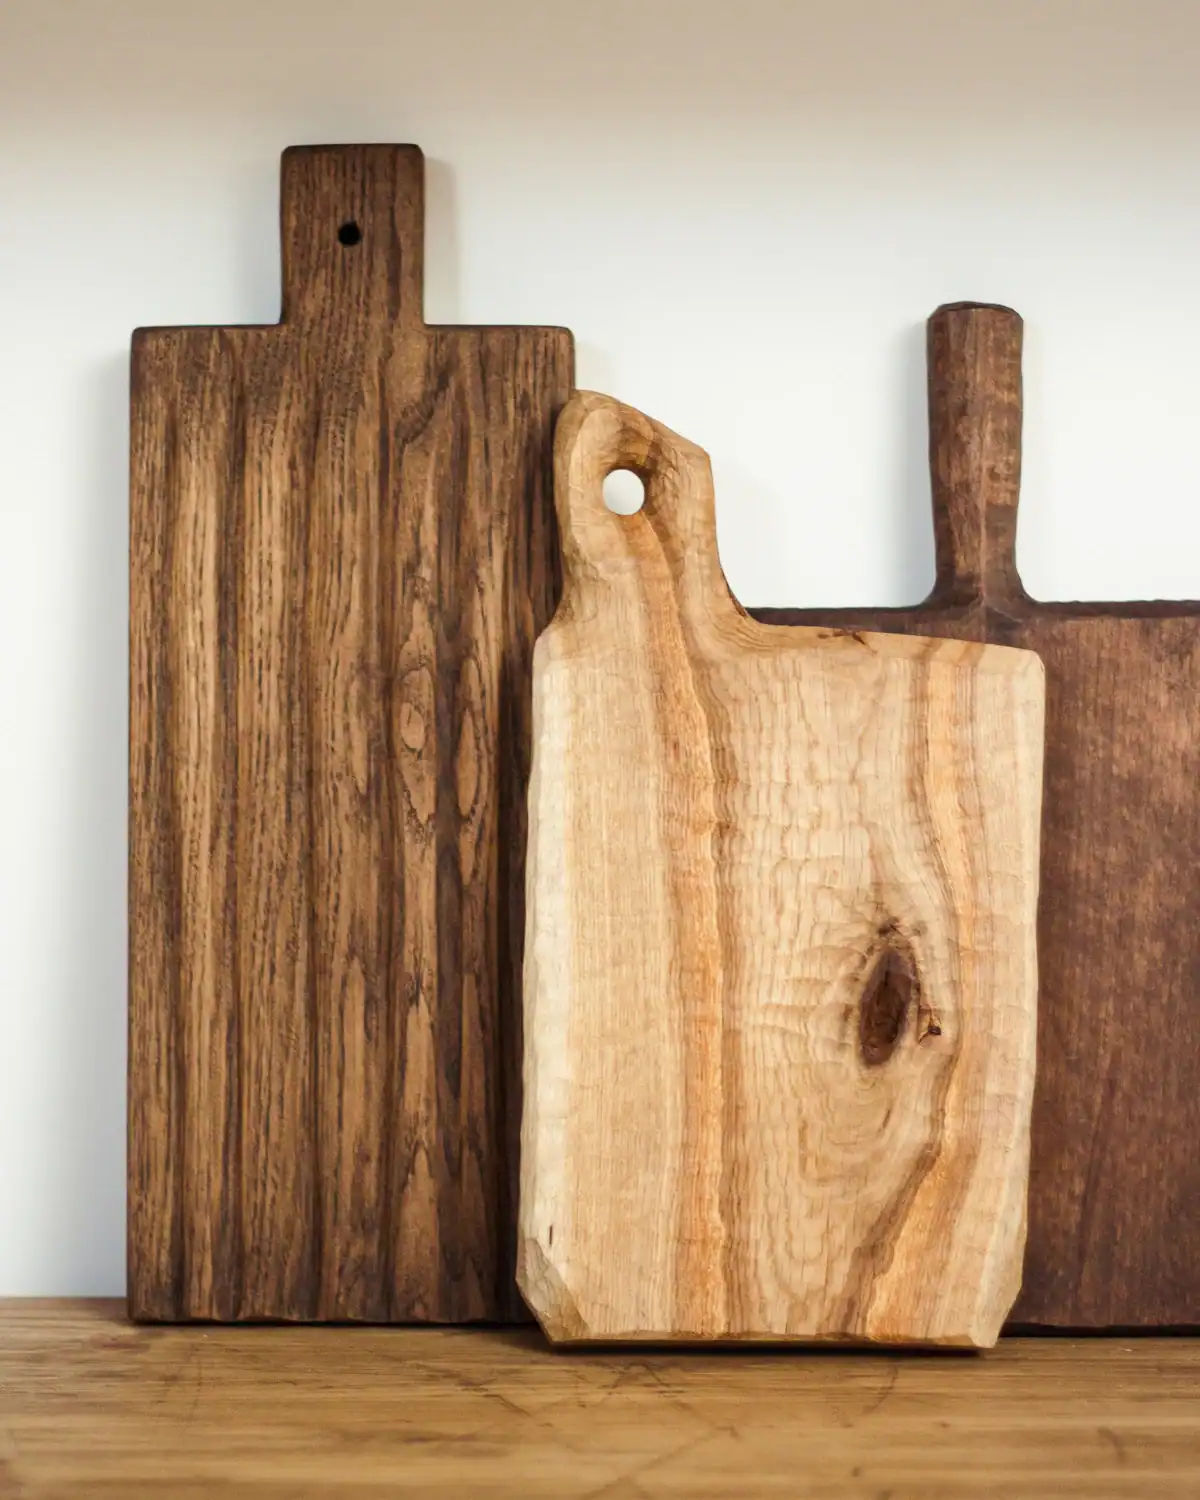
I gave my parents one of these with “Grandma and Grandpa” burned into the wood, along with our kids’ names, and it is still one of my favorite handmade gifts.
Sketch your design lightly in pencil on an untreated solid hard maple cutting board, keeping the design toward the edge or on the back so the main cutting surface stays smooth.
Slowly trace the design with a wood-burning pen, letting the hot tip do the work instead of pressing hard.
Once finished and completely cool, wipe the board clean and condition it with food-grade cutting board oil.
Safety Note: Only wood-burn bare, untreated wood. Avoid painted, stained, sealed, pressure-treated, or mystery composite boards, since heating finishes and adhesives can create unwanted fumes.
18. DIY Calendar of Love
Time: 30-45 Minutes | Difficulty: Easy
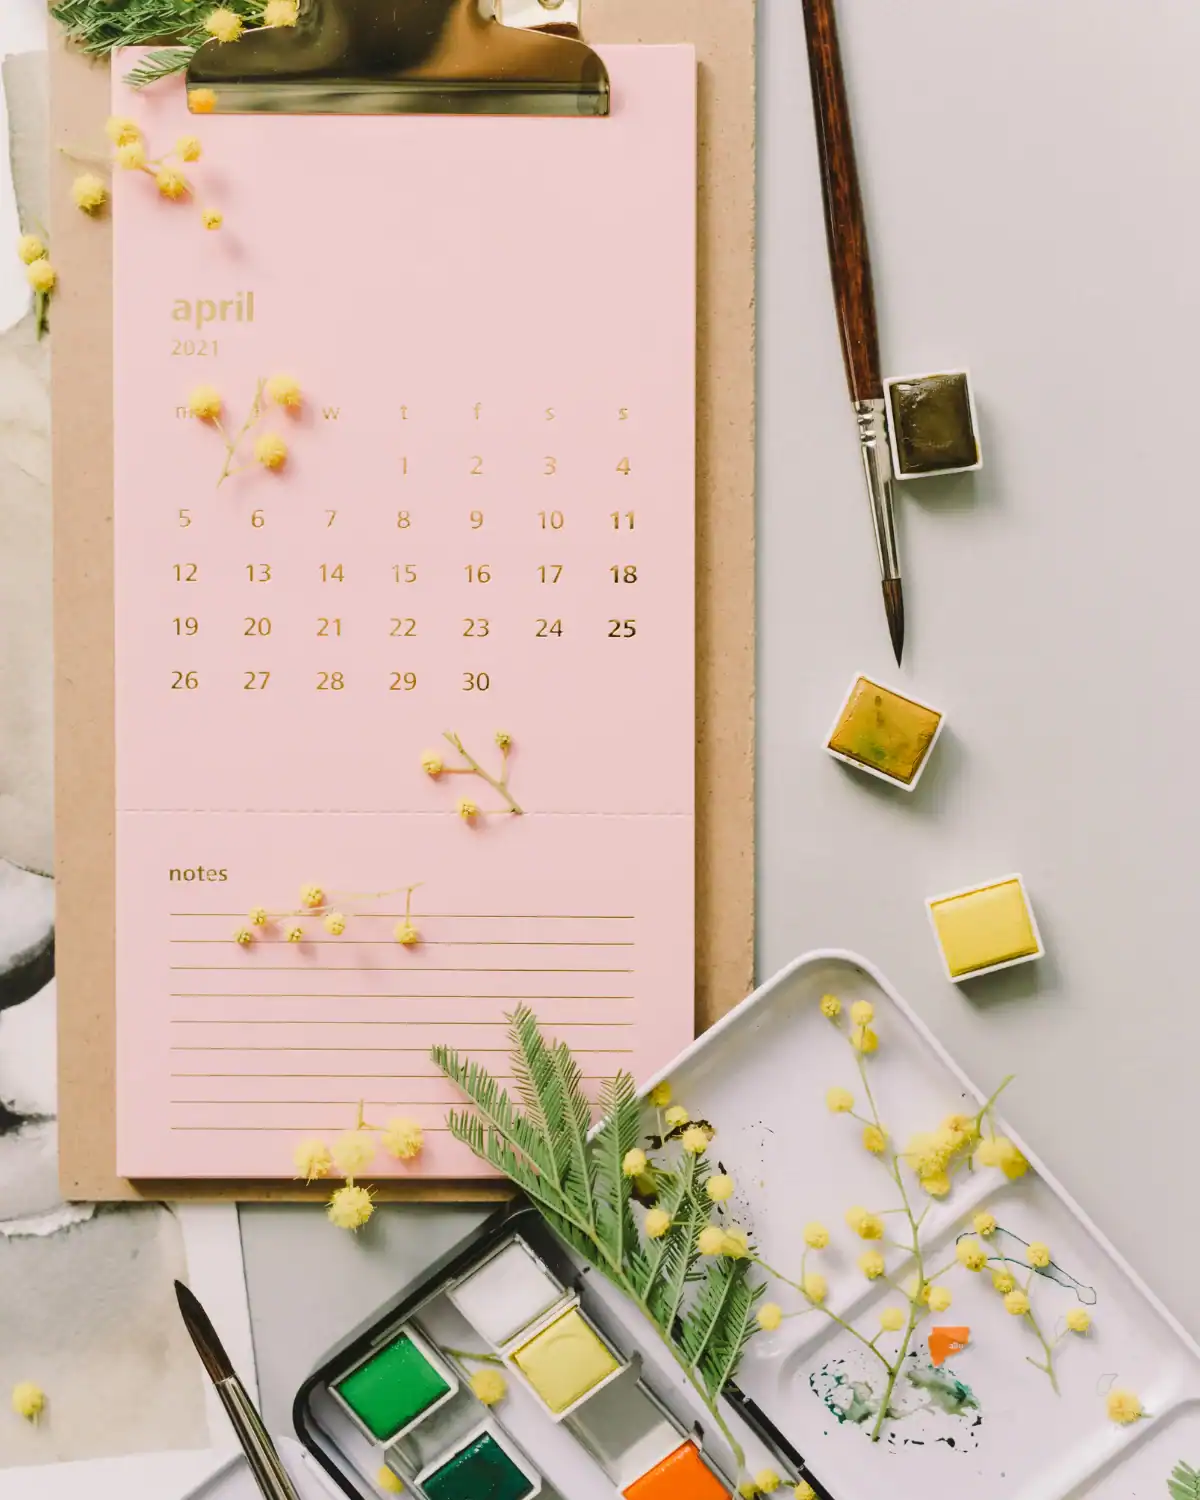
This one is extra special. A DIY Calendar of Love is more than a gift.
It is a whole year of little reminders that someone is seen, loved, and appreciated.
Download a free calendar template and print it on 100% recycled paper. Fill in birthdays, anniversaries, and favorite memories, then scatter handwritten notes, inside jokes, and encouraging words throughout the year, especially on completely ordinary days.
Bind the pages with natural jute twine or simply hang them together. It is such a personal gift, and one they get to keep discovering all year long.
19. Pressed Flowers
Time: 15 Minutes Active (Plus 1-2 Weeks Pressing) | Difficulty: Easy
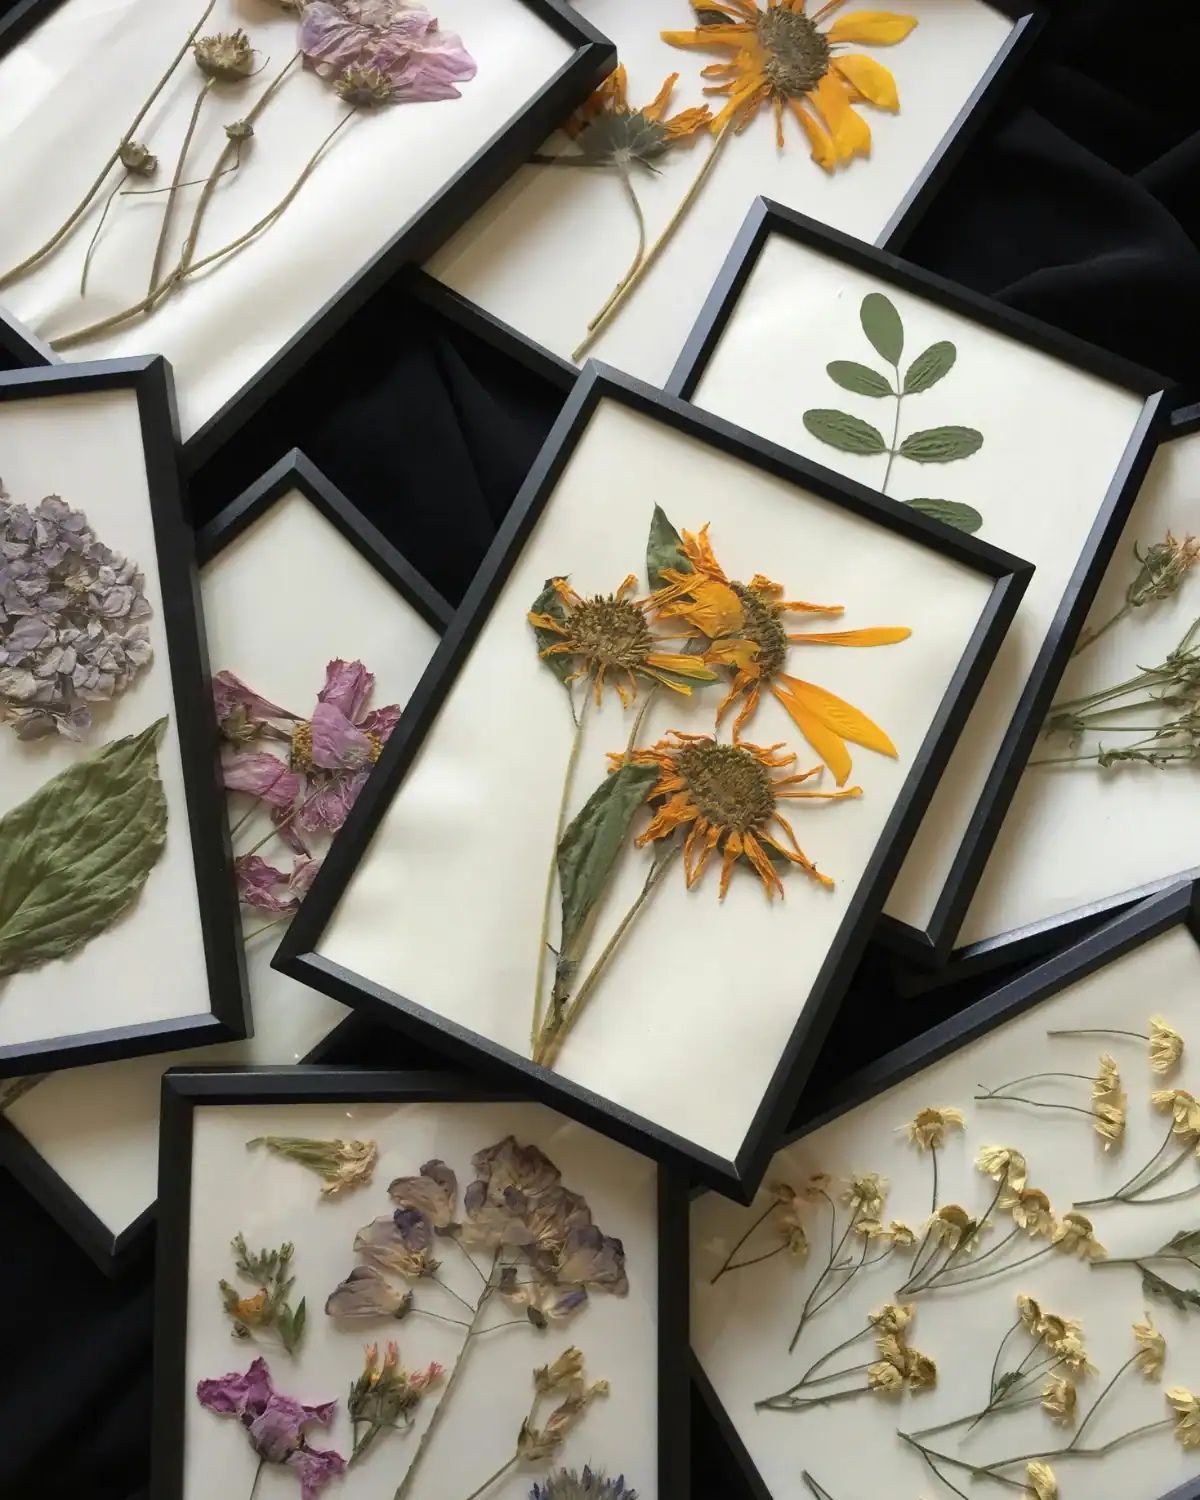
There’s something wildly sentimental about preserving flowers and turning them into art.
Lay fresh flowers flat between sheets of 100% recycled paper inside a heavy book, then stack a few more books on top. Leave them for 1 to 2 weeks, or until completely dry and flat.
Arrange the pressed flowers behind the glass of a thrifted frame, or use a solid wood and glass picture frame if you need a new one.
You can also turn smaller blooms into handmade cards using 100% recycled cardstock.
Flowers from a special bouquet, garden, or meaningful day make this one especially sweet.
Prefer to Watch? 3 Pressed Flower Tutorials
- How to Press Flowers by the Natural History Museum: A quick traditional tutorial showing how to collect, flatten, and preserve real flowers using simple materials.
- How to Use a Microwave Flower Press by Flower Pressing with Microfleur: A quick tutorial showing how to press and dry flowers in minutes using a microwave flower press instead of waiting a week or two.
- Pressed Flower Cards by The Frugal Crafter: A simple tutorial showing how pressed blooms can be turned into pretty handmade greeting cards.
20. Scrapbook
Time: 1-2 Hours | Difficulty: Easy
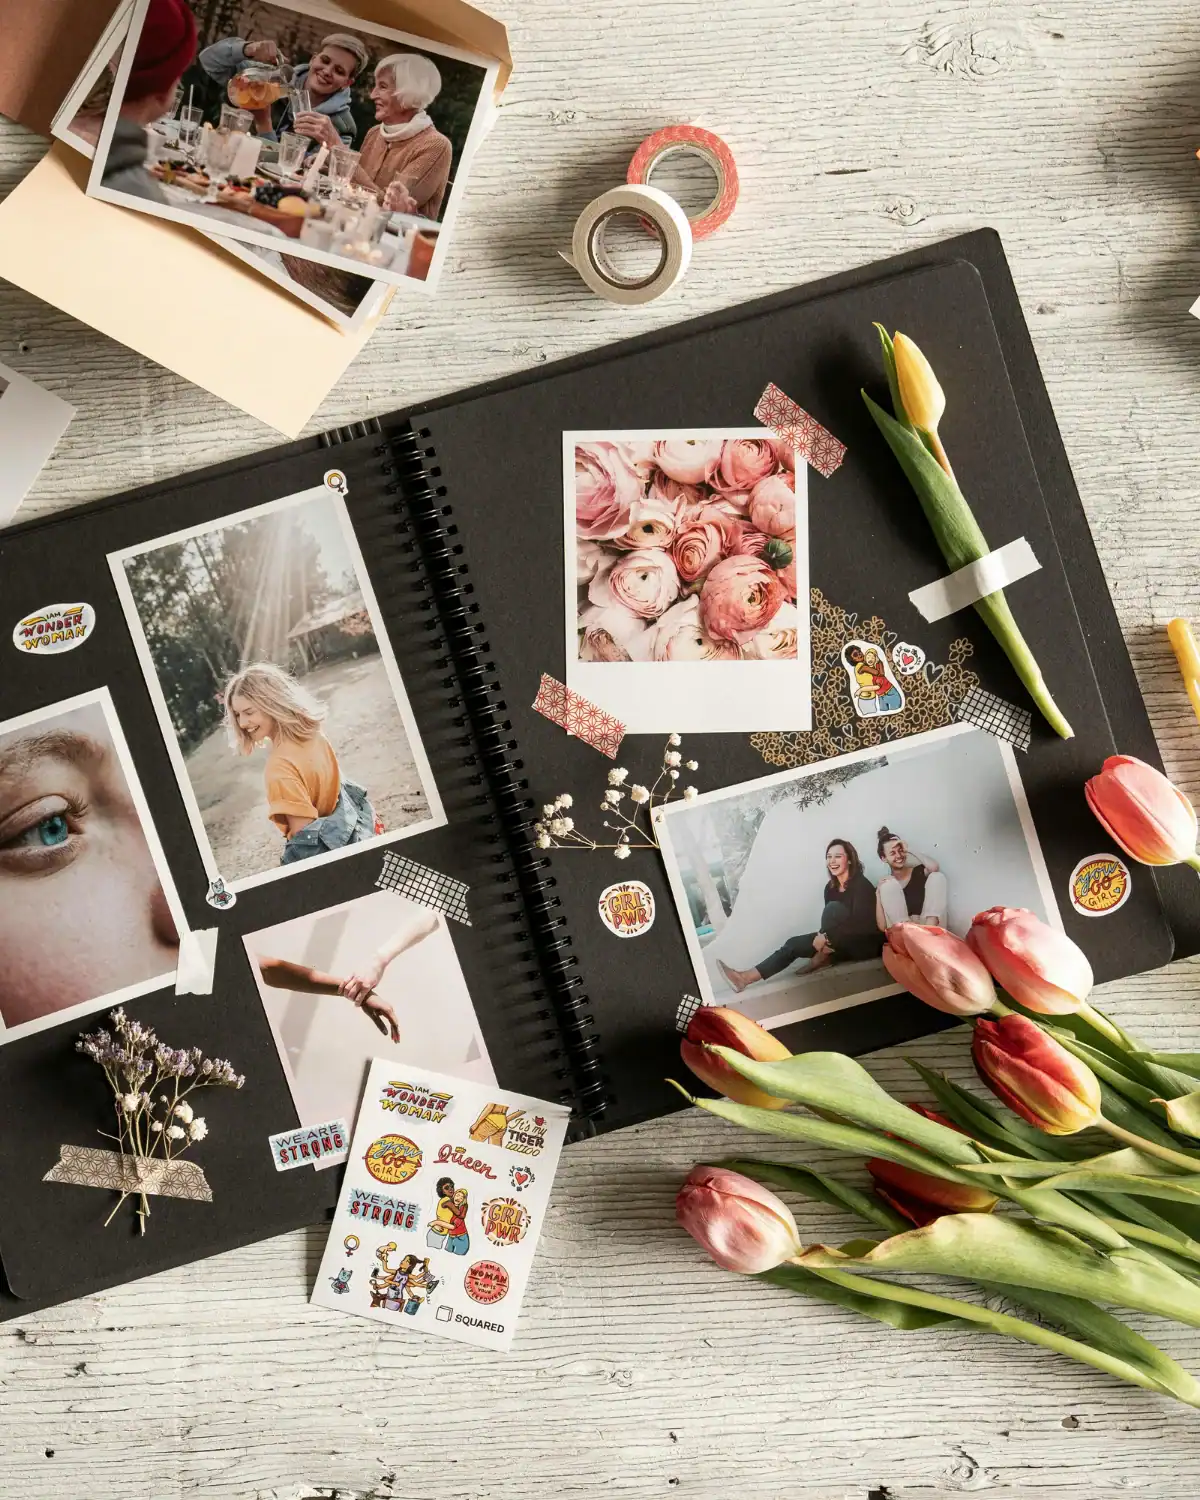
Scrapbooks are making a comeback, and for good reason.
Start with a stack of 100% recycled cardstock and gather printed photos, pressed flowers, old ticket stubs, handwritten letters, and any other little memories worth keeping.
Arrange the photos with acid-free paper photo corners, then use a small amount of neutral pH archival adhesive for ticket stubs, letters, or other paper keepsakes.
Leave space beside each photo for handwritten dates, captions, or little stories you do not want to forget.
Punch holes along one edge and bind the finished pages with natural jute twine.
I’ve made these as friendship books, travel journals, and “our year together” retrospectives. They are the kind of gift that only gets more meaningful with time.
Prefer to Watch? 3 DIY Scrapbook Tutorials
- Scrapbook for Beginners by Crafteholic: A detailed beginner tutorial that walks through building and decorating a scrapbook from scratch.
- Beautiful Handmade Birthday Scrapbook by Handmade Cards Ideas: A more elaborate memory-book style scrapbook with layered pages and spaces for photos, perfect for a really personal gift.
- DIY Travel Scrapbook by Troom Troom: A travel-focused version showing how to combine vacation photos and keepsakes into one handmade memory book.
21. Old School Mixed Tape or Playlist
Time: 20 Minutes | Difficulty: Easy

Bring back the charm of the classic mixtape, just in a 2026 kind of way.
Build a playlist song by song on Spotify, Apple Music, or YouTube, choosing tracks tied to memories with your recipient.
Give it a theme like “songs for slow mornings,” “our year in songs,” or simply “us, in songs.”
Copy the playlist link, turn it into a free scannable QR code, and print it onto 100% recycled cardstock.
Add the playlist name and a little handwritten note underneath, then scan the QR code yourself before gifting to make sure it works.
22. Family Recipe Book
Time: 1-2 Hours | Difficulty: Easy
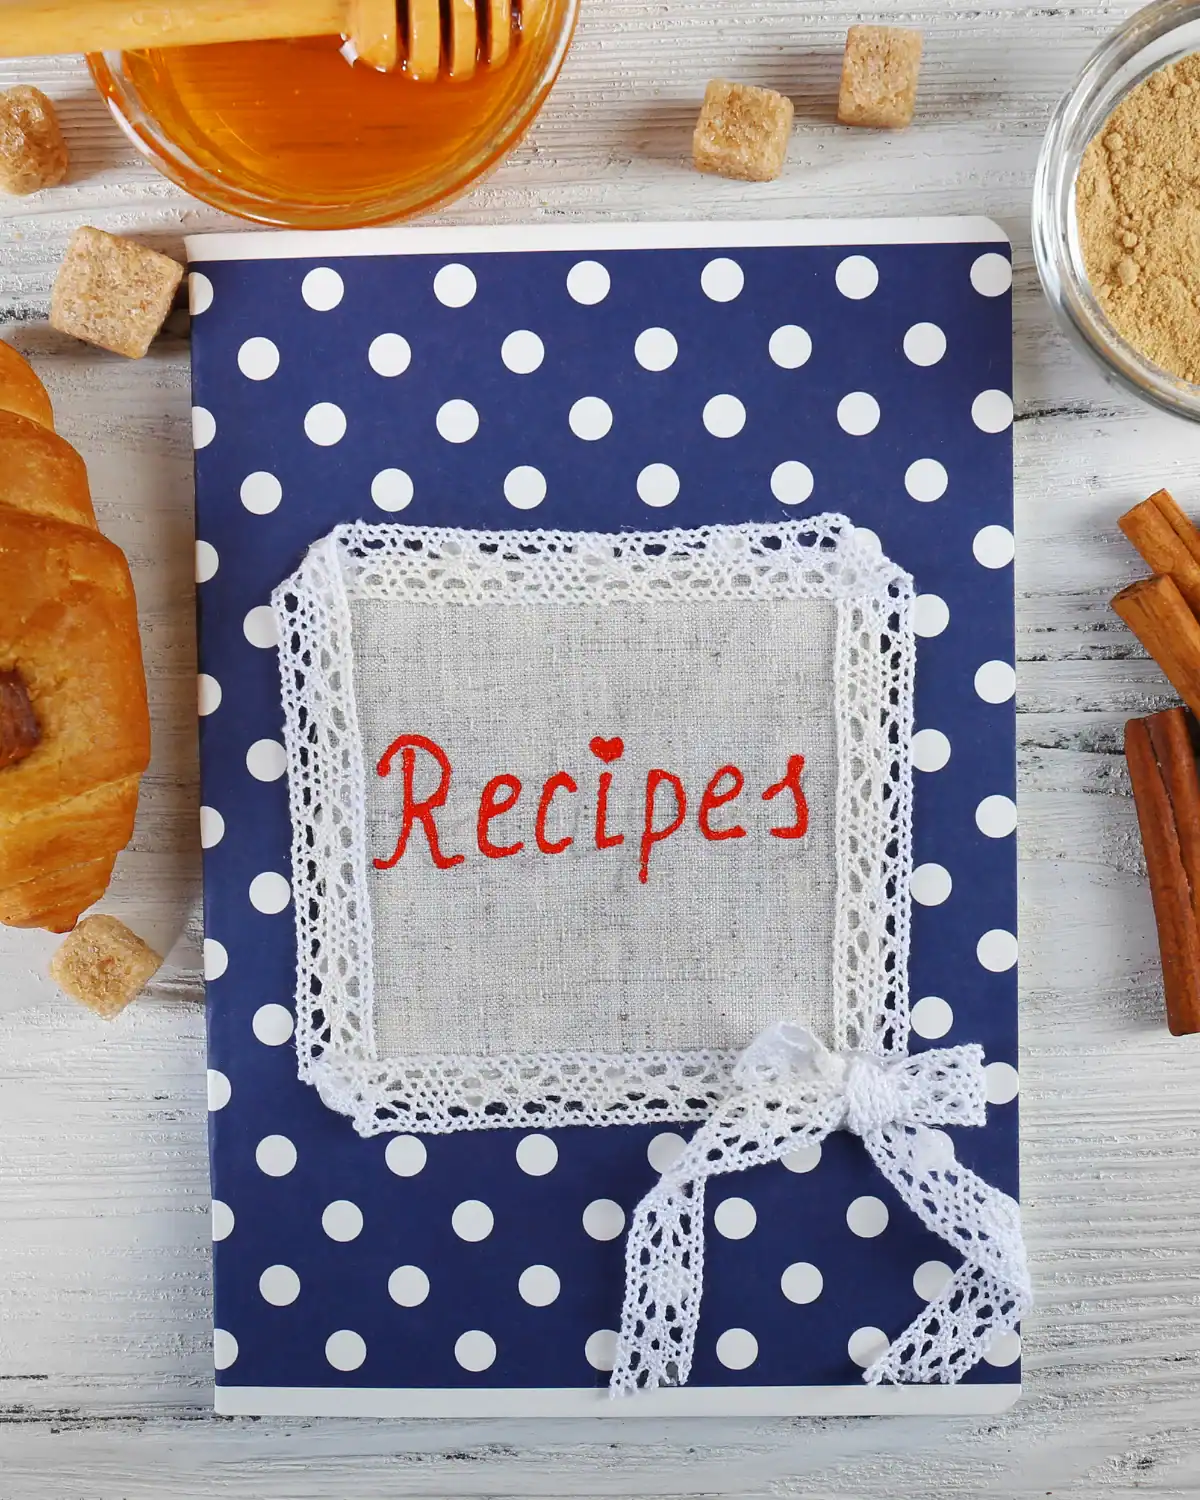
My au pair made me one of these when she left us, filled with every recipe we cooked together during her year with our family.
It is one of the most special gifts I have ever received, not because it was fancy, but because it was ours.
Collect at least 10 to 15 handwritten or typed family recipes and print them onto 100% recycled cardstock.
If you have old handwritten recipe cards, scan or photocopy a few so you can preserve the original handwriting too.
Organize the pages into sections like breakfast, mains, sides, and desserts, then punch holes along one edge and bind them together with natural jute twine.
Add the family name and year to the cover, then tuck in a little note about why you chose the recipes. This is the kind of gift that can turn into a family heirloom.
23. Photo Calendar
Time: 20 Minutes To Design | Difficulty: Easy
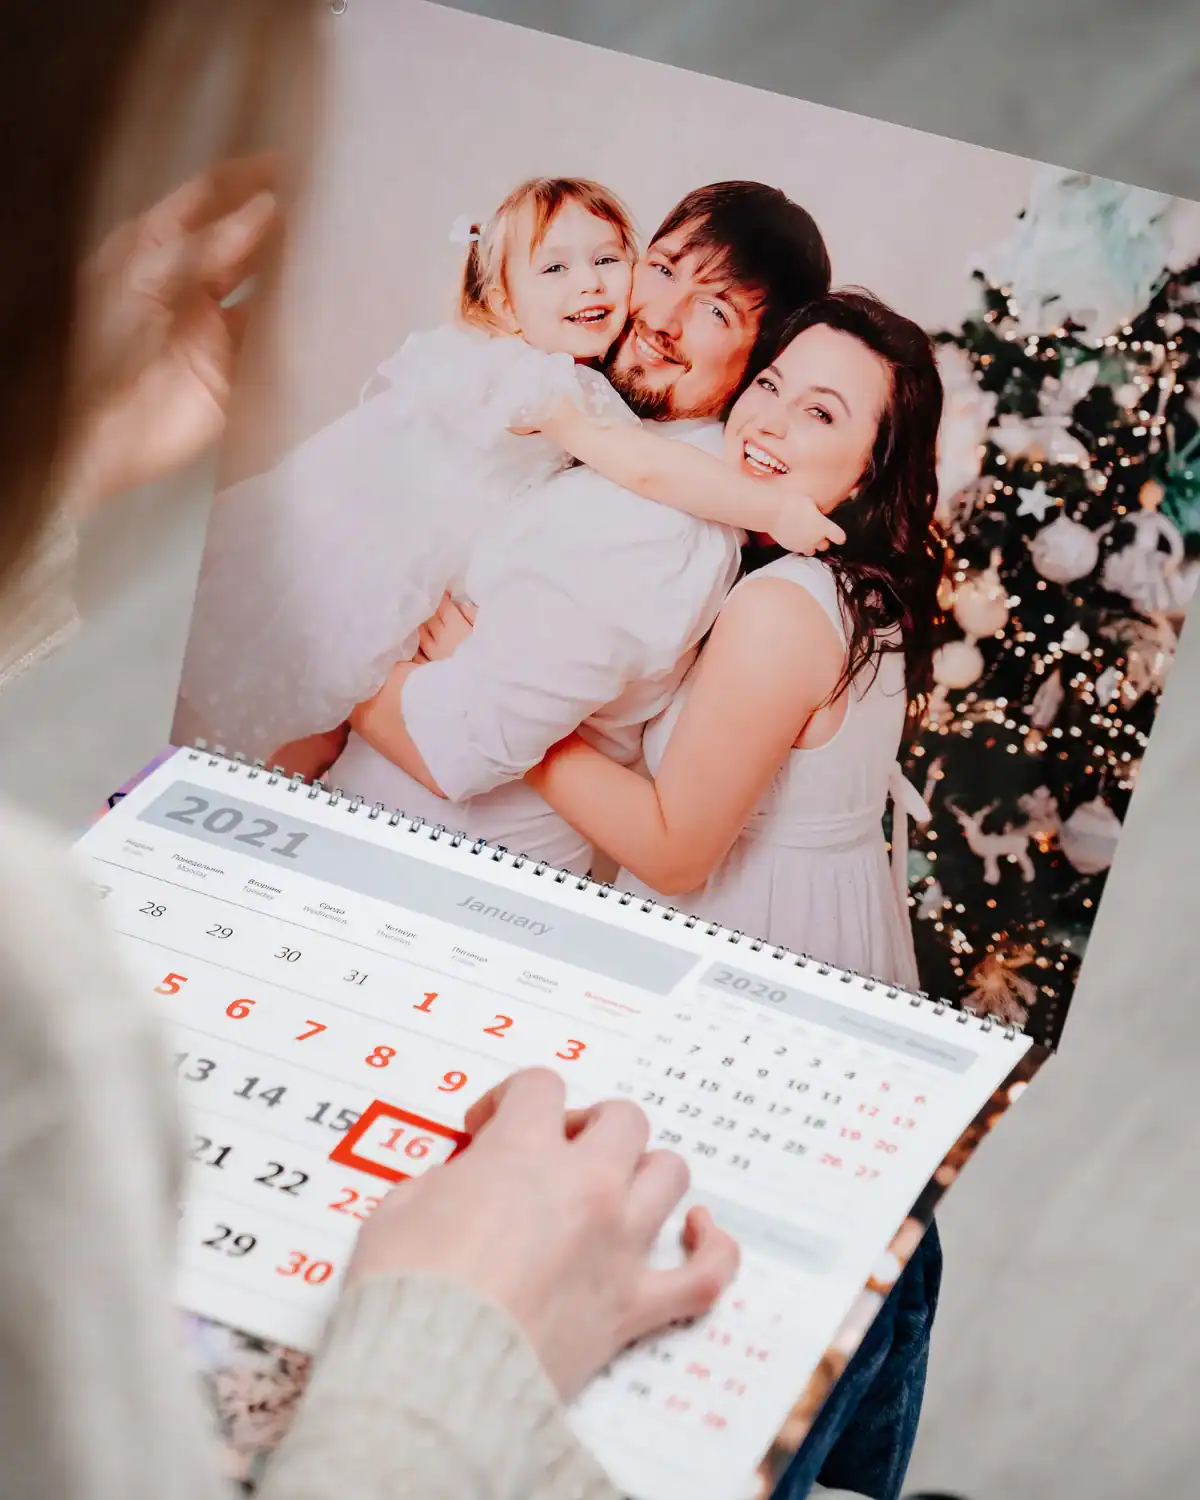
I do this one constantly, so many years running at this point, and it has become the gift my dad looks forward to most.
Pick 12 favorite photos, one for each month, and print them on FSC-certified photo paper.
Print or draw each monthly calendar onto 100% recycled cardstock, then attach the photos with acid-free photo corners.
Punch two small holes at the top and bind the pages together with natural jute twine.
Each month my dad gets a new photo of him with the kids, so there is a fresh little memory waiting on his office wall all year long.
24. Personalized Key Rings
Time: 20 Minutes | Difficulty: Easy
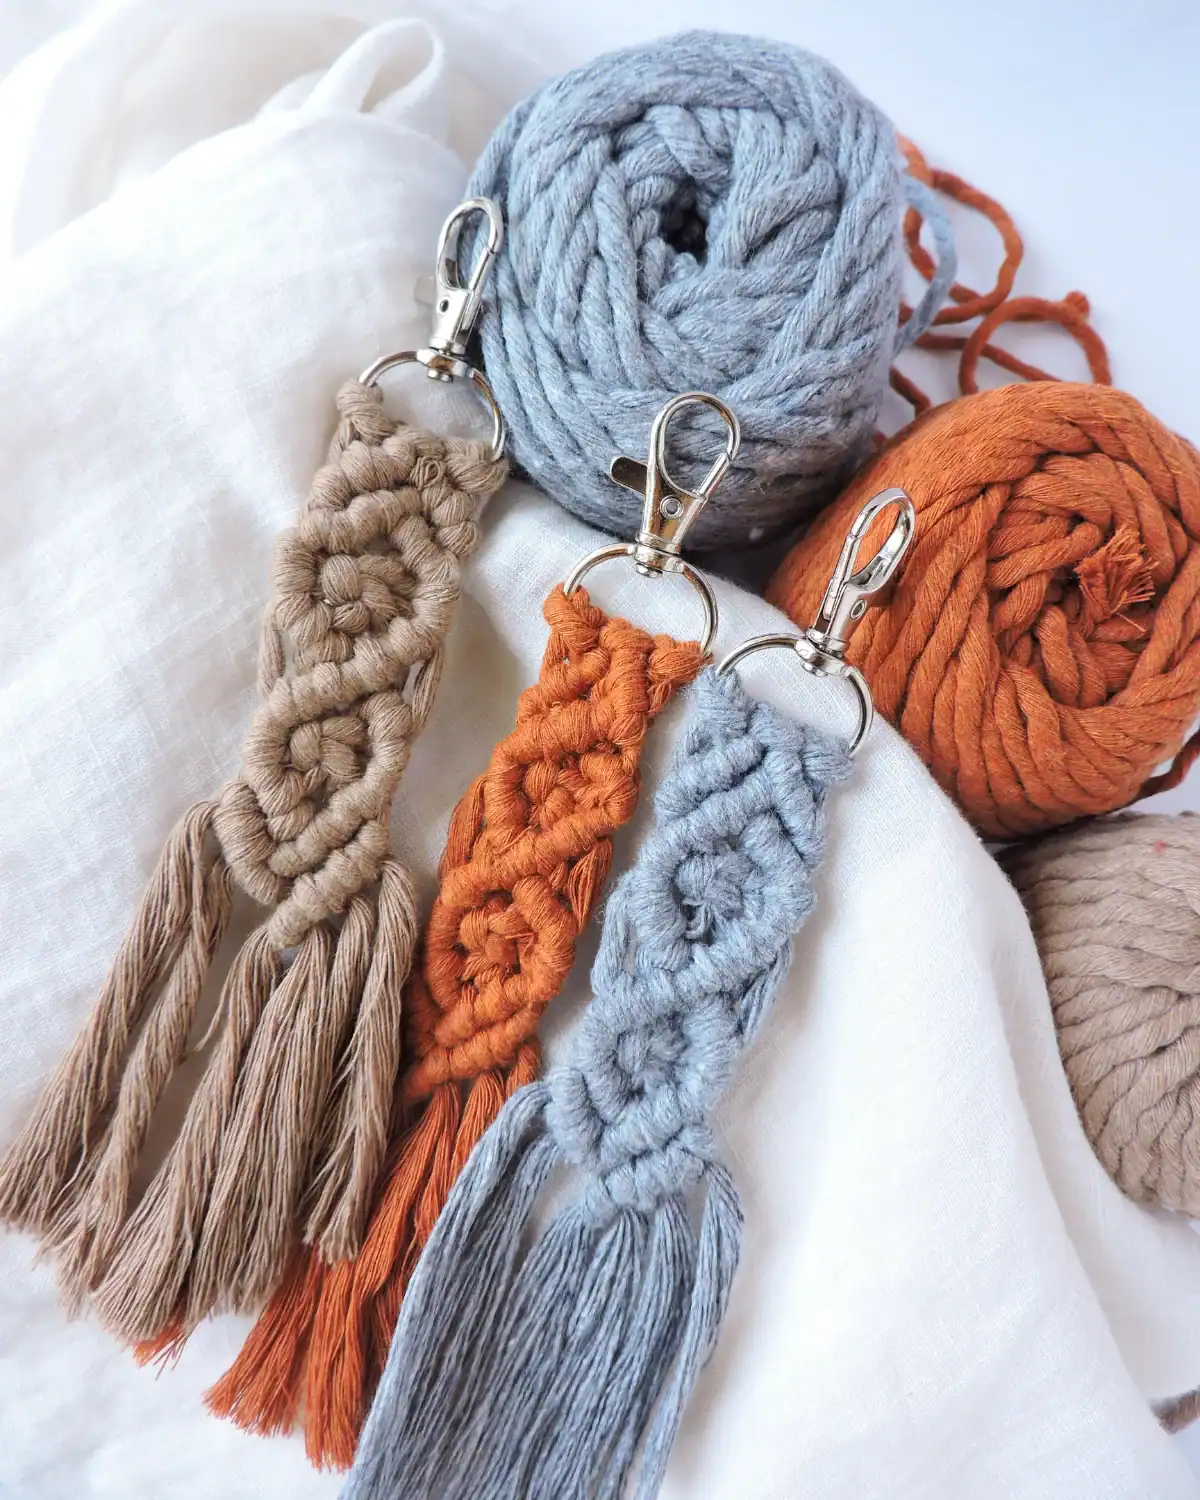
Tiny, useful, and full of personality.
Start with a 316L stainless steel key ring and cut a few lengths of recycled cotton macramé cord.
Fold the cord through the ring, then knot or braid it into a simple pattern.
Finish with a secure knot and trim the ends into a small fringe.
Personalize each one with the recipient’s favorite color, or work in a little scrap of fabric or leather you already have at home.
They are quick to make, easy to customize, and such a cute little gift for friends, teachers, or stocking stuffers.
Prefer to Watch? 3 DIY Key Ring Tutorials
- 4 Easy Macramé Keychains by Rikiniki DIY: Four beginner-friendly macramé designs using cotton cord and simple keychain hardware.
- Easy Fabric Wrist Keychain by No Trace: A quick scrap-busting tutorial that turns leftover fabric into a practical wristlet-style key fob.
- Leather Scrap Keychain by Corter Leather: A clever way to turn small leftover leather pieces and a split ring into a polished handmade keychain.
25. Handmade Jewelry
Time: 30-45 Minutes | Difficulty: Medium
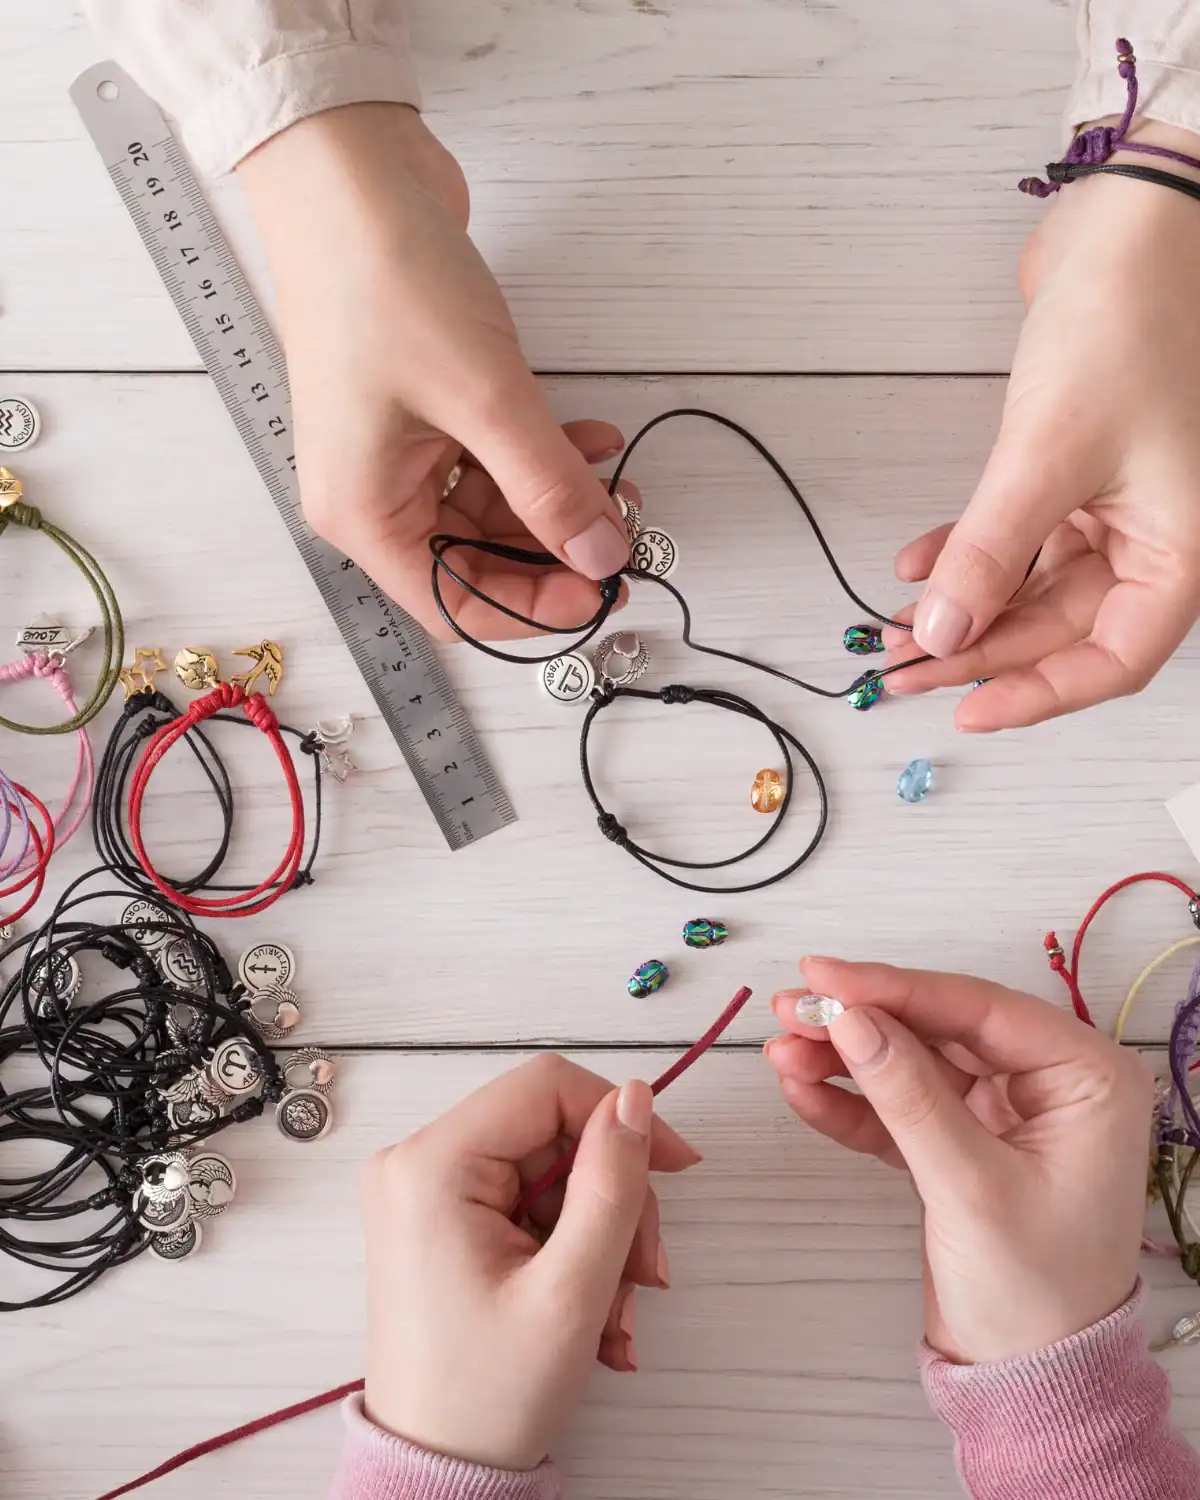
Handmade jewelry is such a personal little gift, especially when you choose colors or stones with the recipient in mind.
Cut a length of 100% hemp jewelry cord, then thread on a few natural gemstone beads or an optional 316L stainless steel charm.
Finish with a secure knot or adjustable sliding closure, then make a few coordinating bracelets if you want to turn it into a little set.
Add an FSC-certified kraft gift tag explaining why you chose the colors, stones, or charm.
Simple, personal, and much more meaningful than something picked off a jewelry rack.
Prefer to Watch? 3 Handmade Bracelet Tutorials
- Friendship Bracelets for Beginners by AYSU INAN: A simple beginner tutorial for learning the basic knots used to make colorful cord bracelets.
- 5 Easy DIY Friendship Bracelets by SaraBeautyCorner: Five different bracelet styles, including braided, spiral, striped, and rope designs, for plenty of handmade jewelry inspiration.
- Sliding Knot Bracelet Tutorial by Kamy Dova: A quick tutorial showing how to make an adjustable sliding closure, which works perfectly for our hemp cord bracelet.
26. Knitted Blanket
Time: Several Weeks | Difficulty: Advanced
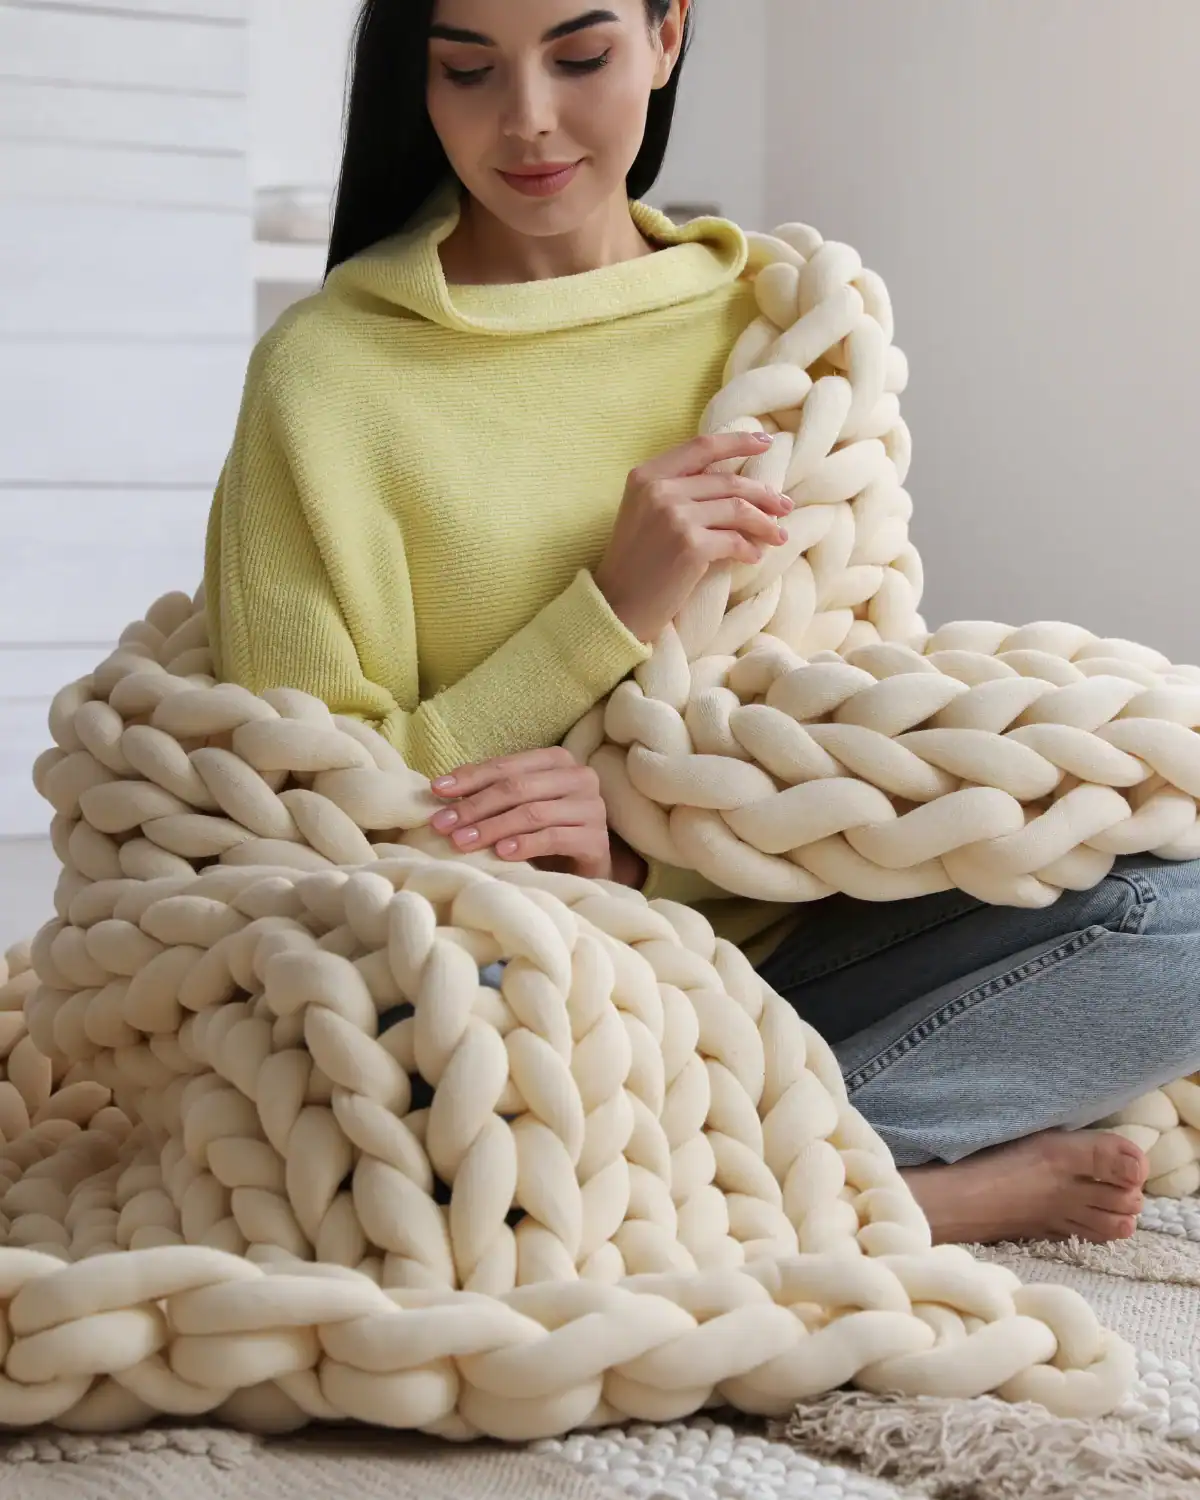
This one is for the patient makers.
Using 100% merino wool chunky yarn and 40-inch wooden circular knitting needles, cast on enough stitches to reach the width you want. A simple garter stitch is perfect if you are newer to knitting.
Knit row after row until the blanket reaches your desired length, then bind off and weave in the loose ends.
The amount of yarn will depend on the finished blanket size, so choose your dimensions first and buy enough skeins from the same dye lot.
It is definitely a slower gift to make, but that is part of what makes the finished blanket feel so special.
Prefer to Watch? 3 Chunky Knit Blanket Tutorials
- Beginner Chunky Blanket by Loopy Mango: A start-to-finish blanket tutorial using 100% merino wool and giant needles, so this is the closest match to our SKL version.
- How to Arm Knit a Blanket in 45 Minutes by Simply Maggie: A hugely popular no-needle method that teaches how to create an oversized chunky blanket using your arms.
- Chunky Knit Blanket Tutorial by HolyMolyDane: A detailed beginner tutorial for making an oversized blanket completely by hand, without traditional knitting needles.
27. Embroidery
Time: 1-2 Hours | Difficulty: Medium
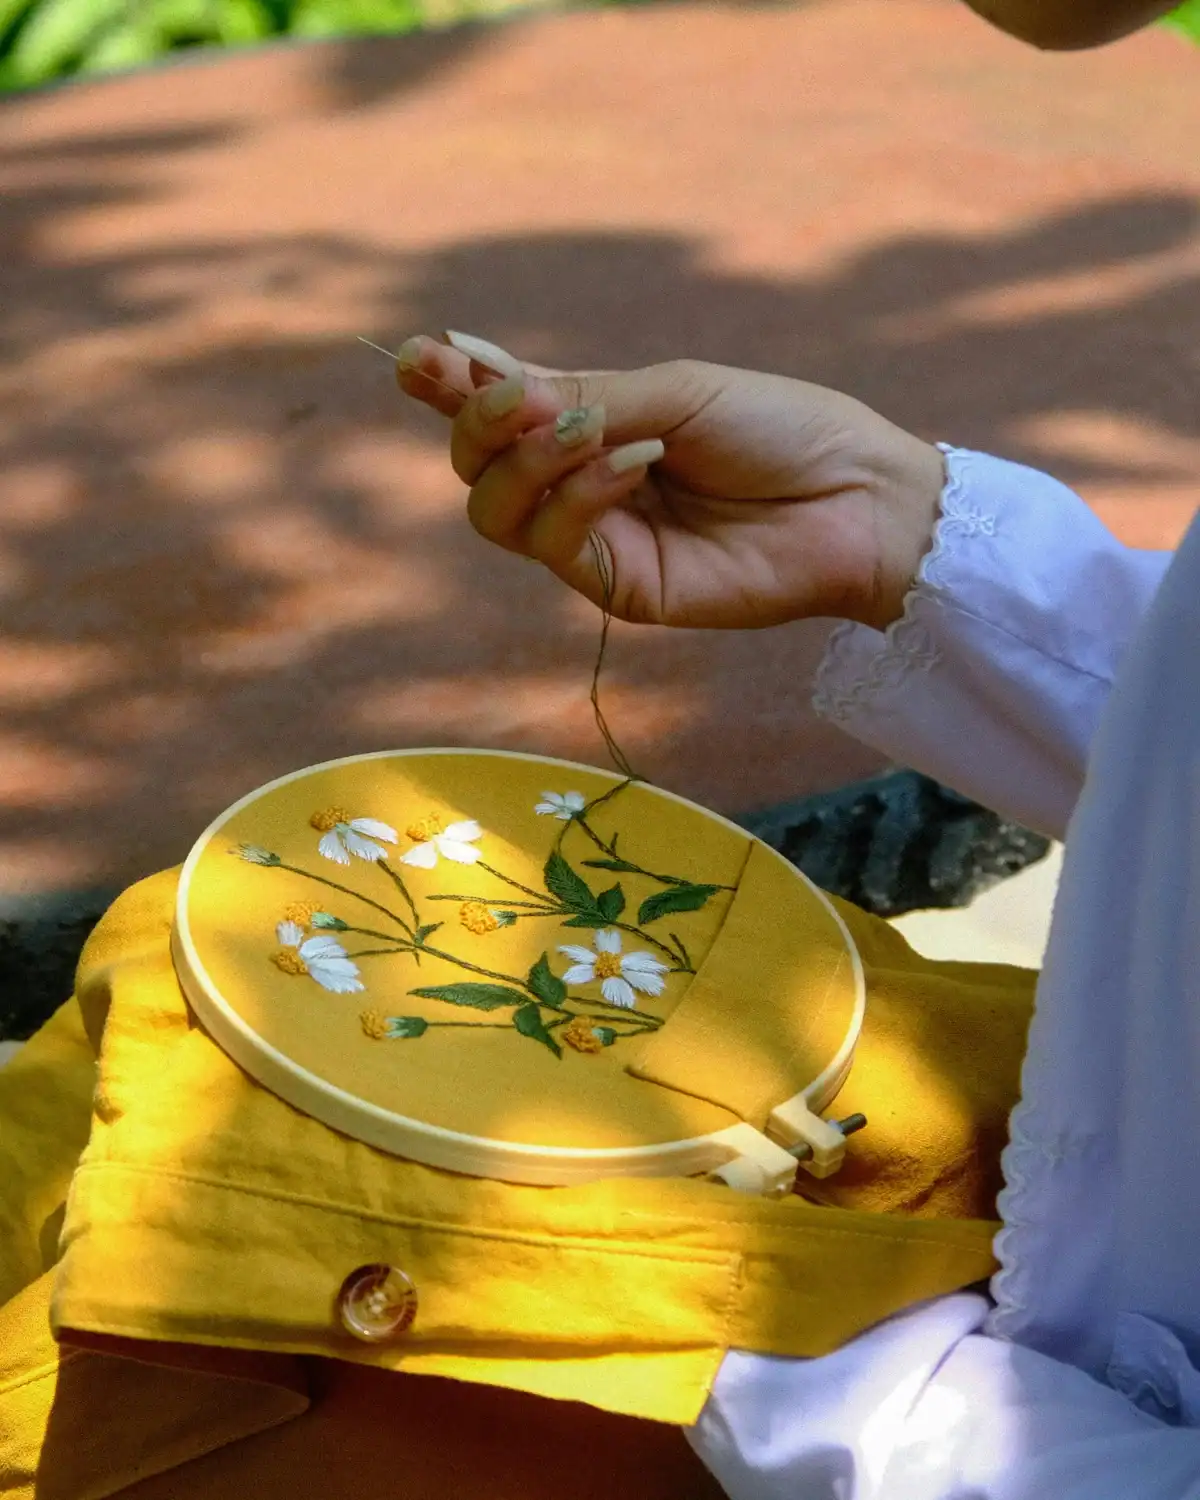
My husband’s grandmother once embroidered over a sweater of mine I thought was completely ruined, and turned it into something beautiful instead of throwing it out.
Embroidery does not have to start from scratch. It can also rescue or personalize something someone already loves.
For woven fabric, secure it gently in a beechwood embroidery hoop, then sketch a simple flower, name, or small motif in pencil.
If you are working on a knit sweater, keep the tension light so you do not stretch it out of shape.
Thread a stainless steel embroidery needle with two to three strands of cotton embroidery floss.
Use a basic backstitch for outlines and satin or lazy daisy stitches for petals and leaves. A small design can usually be finished in an afternoon.
Prefer to Watch? 3 Hand Embroidery Tutorials
- Top 12 Stitches in Hand Embroidery by DIY Stitching: A fantastic beginner guide covering backstitch, satin stitch, lazy daisy, French knots, and other basics.
- 10 Flowers Floral Hand Embroidery by The Authentic Embroiderer: Ten pretty floral designs that are easy to adapt for clothing, napkins, bags, or framed embroidery.
- Save Your Favorite Sweater by The Green Wrapper: A visible-mending tutorial showing how stitching can repair worn or damaged knitwear instead of throwing it away.
28. DIY Plant Cuttings
Time: 10 Minutes Active (Plus 2-4 Weeks Rooting) | Difficulty: Easy
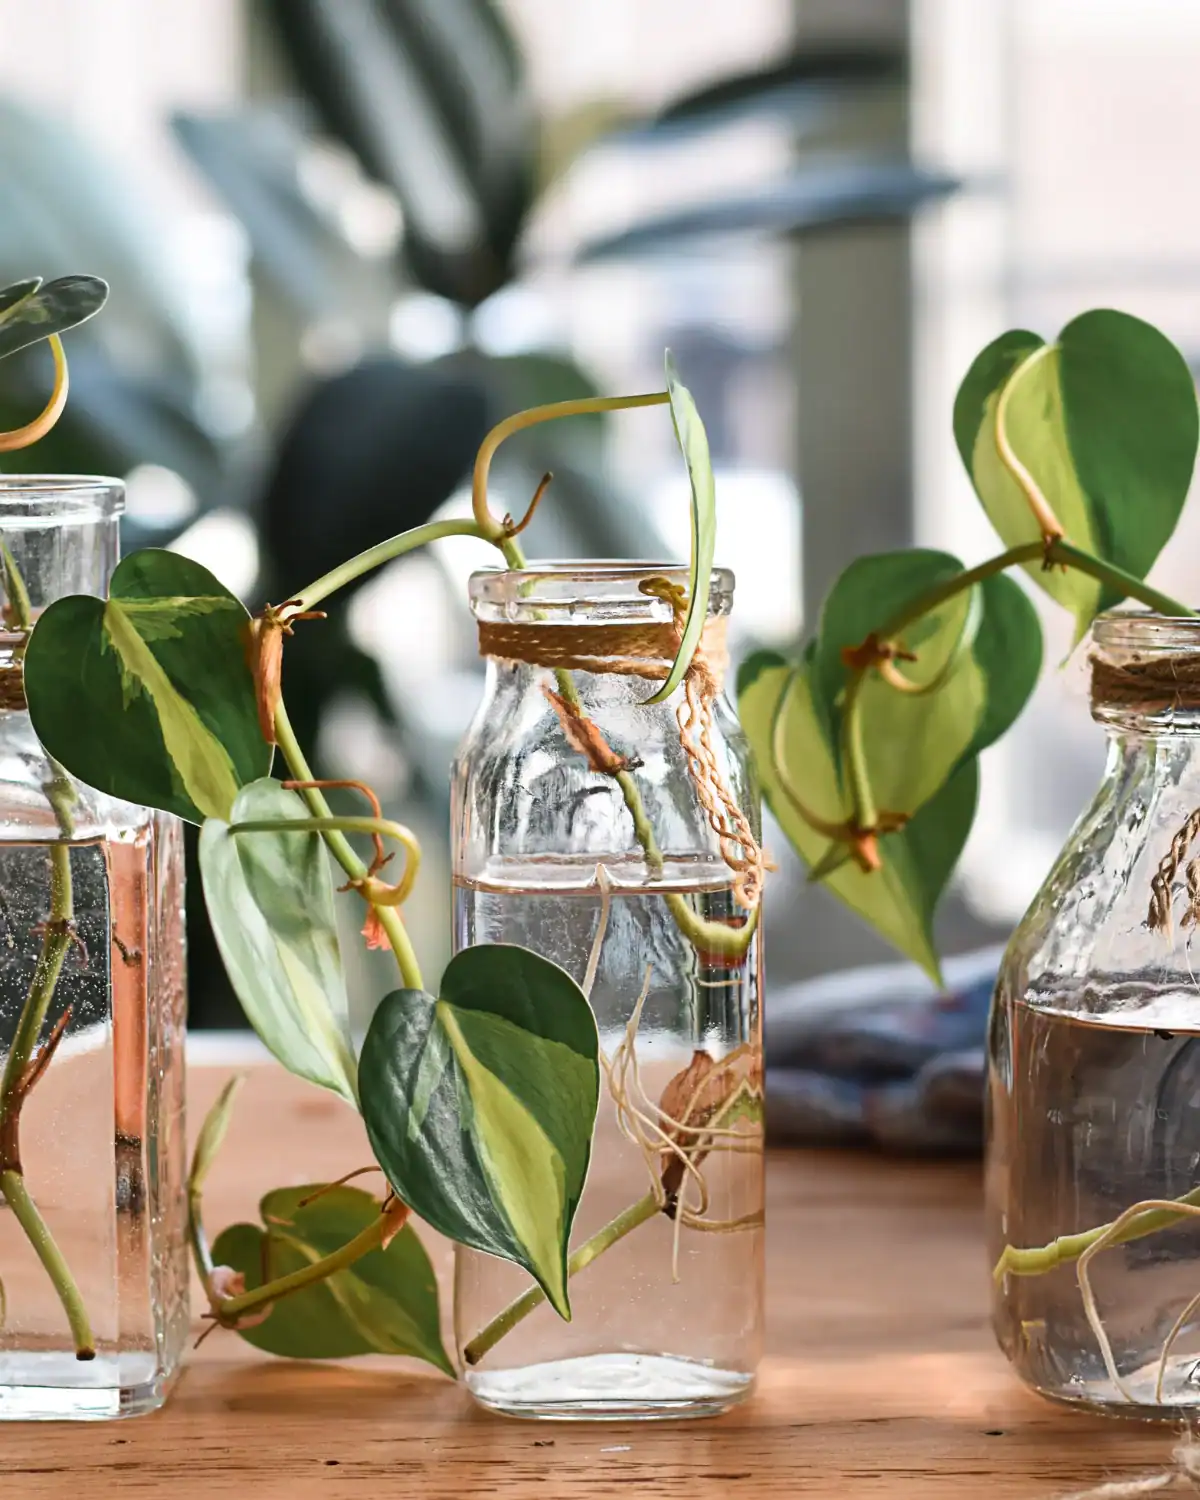
No need to buy a fancy new plant when you can gift a cutting straight from your own collection.
Using clean, sharp scissors or pruners, snip a healthy 4–6 inch stem just below a leaf node and remove the lower leaves.
Place the cutting in an 8 oz glass jar or, if you want to make it a little more decorative, a glass propagation vessel, keeping at least one node below the water while the leaves stay above it.
Set it somewhere with bright, indirect light and refresh the water about once a week, or sooner if it starts looking cloudy.
Rooting time varies by plant, so rather than watching the calendar, wait until you have a healthy little root system before gifting.
Finish with an FSC-certified kraft gift tag with the plant name and a few simple care instructions. I love this one because the gift keeps growing long after you hand it over.
Prefer to Watch? 3 Plant Propagation Tutorials
- How To Propagate Houseplants From Cuttings by Harli G: A really good beginner overview of rooting houseplant cuttings in water, including where to cut and how to care for them while they root.
- How to Propagate Pothos in Water by Pretty in Green: A short, very practical walkthrough showing how to find the node, take the cutting, place it in water, and care for it during the first few weeks.
- How to Transplant Water-Rooted Cuttings by Epic Gardening: Especially useful for the person receiving the gift because it shows what to do once those water-grown roots are ready to move into soil.
29. Terrarium
Time: 30 minutes | Difficulty: Easy
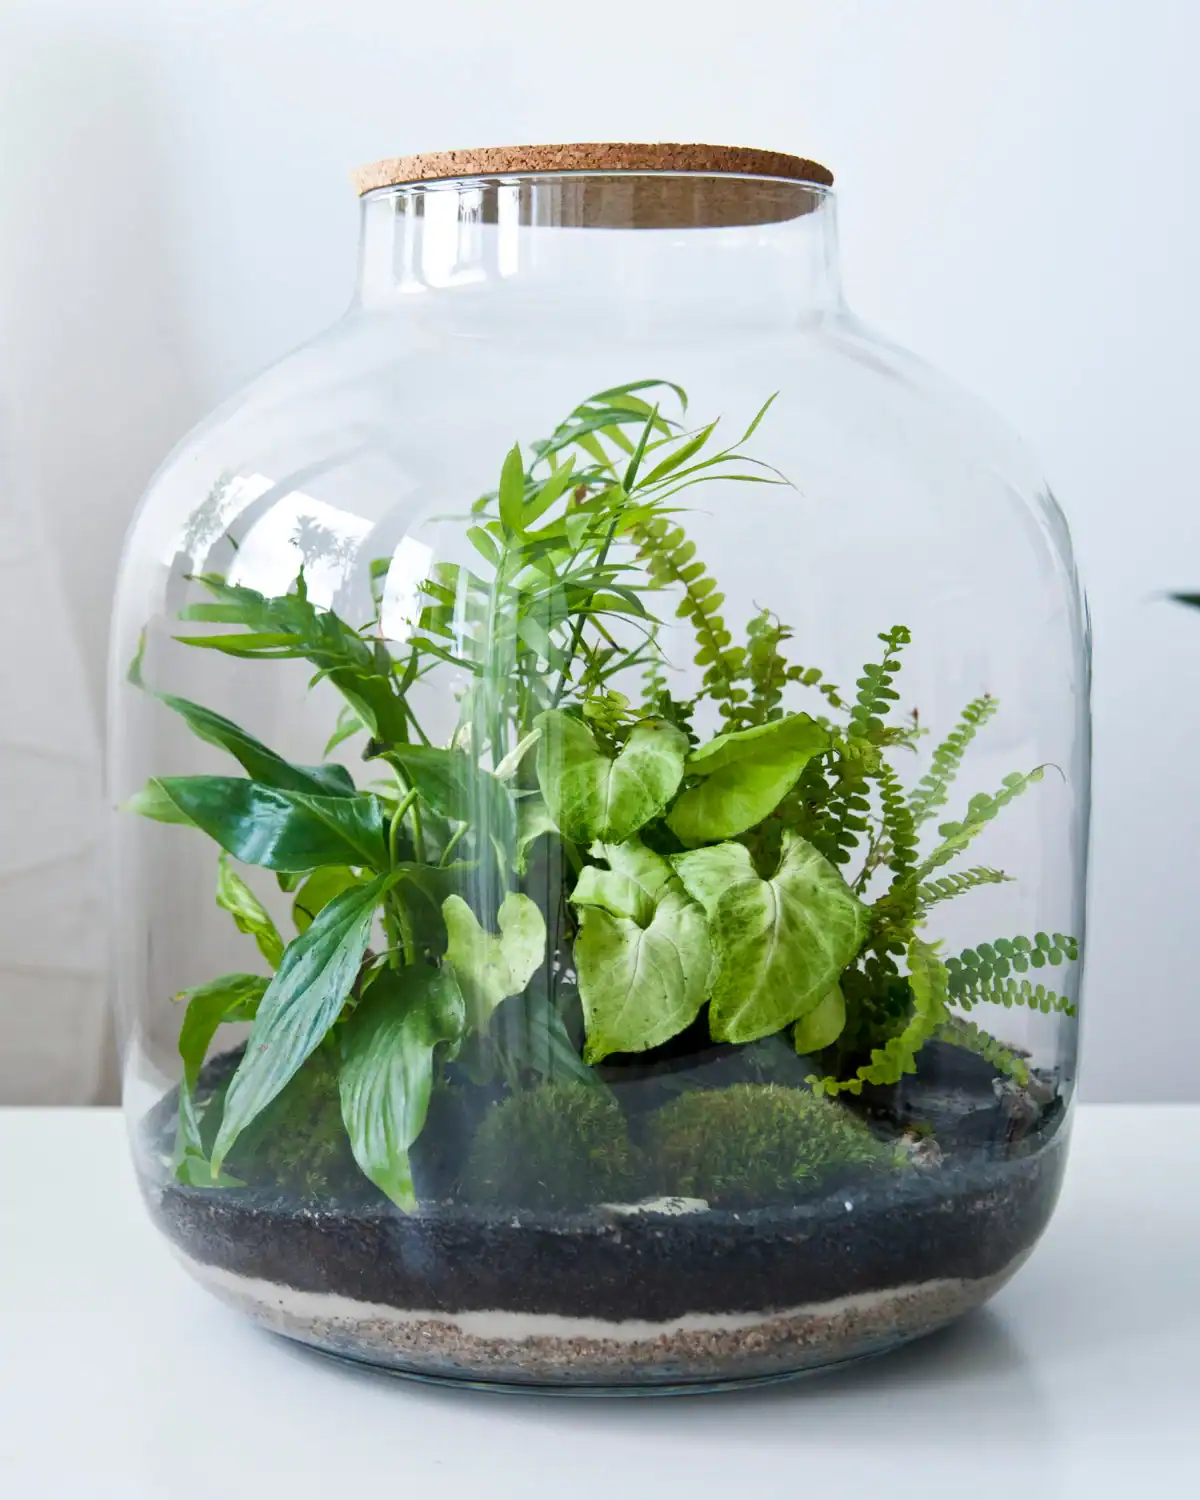
I made one of these for my nephew years ago when he was completely obsessed with terrariums.
For a succulent version, start with a wide-mouth glass terrarium jar, leaving the lid off so there is plenty of airflow.
Add a shallow layer of natural pebbles to the bottom and, if you have it, a thin layer of organic horticultural charcoal.
Next, add 2–3 inches of organic succulent and cactus potting mix, then nestle one or two small live succulents into the soil. Skip the moss for this one.
Succulents prefer much drier conditions, so I like finishing the top with a few extra natural stones instead.
Add just a small amount of water around the soil rather than soaking it, then place the terrarium somewhere with plenty of bright, indirect light.
Such a sweet little gift for plant lovers, kids, or anyone who would enjoy having their own tiny garden.
Prefer to Watch? 3 DIY Succulent Terrarium Tutorials
- Make a Succulent Terrarium by SerpaDesign: A really detailed start-to-finish tutorial covering substrate, planting, the false bottom, watering, and basic succulent terrarium care.
- How to Make a Cute Terrarium by Garden Up: A simple beginner version using succulents, glass, soil, and pebbles that is easy to adapt to our SKL materials.
- Succulent Terrarium in a Glass Bowl by Haus of Gruen: A beautiful open-glass setup using succulent soil, gravel, stones, and several small succulent varieties.
30. Homemade Sourdough Starter
Time: 10 Minutes (To Package) | Difficulty: Easy
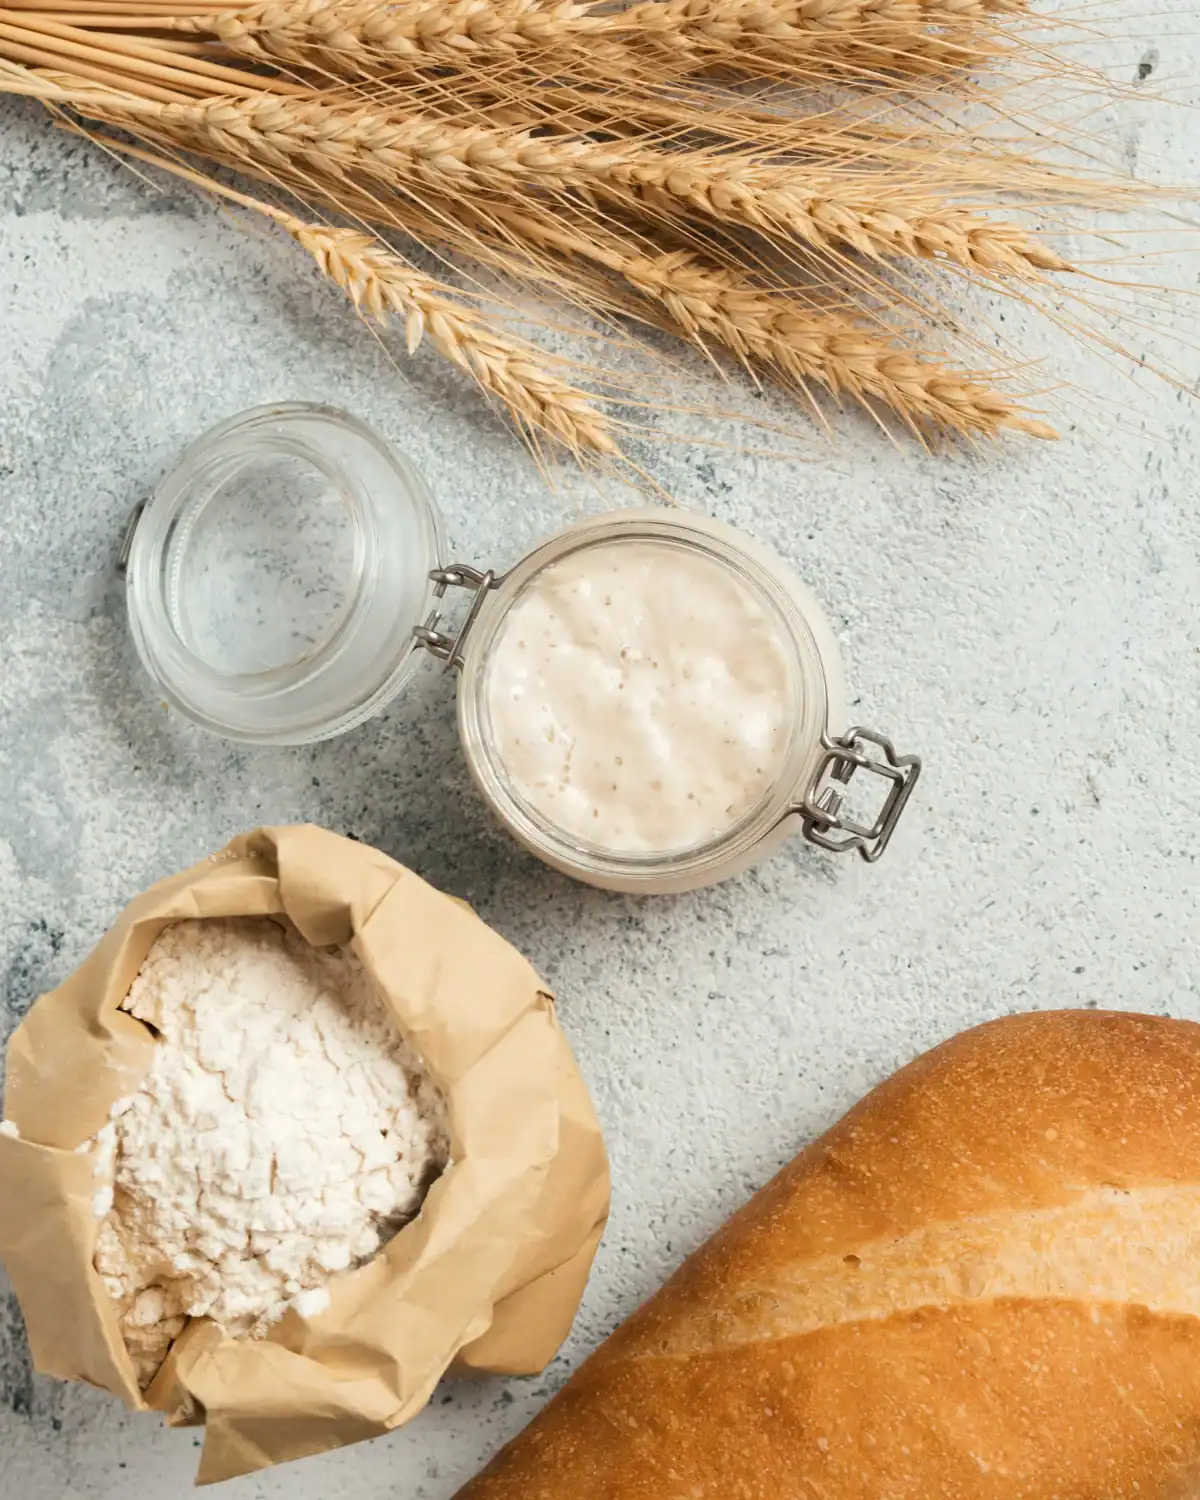
There’s something symbolic about gifting sourdough. It grows with care, feeds people, and gets better with time. I was gifted a starter years ago, and mine is still going strong.
Give a small portion of your active, bubbly starter in a clean food-grade glass jar, leaving plenty of room for it to rise.
Rest the lid loosely on top rather than latching the jar airtight while the starter is active.
Attach an FSC-certified kraft gift tag with the date you last fed it and a few simple instructions: “Keep 50g starter and feed with 50g flour + 50g water. Feed daily if kept on the counter, or refrigerate and feed about once a week.”
Wrap the outside of the jar in a piece of linen you already have at home, or one of the homemade beeswax wraps from gift #16.
If you’d rather buy one, this organic cotton bee’s wrap is a beautiful reusable option. Such a simple gift, but one that can quite literally be passed down for years.
Prefer to Watch? 3 Sourdough Starter Tutorials
- Sourdough Bread: Feeding Your Starter by King Arthur Baking: A straightforward beginner tutorial showing exactly how to feed and maintain an established sourdough starter.
- Maintaining Sourdough Starter Without the Mess by King Arthur Baking: Especially helpful for someone receiving their first starter because it covers feeding, maintenance, and common beginner mistakes.
- The Ultimate Sourdough Starter Guide by Joshua Weissman: A much deeper beginner guide covering the starter vessel, first feeding, standard feeding schedule, and the full process from scratch.
31. Shortbread Cookies
Time: 45 Minutes (Plus 30 Minutes Chilling) | Difficulty: Easy
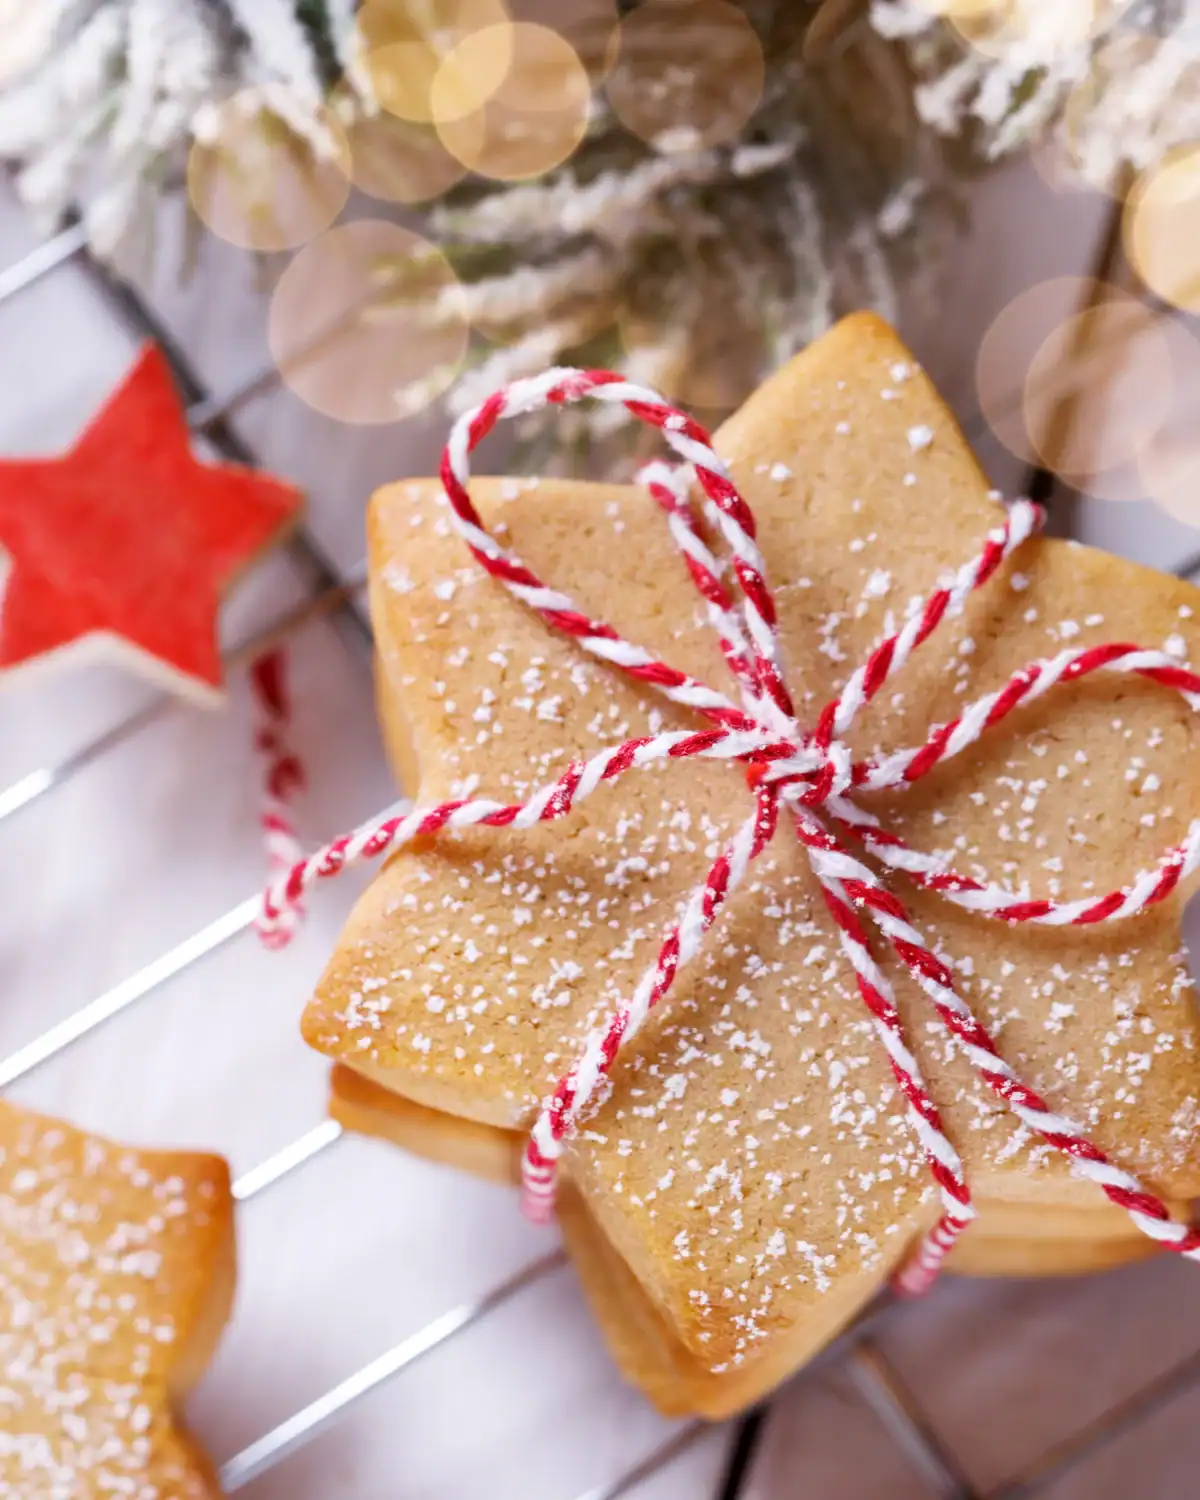
Is there anything better than a simple, buttery shortbread cookie made with love?
Cream 1 cup of organic unsalted butter with 1/2 cup of organic cane sugar until smooth and lightly fluffy.
Mix in 2 cups of organic all-purpose flour and a pinch of fine sea salt, stopping once the dough comes together.
Shape the dough into a log, chill for 30 minutes, then slice into even rounds and bake at 325°F for about 15–18 minutes, until the edges are just beginning to turn golden. Let the cookies cool completely before packaging.
Wrap a few into little stacks with unbleached parchment paper, tie with our natural jute twine, and tuck them into a reusable stainless steel food container.
Simple, buttery, and the kind of homemade gift that usually disappears before the wrapping does.
Prefer to Watch? 3 Homemade Shortbread Recipes
- The BEST Shortbread Cookies by Preppy Kitchen: A very clear tutorial showing how to cream the butter, form a slice-and-bake dough, chill it, and get that classic tender shortbread texture.
- Shortbread Cookies by Joy of Baking: A classic tutorial from one of the most established baking channels, with a good visual reference for what properly mixed shortbread dough should look like.
- 3-Ingredient Shortbread Cookies by Bigger Bolder Baking: Gemma Stafford’s simple butter-sugar-flour version is especially useful for beginners and is very close to the pared-back recipe we’re using here.
32. Homemade Jam & Jelly
Time: 45 Minutes | Difficulty: Medium
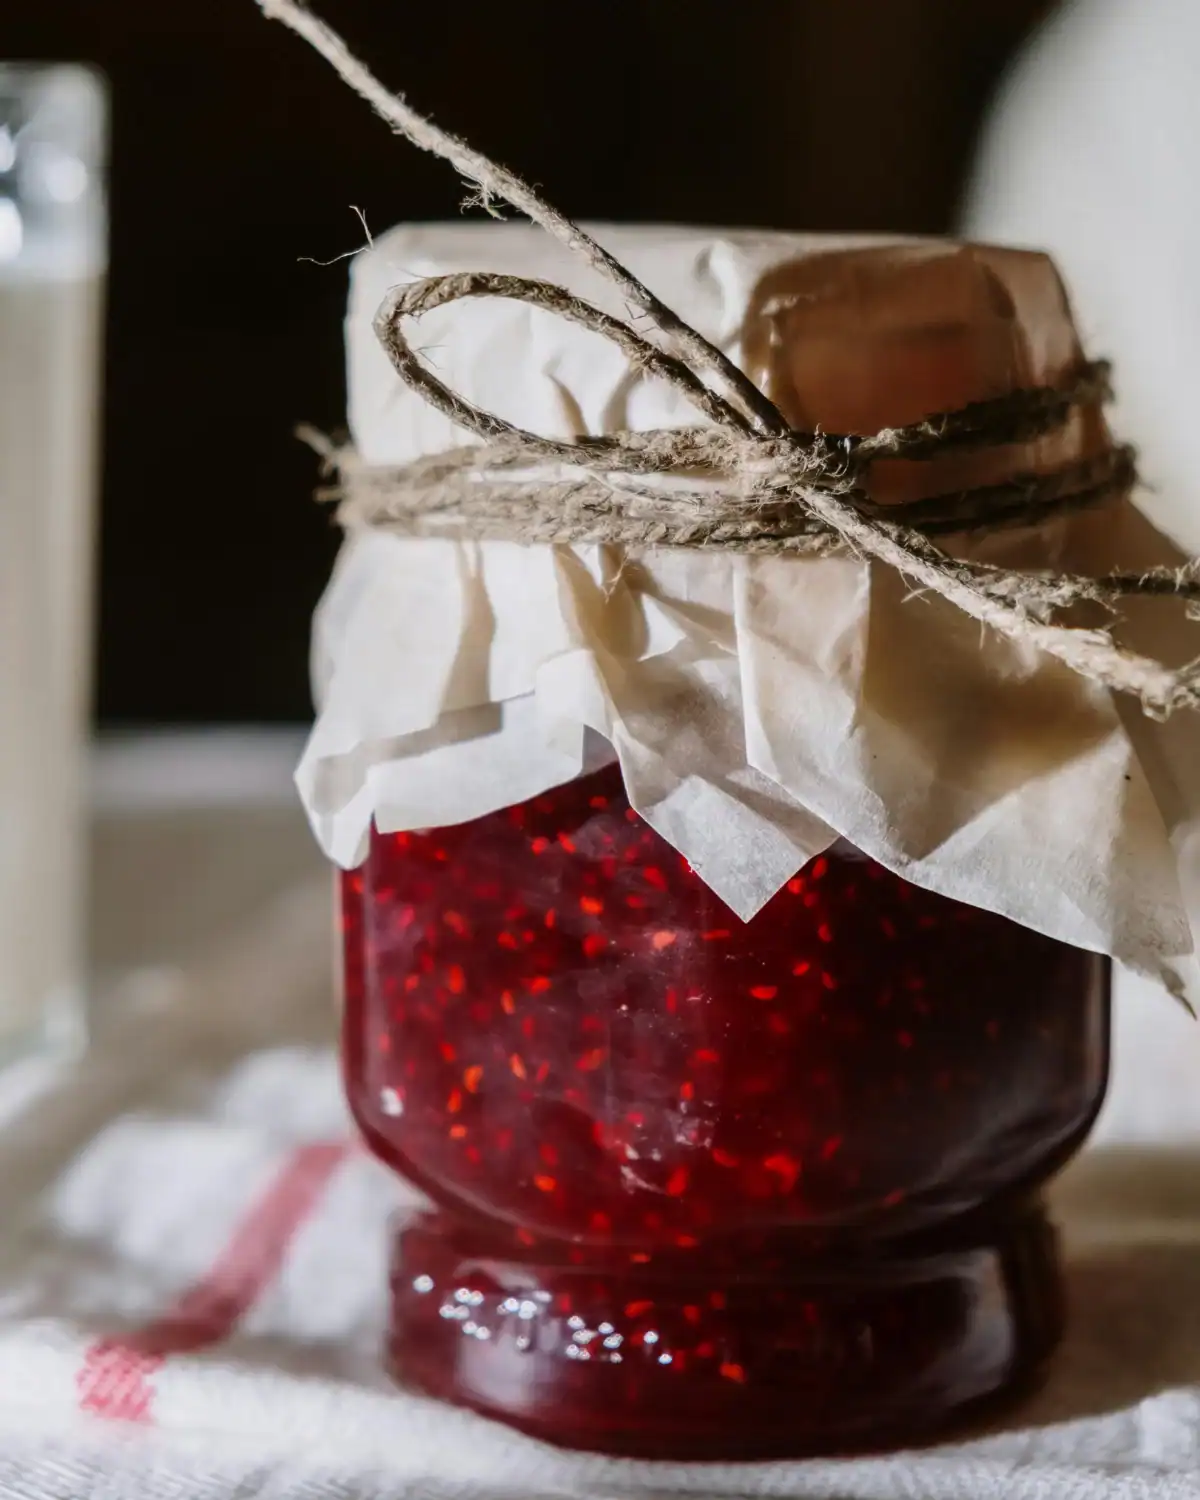
For a shelf-stable version, choose the fruit you want to use and follow a tested NCHFP/USDA canning recipe rather than using one fruit-to-sugar ratio for every jam.
The amount of fruit, sugar, lemon juice, and pectin can change depending on the fruit.
When your recipe calls for granulated sugar, use organic cane sugar. Prepare hot 8 oz glass canning jars with the proper canning lids and bands, following your tested recipe’s instructions.
Ladle the hot jam into the jars, leaving the headspace specified by the recipe; wipe the rims clean, apply the lids and bands, and process in a boiling-water canner for the full recommended time, adjusting for altitude.
Let the jars cool undisturbed for 12–24 hours before checking the seals. Finish each one with an FSC-certified kraft gift tag with the flavor, canning date, and a little note to refrigerate after opening.
Homemade strawberry, raspberry, peach, or blackberry jam tucked into a little glass jar is one of those gifts that feels special without needing fancy packaging.
Prefer to Watch? 3 Homemade Jam & Canning Tutorials
- Water Bath Canning for Beginners by Making Garden Magic: A really useful start-to-finish water-bath canning guide covering jars, equipment, food safety, and two jam examples.
- Classic Strawberry Jam by Wyse Guide: A clear strawberry jam tutorial that walks through fruit preparation, cooking, filling the jars, and boiling-water processing.
- No-Sugar Strawberry Jam + Water Bath Canning by Mary’s Nest: A helpful walkthrough of jam-making and water-bath canning. Use it for technique rather than copying its low-sugar recipe.
33. Hot Cocoa Jar Mix
Time: 10 Minutes | Difficulty: Easy
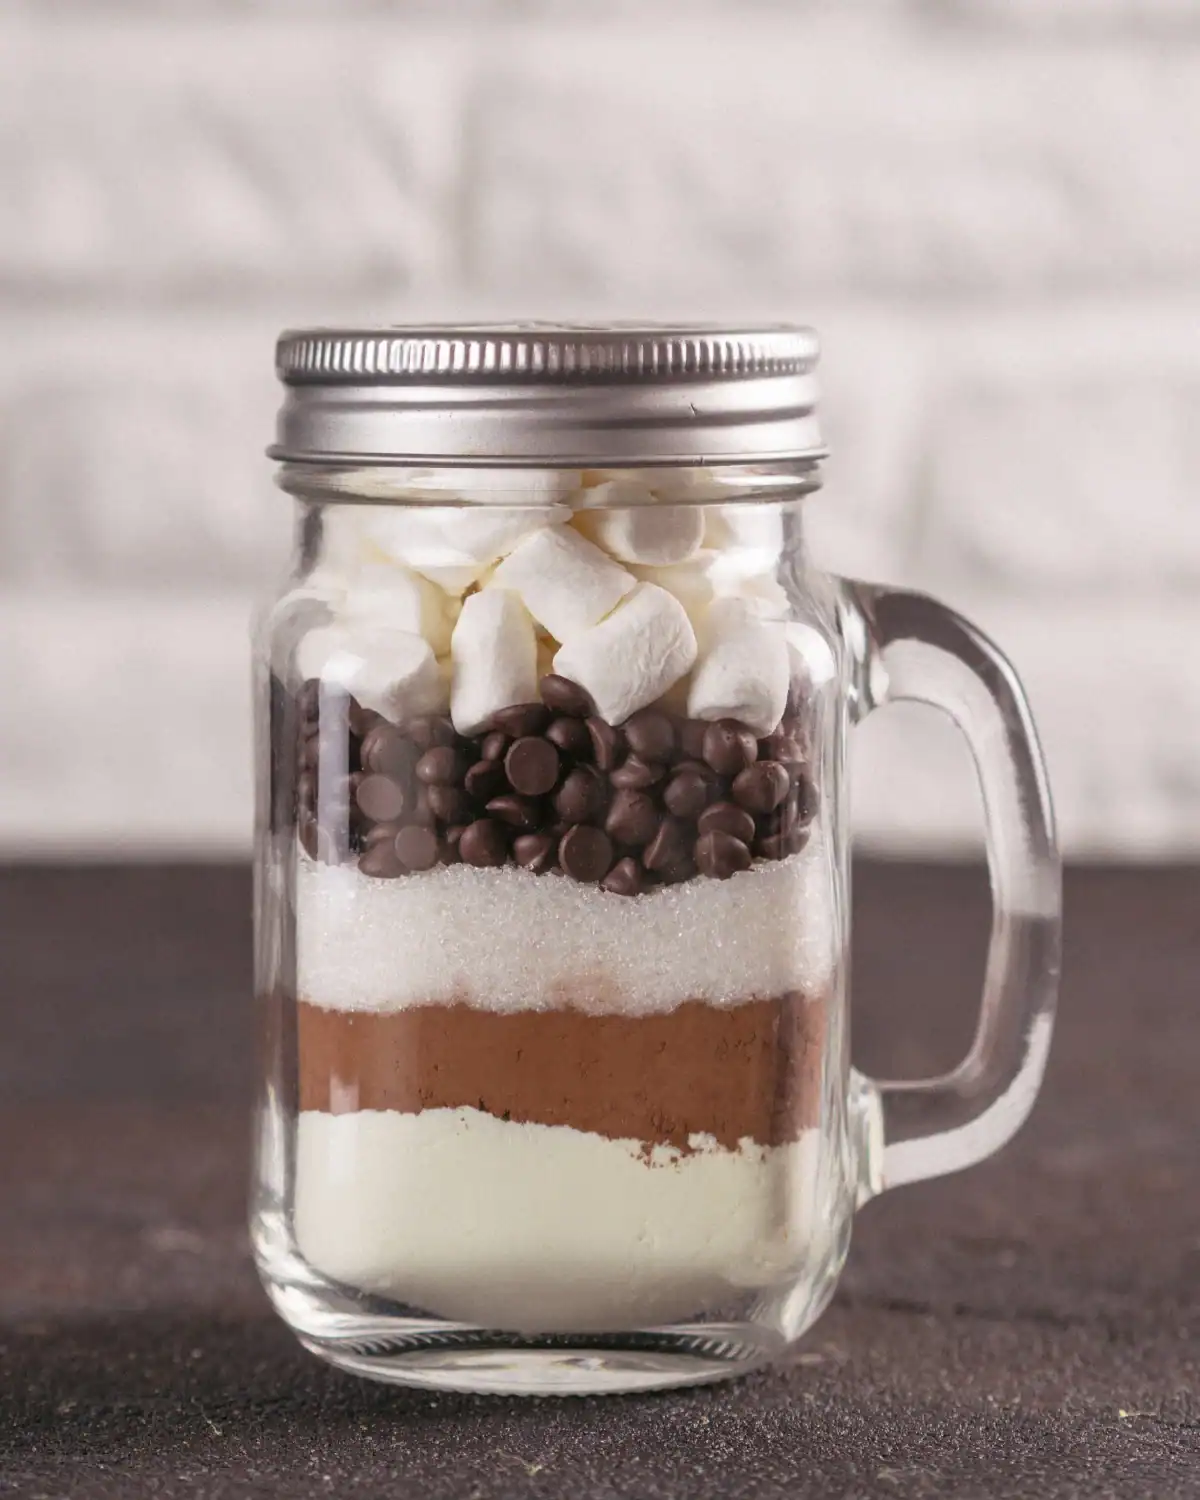
I make these for my kids every single year; it’s become one of our own little traditions.
Layer 1 cup of organic cacao powder, 1 cup of organic cane sugar, and 1 cup of organic whole milk powder in a 32 oz glass Mason jar. For a dairy-free version, swap the milk powder for organic coconut milk powder.
Top with mini marshmallows, screw on the lid, then finish with our natural jute twine and an FSC-certified kraft gift tag.
On the tag, write: “Remove the marshmallows, shake the jar to mix everything together, then stir about 1/4 cup of cocoa mix into 8 oz of hot water. Add a little more mix to taste, then top with marshmallows. Hot milk works too if you want it extra creamy.”
Such an easy little gift, but seeing those layers of cocoa, sugar, and marshmallows in the jar still makes it feel special every year.
The 1/4-cup starting point is much more realistic than the current 2–3 tablespoons. University of Maine Extension uses 1/4 cup dry cocoa mix per 8 oz of hot water in its powdered-milk cocoa recipe.
Prefer to Watch? 3 Hot Cocoa Mix Tutorials
- Homemade Hot Chocolate Mix in a Jar by Food to Live: A simple layered gift-jar version using cocoa, powdered milk, and marshmallows.
- Homemade Hot Cocoa Mix by MOMables: A straightforward tutorial showing how to whisk, store, and prepare homemade instant cocoa mix.
- Homemade Hot Chocolate Mix by MyTinyKitchen: Especially useful here because the recipe is designed for a one-quart canning jar, just like our 32 oz version.
34. Garlic-Infused Olive Oil
Time: 15 Minutes | Difficulty: Easy
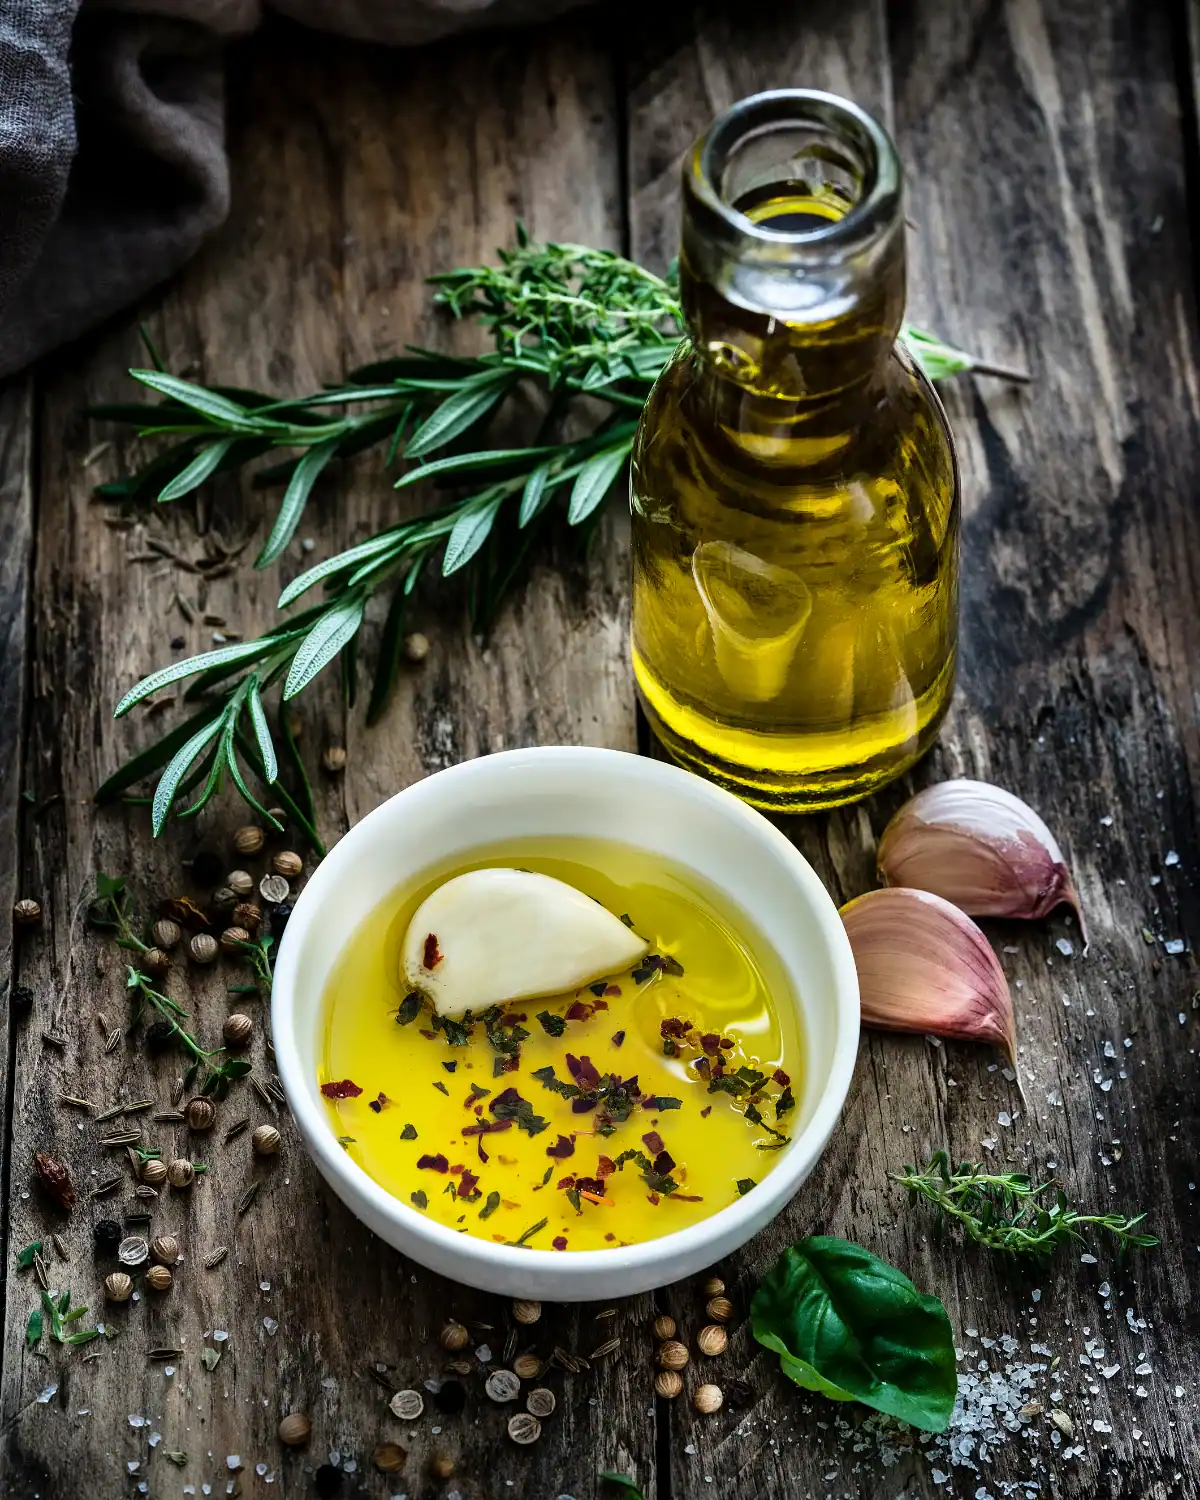
I made this for my dad one year, and he genuinely adored it.
Because fresh garlic stored in oil can create conditions where botulism toxin develops, I use the tested acidification method rather than simply dropping fresh cloves into olive oil.
Dissolve 1 level tablespoon of food-grade citric acid in 2 cups of warm water. Peel and coarsely chop organic garlic into pieces no larger than about 1/4 inch, then place 2/3 cup of the chopped garlic into the citric-acid solution.
Cover and leave at room temperature for 24 hours, then drain the garlic very well. This exact soaking time, concentration, and garlic size matter, so don’t shorten the process or substitute lemon juice or vinegar.
Add the acidified garlic to organic extra-virgin olive oil, starting with roughly 1 part garlic to 10 parts oil by weight, and let it infuse until you like the flavor.
Strain out the garlic when it tastes right. Pour into a clean dark green glass olive oil bottle and finish with an FSC-certified kraft gift tag with the date and a note to refrigerate for the best flavor.
A little homemade bottle like this is so good for dipping bread, drizzling over roasted vegetables, or finishing pasta.
Note: If you skip acidification and make the quick fresh-garlic version instead, refrigerate immediately and use within 4 days or freeze. Never gift untreated garlic oil as a pantry-stable product.
Prefer to Watch? 3 Garlic-Infused Oil Tutorials
- Chef’s Guide: How to Make Garlic Infused Olive Oil by Brandon Marshall: A straightforward visual guide to gently infusing garlic flavor into olive oil.
- Making Garlic Infused Olive Oil by Kurt Jacobson: A simple homemade version that also discusses the need for cold storage.
- Making Garlic- and Herb-Infused Oils at Home by Pacific Northwest Extension: A research-based guide showing exactly how to acidify garlic safely before infusing it into oil, with tested ratios, timing, and storage instructions.
35. Homemade Spice Blend
Time: 10 Minutes | Difficulty: Easy
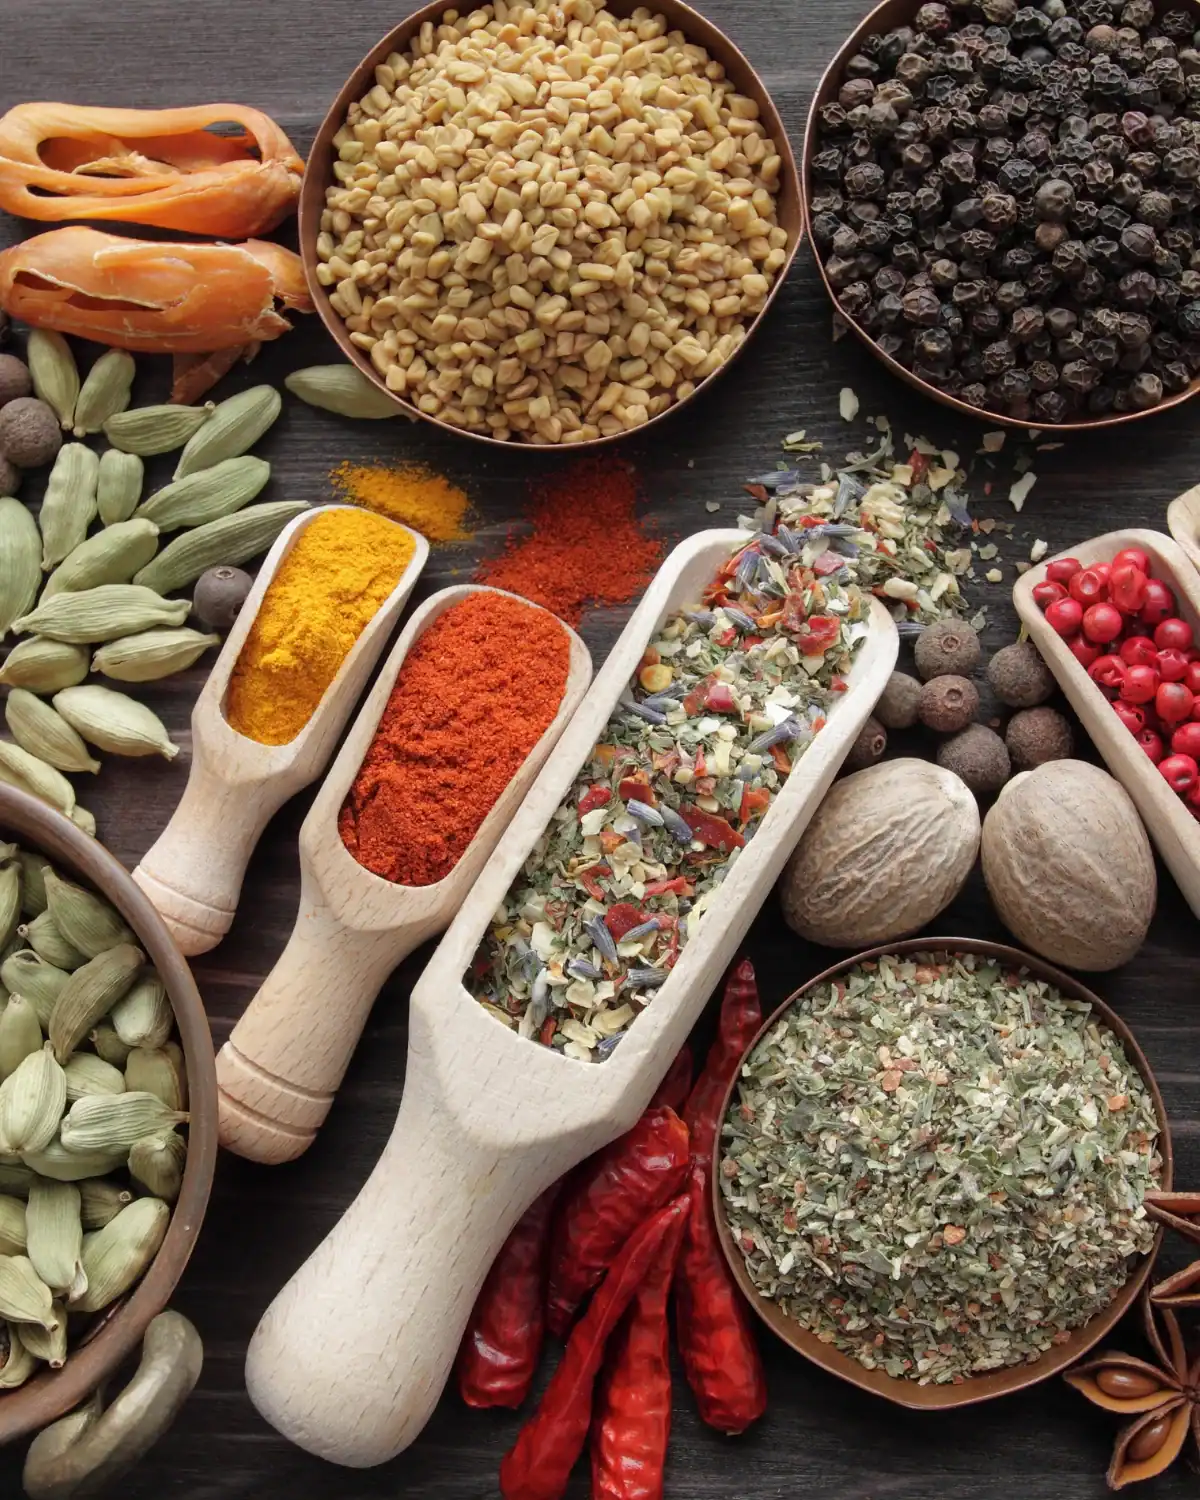
A homemade spice blend is such an easy gift, but it feels far more thoughtful than grabbing another jar from the store.
For my smoky all-purpose blend, combine:
- 3 tablespoons of organic smoked paprika
- 2 tablespoons of organic garlic powder
- 2 tablespoons of organic onion powder
- 1 tablespoon of organic dried oregano
- 1 tablespoon of organic ground cumin
- 1 teaspoon of organic black pepper
- 1 teaspoon of fine sea salt.
Mix everything really well, then spoon it into a clean, completely dry borosilicate glass spice jar with a bamboo lid.
Finish with an FSC-certified kraft gift tag with a few ideas for using it: roasted vegetables, potatoes, chicken, tofu, soups, or anywhere you want a little smoky flavor.
I’d also write, “Start with 1–2 teaspoons and add more to taste.” Stored somewhere cool, dark, and dry, the blend should taste its best within about six months.
🌍 Sustainable DIY Gifting Tips for the Season
- Make it a family thing. Get your kids involved in making salt dough ornaments or painting cards!
- Skip the wrapping paper. Use scarves, old maps, newspapers, or upcycled fabric. Check out our guide to eco-friendly gift wrapping!
- Label with love. Add a handwritten tag explaining your DIY or sharing a memory.
- Give the experience. Include a little “how-to” card or a link to the tutorial if you want the recipient to make it with you next time.
FAQs About DIY Christmas Gifts
IIn many cases, yes. Homemade gifts feel more personal and thoughtful, especially when made with real intention, and they tend to generate less waste and allow for total customization. A handmade lip balm or a photo book of memories carries a kind of care a last-minute gift just can’t match.
Absolutely. Not all DIY gifts require artistic talent or fancy tools. Some of the easiest ideas, like a plant cutting in water, a curated playlist, or a jar of homemade bath salts, are also the most meaningful. Pick something you genuinely enjoy making and keep it simple. Thoughtfulness beats perfection every time.
Most likely, yes, especially if you’re using items you already have or sourcing materials secondhand. DIY gifting also helps you skip holiday markups, and if you’re making gifts in bulk, like cookies or scrubs, the savings add up fast. A smart option if you’re watching your budget.
Presentation makes a real difference. Use reusable or compostable packaging, glass jars, kraft paper, cloth wraps, and add a handwritten tag or care instructions. A clean, intentional look elevates even the simplest handmade item, and imperfections are part of what makes it feel human.
Stick to simple, universally appreciated gifts: homemade cookies, soy candles, mini jars of jam, bath bombs, or lip balm in a compostable tin. Thoughtful and low-pressure, festive without feeling too personal.
Skip new wrapping paper for fabric scraps, a vintage scarf, brown kraft paper, or even newspaper. Tie it with natural twine or yarn, and add dried orange slices, herbs, or cinnamon sticks for a festive, compostable touch. Beauty without the waste.
Kids love crafting, and it’s a lovely way to nurture that. A shared batch of bath salts, a hand-painted card, or a cookie mix jar are all easy enough to make together as a family, and it teaches kids the joy of giving something they made themselves.
Made With Love (And a Little Less Waste)
A handmade gift is never really about the thing itself. It’s the time you spent on it, and the fact that you thought of someone specific while you were making it, not a general “someone” but them, exactly as they are.
That sourdough starter, that lip balm, that frame still on my mom’s wall, none of them were expensive or perfect. They were just made with someone particular in mind. That’s the whole trick.
Whether you’re a seasoned crafter or making your first bath bomb this weekend, I hope something on this list finds its way into your holiday, and into someone else’s hands, this year.
Looking for more gift guides?
We love a great sustainable gift guide, check these out:
- 180+ Non-Toxic Gifts (2026) For Everyone On Your List (that I’ve actually gifted)
- 101 Best Secondhand Gifts That Are Just As Good As New
- 101+ Best Non-Toxic Gifts For Her (2026) that women actually want
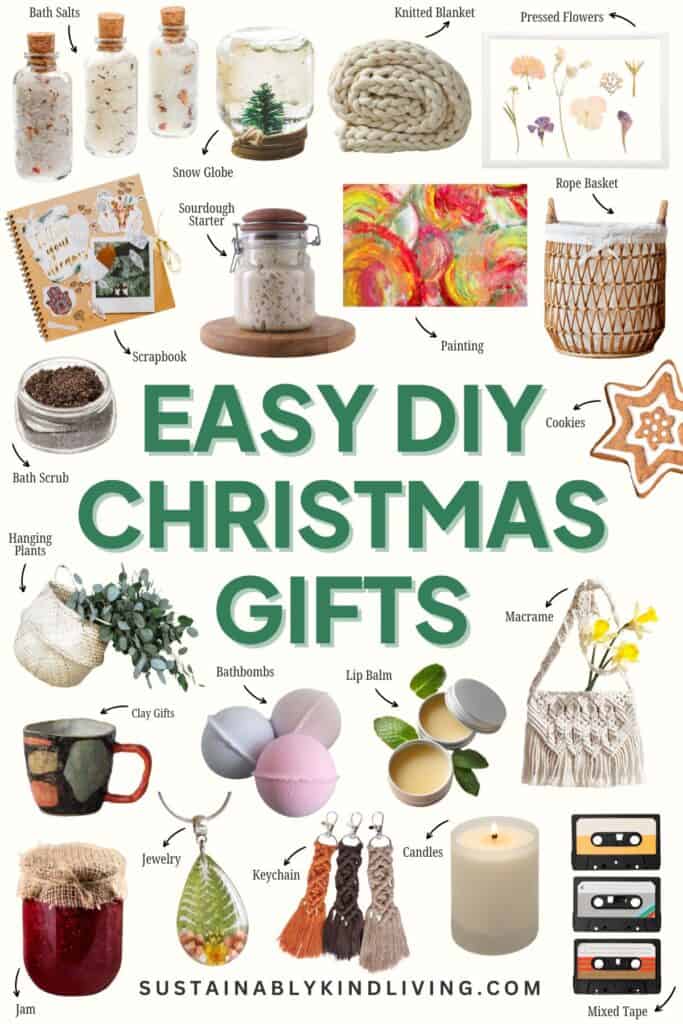
📌 Save This DIY Christmas Gift Guide
Save this guide to Pinterest so you can come back to it again and again! Whether you’re gifting last-minute or planning your next sustainable craft day. This one’s worth pinning.

Steal My Non-Toxic Cleaning Checklist!
Believe us, it’s the BEST…. and it’s free. Does it really get any better than that?! Sign up for our newsletter and get this free checklist to clean your home without any harmful chemicals!